Friday, January 31, 2014

Using Veneer to Improve Laminated Table Legs

Two years is a long time to be working on a simple dining table.  This project technically does not have so many steps that it should take so long.

Why is it that it is still under the "in-progress" heading, you ask?

The answer is, I have no idea. This is just one of those projects that is taking me forever, mostly because this project really hasn't excited me yet.

No reason, just 'cause.

We are really getting tired of using an old, borrowed, ugly, flimsy dining table in our Garmisch apartment, though. That means it is time to light the fire under this table.

I mean - light the fire under me to finish this table. Lighting an actual fire under this table would be a perfectly good waste of lumber.

Ahem.

Moving on.

Here is the state of this project at the moment:
  • The top is glued up and partially flattened
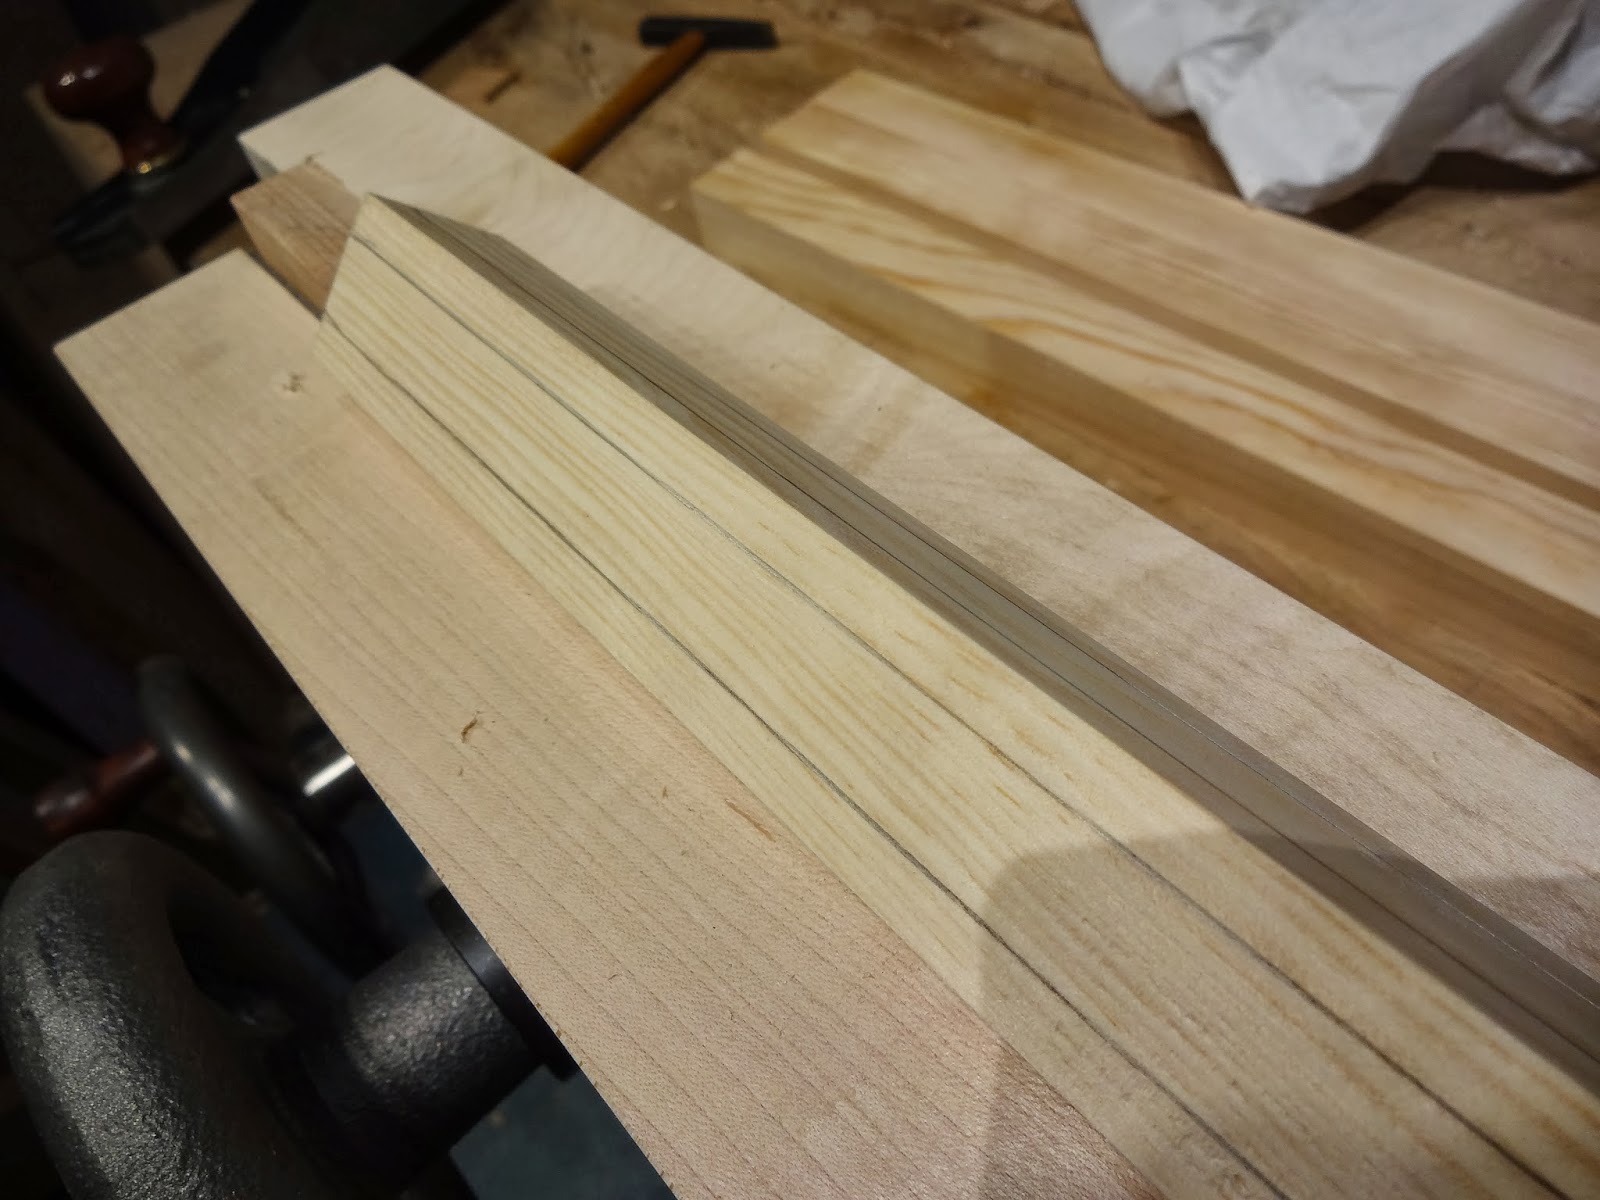
  • All of the legs are laminated together - I used the same 8/4 stock that was used for the top.
  • The legs were flattened on a face and one edge squared up by hand before I took them to Dictum to finish the milling using their power planer.
  • Stock for the aprons has been chosen.
What is left to do:
  • Make the legs look pretty.
  • Smooth the table top after cutting to finish size.
  • Cut the aprons to size and smooth them.
  • Cut mortise and tenons.
  • Glue-up the base using drawbore pegs.
  • Attach the top with shop-made buttons.
  • Finish.
I thought I didn't really have that much left to do, but now that I am looking at this list, it appears I haven't really started yet.  So much for two years worth of work on this thing.

Let's move on.

First on the list is making the legs look pretty.  I made the legs by laminating two pieces of 8/4 lumber together and milling square.

I did the best I could to match color and grain up, but while a couple looked OK, the others just wound up with so obvious a glue line that there is no way these legs would look anything but "jarring."

My solution was to pull a trick I used on a quarter sawn oak arts & crafts dining table I built for my in-laws a while back: veneer used to give the appearance of quarter sawn grain on all four faces of the leg.

Here's my process: My cousin lives near a veneer factory, so I sent him over to get me about a square meter of veneer for this project.  They just laughed, as usually the smallest they would sell is about a billion square meters of something.  They gave him this roll of walnut veneer, probably about ten square meters, and charged him ten Euros.  I think this was probably for their coffee money while they were able to get rid of some scrap or a sample or something.

What I got was a nice roll of veneer with about a dozen pieces from the same flitch.

The table legs in need along with the veneer I had to work with.
It is perfect having so much for this project, as I can really be picky in picking the perfect part of a piece of veneer to match the leg I want to put it on.

I decided to do the ugliest leg first, one which had a nice dark piece laminated to a board that showed sapwood.  What I needed to do here was find a section of the veneer that had no flatsawn grain, and which had sapwood all along one edge.

Although these sheets of veneer all came from the same part of the same log, they were not all exactly the same.  The ones closer to the bark side of the tree had a little more sapwood than the others.  I chose one of these and went to work.

The unrolled veneer.
The next step was to actually glue everything up.  I decided to do one face of two legs at a time, clamping them both up together with some termite poop for clamping cauls.

Here is a photo of everything set up.  I have just poured glue on both of the legs.
Notice I'm working at the kitchen table.
I used a purpose-made glue roller to even out everything for a nice glue up.
This shot shows most of the tools I used.
I couldn't photo the process, but all I did was place the veneer in the orientation I wanted on the table leg.  I used that yellow roller (not a paint roller, it has a harder rubber surface) to flatten everything the best I could.  Sometimes the veneer shifts around at this point, so one must be careful it doesn't move too far out of position.

I found out that the veneer can curl up when you just place it on the glue dry.  No biggie, as it will be flattened down again when clamped up, but it makes it hard to tell if it is in the right place or if it shifted.  To fix this I just wiped the dry side of the veneer with a damp cloth.

Once that was done, I stacked them up so the two veneer faces faced each other, separated by some termite poop and wax paper.
The whole glue up.
Here is a shot of this table leg in it's eventual intended location.  How ironic!
The legs only required being in the clamps for an hour or so, according to the veneer glue I used.  I then repeated the process on the opposite faces of these two legs.

Here is the result:

fresh out of the clamps
No more ugly laminating lines!  Looking at these legs, it really is hard to tell which faces are veneered and which ones are solid wood.  You really have to look at the end grain to tell.

So far, so good.  We'll have to wait until the finish goes on to really be sure everything matches, but to my eye right now it appears to be a perfect match.

Two more table legs to veneer up in this way and I'll be ready to move on with this project.  Another two years and maybe the table will be done!

Monday, January 27, 2014

How To Clean Up Glue Squeeze-Out

It's easy.  Here's my secret:

Use hide glue.

photo courtesy titebond.com
Any hide glue does the same, but I had recently used this Titebond product, which I have had excellent results with. 

Today I had to clean up some leg blanks I laminated together for my walnut dining table.

Stop laughing, YES... this is the same table I have been working on for about two years.

Normally when I clamp something up, I use a wet rag to wipe off as much squeeze out as I can.  I can not remember having had any trouble doing this with hide glue.  I have heard some have had troubles with PVA glue showing up during finishing when wiped off this way, though.

When I did these legs, I must have been inattentive for this step, as they all dried with lots of sloppy squeeze out.  In fact, one leg looked like it had been painted with glue.

What to do?  I thought about scraping it with a chisel or some other tool, but I hate using my sharp tools for this.

Instead, I got a bucket of hot water and a rag.  I would have used my heat gun, but couldn't find it.  I realized that using it with a bucket of water might not be such a good idea anyway.

Duh.

But the hot water worked way better than I thought.  I just squeezed enough water out of the rag so it wouldn't drip everywhere, and laid it over the dried squeeze-out.  After a few seconds I just started scrubbing away.

Hide glue is reversible with heat and water, so it doesn't take much to clean it up in this manner.  That one board that was completely caked with hide glue was cleaned up in less than a minute.

Water will raise the grain, but after a glue up my work needs to be planed anyway.  After cleaning up this dried squeeze-out I planed a reference face and an edge with a handplane on each of the legs, then drove them over to Dictum to dimension in their power planer. 

Perhaps in another two years this stupid table will be done!

Sunday, January 26, 2014

Stool Build - Complete

After the first day, I spent a couple hours cleaning up everything, and applying a final coat of Dick wax to the legs and a coat of beeswax to the seat.


Trimming the legs in the seat.

A final scrape before finish.

Working on the stretchers.  I forgot to mention that the through-dowels were used instead of my intended mortise and tenon stretchers to save a bit of time.  I'm glad I did.
The through dowels were a design modification I decided to incorporate part way through the build.  I could see that processing rough stock to appropriate dimensions, cutting and fitting tenons and pounding mortices (considering the noise-making stipulations in our building), was a lot to expect for this one-day build.

I realized I had some store-bought 16mm beech dowels that would work perfectly with a 5/8" hole drilled with my brace.  No shoulders, no nothing else.  Just glue and a wedge, easy peasy.  We'll see over time if this joint is strong enough.  Had I all the time in the world, I would prefer drawbored tenons for this step, but I totally leapfrogged all of the time required for that joint in using the dowels instead.
Final trim on the stretchers.  After trying other tools, I decided the best tool for the job is a chisel.

This is a three-in-one shop appliance.  Besides sitting on it, it makes a fine extension to my sawbench...
And my tool chest.
Behold:  Stoolerable!
Thanks to Flair Woodworks for organizing this build.  It was a total blast!

View the rest of my Stoolerable build here.

Stool Build - 8:00

Glue up.

Not too much to say here.  I would say a picture is worth a thousand words, but I had no time to shoot photos of the glue up while actually doing it.  All you'll get is this one photo.

Not too many pictures of the glue-up.  I was busy.
I will say that applying a coat of wax first did greatly assist in cleaning up the squeeze out.  Also, the wedges did a good enough job of holding everything together without the need of clamping anything.  While I wouldn't yet trust it to sit in, it is plenty stable enough to continue a bit of the construction process.
If doing the stool early isn't cheating, is using a laser beam to get the stool the exact same height as my tool chest?

It looks like a stool!  This is as far as I got the first night.
Next up:  Finishing touches.

View the rest of my build here.

Stool Build - 7:00

It's weird how long a project stays in the "Almost Done" catagory, isn't it?

What next needs to happen is to prepare all the pieces that will get a wedge in the round tenon.  To do this, all that is required is to saw down the middle of the tenon.  This will leave a kerf wide enough to take a wedge.  To be on the safe side, I first drilled some holes with my eggbeater Millers Falls #5 to stop the cut, and hopefully prevent the wood from splitting all the way down.

Drilling a hole to prevent splitting during the wedging action.

Holes drilled.

Sawing the kerf for later wedging.

Hand-sawn wedges in beech.  Oh yeah!  I forgot to say the stool is in scots pine, with the stretchers and wedges in steamed beech.
Next up:  Almost done!

View the rest of my build here.

Stool Build - 5:00

Shaping the seat and some little stuff.

I had no thought as to what the final shape of the seat should be.  I decided just to design it on the fly at this point.  I thought leaving it square was a bit lame, so I sawed off the corners (once again at the exact angle of, "that's about right"), chamfered the sharp edges, and generally fiddled with it until I was happy.
Chamfering...

And a little wax before glue-up.
Next up:  Holes and wedges.

View the rest of my build here.

Saturday, January 25, 2014

Stool Build - 4:00

Time to see if Moby Dick works.

Moby Dick is formerly a home-made scrub plane I re-shaped into a compass plane for hollowing the seat.

I'm not counting this as a new tool since I spent no money to convert it.

I laid out the part of the seat to be shaped by sitting on it, and tracing around my bottom.  I then used a compass to even out my markings a bit. 

Will Moby Dick work?
Eventually, I decided this was a little uncomfortable and hollowed some following sitting on it to test the fit.  I found the most comfort by hollowing it out past the back.  It should still stand upside down easy, as the sides are still in a flat plane - I did not touch them with Moby Dick.
Seems to work great across the grain.


Clean up with a scraper.

Next up:  Fine tuning the seat.

View the rest of my build here.

Stool Build - 3:00

A guy's gotta take a nap, doesn't he?

After a little break It's back to work.  This stool will definitely need stretchers.

My original intention was to place the stretchers at the same height as my sawbench, in order to use it as an extension for longer pieces.  The multi-function is a great idea, but it would look weird having the stretchers so high.  Also, I'm not sure it would be structurally as good as having them lower.

While thinking about this problem the other day, I came upon the brilliant idea of laying out the stretchers to stand at the exact height of the sawbench - while the stool was standing upside down.  This is a great idea as not only will it mean it can accommodate wider boards, but the stretchers will be farther down for stability, AND it will be easier to lay out.
Use a pencil to mark where the top of the stretcher should go (or bottom, depending on your preference for the perspective.  The point is when it is upside down, the stretchers are at the same height as the sawbench).

One in already!

Here's how I did it.

Using a bevel and a brace.
They might need a bit of adjusting, but they are all in!
Next up:  Shaping the seat.

View the rest of my build here.

Stool Build-Off - 1:00

I decided the next step was to drill the one-inch holes in the seat for the legs.  Here is the beauty of hand tools:  I measured not one angle.  I set my gauges by eye, and kept them there.

The front legs do not stick out.  They angle only enough to bring the feet about even with the front of the seat.  The back ones angle a little more, to increase stability a little.  This stool should store away nicely.

A couple of bevel-gauges.
I picked these numbers because they looked about right.
This is precisely the angle of, "it looks about right."
Using the bevels to eyeball a brace and bit.
A couple of wonky angles, but hey!  It's my first Windsor chair!  I fixed these by rasping the edges of the hole a bit, and during glue up wedged the crap out of it.
Marking out the new shoulder.
Trimming the new shoulder.
Surprise, surprise!  It worked!  It's starting to look like a stool!
Next up:  Stretchers.

View the rest of my build here.

Stool Build - 12:00

I forgot to mention my parameters for this project.  Besides the ones set out by the build-off itself (build in one day), I imposed some of my own limits:
  • I want to use only lumber I already have on hand.
  • I want to use only tools I already have (no new tools just for this).
  • The stool should have a small-ish footprint to avoid being more trouble than it is worth, as my shop is only about 100 square feet in size.  I'll call it a bonus if this stool fulfills multiple functions to earn it's real estate in my shop.  Bonus #2 is if it happens to look nice.
It should be easy enough. Right?

I settled on a rough shape similar to a bar stool I saw at work.  Except, instead of being engineered to be mass produced cheaply, mine will essentially be a Windsor chair.  At least, it will have a solid seat that the legs bore into.

If this is what I want, I need to make the ends of my legs round.
A triangle to keep the legs in order.

I'll attempt to find the center of this 8-sided shape, so I can draw a circle.

Close enough.

This is a temporary shoulder.  It is square, and once the leg is installed, it will need to be trimmed to whatever angle the leg happens to be at.

Ready to make the end a dowel.  I'm sure there are some great tools to do this with.  I don't have them, so I'll use a chisel, a rasp, and whatever else I can find to do this the old-fashioned way.

So far, so good!

It fits in my test piece!
Next up:  Fitting the legs to the seat.

View the rest of my build here.

Starting the Stool Build - 11:00

Sometimes life deals lemons.  In this case, I am stuck at work all day today and all day tomorrow.  No time to be in the shop at all.

How am I going to build a stool today?  The answer is:  I already did!

I freely admit that I completed this stool earlier in the week.  Monday was a federal holiday, and also the last day I had off before the build off.  You be the judge!

To keep with the spirit of the Stool Build-Off happening today, I will post my progress from Monday in real time, as if it were today.

A side effect of posting now having done the build on Monday is I only had to take some pictures of the project while it was in progress.  I got to spend the rest of the week setting up the blog posts to go with the build.  I think this results in a much better chance of my writing being intelligible as opposed to trying to write and post during the build itself.  I'm pretty sure I would not have been able to post anywhere near as much content if I did both simultaneously.

This series of posts will come out mostly every hour until the build looks complete.

Here is my progress at about 11:00 am last Monday:

I started the day yesterday with the intent of cleaning my shop and sharpening all of my tools so all I would have to do is get up, run down to my shop and start hacking away.

Intentions are good.

Here's what really happened:  I didn't get anything done the night before at all.  Even worse, for some reason I did not get to sleep until the middle of the night resulting in my early jump down to the shop not happening until about 10:30.

Oh, well.  We must all endure.

One of the reasons I was hoping to get started early is that one is not allowed to make noise in our apartment building except between the hours of 9 a.m. to noon, and then again from 3 p.m. to 6 p.m.

Hand tools are mostly quiet, except when it is time to bang on something with a mallet or a hammer.

Getting a late start pretty much killed any chances of pounding mortises before three o'clock.

Luckily, a few days ago I got my stock roughed out to size.  I started playing with my new Moxon vise and planed all of the legs into octagons.  Actually not octagons because the legs are not square, but wider on one face than the other, but with a deep chamfer on each corner.

I marked out lines with a pencil to define chamfers.

First chamfer  done.  The Moxon works well for this.

Another view of the front.  I had to change what I was using for spacers to allow for optimum results.

One done, three to go.
Next up:  Making squares round.

View the rest of my build here.