Sunday, January 21, 2018

Winding Sticks Epilogue - Fixing a Screw Up: Part II - Fixed

Yesterday I realized that I really can't be happy with a giant gap in one of the inserts for my pair of winding sticks. I decided to fix it. I'm happy with the results:
I left the new insert clamped up overnight. Today I removed the clamps to inspect my handywork.
This looks more promising.
I left the two winding sticks in direct sunlight this morning for 1/2 hour or so to see if it would darken up a bit.

After I got back from doing my things this morning, I shaved the insert flush with the winding stick.
I'm pleased with this.
It's not perfect, but it is much better.

On went some of my special home-made BLO, and I am in business. This linseed oil is phenomenal. The best I've yet used. I'll definitely have to make some more.
Very nice BLO.
After all was done, I noticed the mystery wood that was in the sun was already remarkably darker than the new one.
Above with a suntan, below without.
Over time I expect the orange wood will turn a nice, rich color of deep brown. It should work great.
Here it is.
In case you wondered what to do with these sticks, they are for measuring twist in a board you are planing.
In use.
Notice that I just set them on the stick I am planing (using the center dots to help balance them there faster). Then it is just a matter of lining your eye up to see if the outer parts line up like in this video:
They exaggerate the twist in the board to let you know where you should focus planing in order to make the board truly flat. This stick I am testing is a real-world example, and the exact reason I felt I needed these winding sticks. Now I know where to plane to get it flat.

If you would like to read the post about the construction of these winding sticks, click here. Next up: more work on the brown oak Shaker side table.

Saturday, January 20, 2018

Winding Sticks Epilogue - Fixing a Screw Up: Part I

One of the inserts in my newly constructed winding sticks turned out pretty ugly. You'll notice I didn't have too many close-ups of them in my last post. These winding sticks will work just fine (in fact, the inserts are overkill, in my opinion), but I realized that every time I use them I will be embarrassed of the giant gap in one.
Giant Gap.

The others, while not perfect, look pretty good to my eye.
I decided that since the inserts were attached only with liquid hide glue, it should be easy to fix. I decided to remove the insert, make a new one and replace it.

Incidentally, I am extremely happy with how my center markers turned out. I drilled all the way through each stick, and inserted a 4mm bamboo skewer.
I think these bamboo dots look great.
Back to scheduled programming: I used some hot water and a blow dryer to weaken the glue holding the insert. I then popped it out with a chisel being careful not to bruise the sycamore, as I didn't want to re-cut this joint. The mortise itself is pretty good.
Insert coming out.

Insert out.
I have plenty of this insert wood for lots more inserts, so it was just a matter of cutting a piece a little oversize.
Oversized insert stock.

I split it to rough width with a chisel.
I wound up with a piece a little oversize. Once the glue cures, I will plane it flush for a perfect match.
A bit oversize.
If you wonder how I plane with only my two sawbenches as work surfaces, here is a photo of my setup. I put one sawbench near a corner in my office, and use a piece of wood with a birdsmouth cut out of it as a planing stop that is braced against the corner of the wall. If I need a longer worksurface, I just add another sawbench behind the first. I also added a strip to my planing stop to act as a shooting board. It works perfectly.
Shooting the ends of the insert to sneak up on a perfect fit.
I also slightly beveled the underside of the insert, so any dreck will not interfere with a tight joint where it shows.
It has the potential to be nice and tight.
All that's left is to add some glue and clamp it up.

And, cross my fingers that it doesn't move again. I think the C-clamp is what caused the problem before: I probably used too much clamping pressure.
Hopefully this clamping strategy will get it to look nice and tight.
Come back tomorrow to see how it turned out! I will take the clamps off, plane it flush and add some more finish. If all works as I hope, it will be a perfect repair!

Thursday, January 18, 2018

Winding Sticks

It's been quiet on my blog. Not because I haven't been doing anything, but because processing rough lumber by hand isn't so interesting. I'm hoping to get back to blogging about my brown oak Shaker side table once I can do some actual joinery.

One thing I have been missing while I'm trying to cut out some legs for the table is a pair of winding sticks. I decided I must have some for this project, so I made a pair.
My version of winding sticks.
I had some nice sticks of air dried sycamore, as well as some reddish mystery wood for inlays. It could be goncalo alves, but I'm not sure. The hope is that these two woods will contrast nicely for years to come.
Two sticks of sycamore, with center buttons installed.
For center buttons, I decided to use the quick and dirty hillbilly method inspired by Greg Merritt, which means bamboo skewers. I found some really big 4mm ones a while back and have loved using them for things like this.

I used my eggbeater drill, and after accurately marking the center point on each side of each stick, I drilled in half way from one side, flipped them and drilled the rest of the way on the other. This method worked perfectly for me. Zero tearout, and the skewers filled the holes perfectly.
Bamboo skewers to mark the center points of the winding sticks.
I could have made some dowels of the same wood I used for the inlays, but I already had the bamboo dowels. Less work won out. It's a light color similar to the sycamore, but they are clearly and easily seen. The purpose of them is to give yourself an aiming point to center them. If I am edge jointing a piece of wood and want to check for twist, I stick the winding sticks on the edge of the board. The dot makes it easier to balance them in use.

I chopped out space for the inserts with a chisel and mallet, used hide glue and clamped them in.
Clamp on the insert.
I left the rough parts to the outside, and glued the flat parts to the cavities I just made. I figured there was no need to plane them twice.
All glued together.
If you were wondering what ever happened to that raw linseed oil that I processed with sea water last year, it turned out real nice. I decided to use it on this project.
My home-made BLO.
This was a great little project, and a good opportunity to practice accuracy. They are far from perfect, but they will work until they warp too bad. Then, I can make some more!

UPDATE: I wasn't too happy with one of the inserts, so I removed it and replaced it. If you would like to see my blog posts on that, see the next post.

Monday, January 1, 2018

Another Shaker Side Table - Part I - Resawing

A few months back I got a package in the mail. A fellow woodworker sent me three nice hunks of gorgeous quartersawn chocolate brown oak. I originally wanted to use it to make a staked coffee table, but this oak was too nice for a project like that.
Freshly re-sawn panel that will hopefully make an 18" x 18" panel.
The nicest piece of furniture we own that I have made is my cherry Shaker side table.
My Shaker side table in cherry that I made a couple years back.
I used an inordinate amount of lumber for that side table because I tried to choose the best parts of the wood I had in the perfect orientation for that piece. It paid off big time. The above picture looks a bit off, because the base sat a long time before I finished the top and drawer. When it was done, those parts were much lighter in color than the rest. Over time, the whole thing has darkened up nicely, and looks more beautiful every day. Unfortunately I have no picture of it in this state.

The biggest lesson I took from that build was that wasting all that lumber was no waste at all. Grain orientatioin and the thought put in to what grain goes where made all the difference.

Having these beautiful oak boards, all about 1 3/4" thick, is plenty of lumber for this table, as long as I can squeeze everything out of these parts. Since this is all gorgeous quarter sawn wood, I think that it will work.

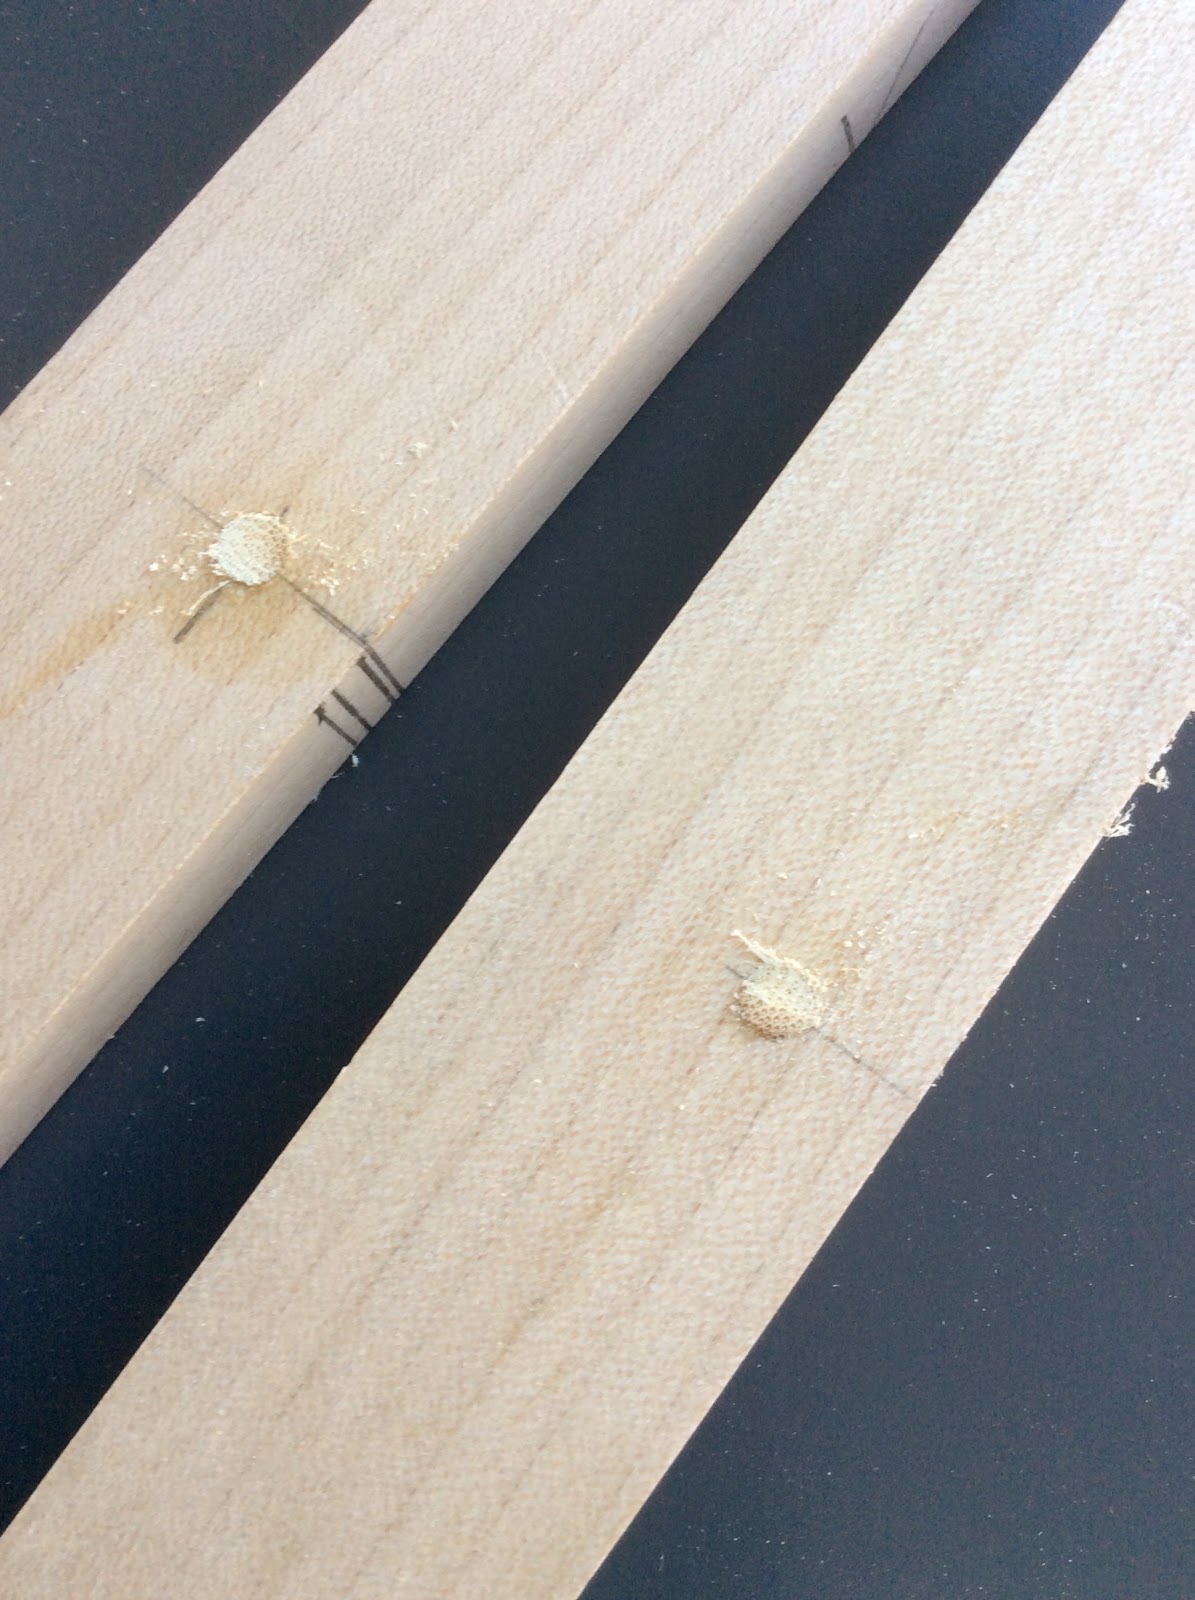
I spent some time deciding which boards are going to yield which parts. I had briefly thought of resawing the widest piece, to get a panel about 11 inches in which I would take the center of a three piece lamination to make an 18" wide panel for the top. I eventually decided against that, because that wide piece has the straightest grain and will make the best leg stock for the table. The narrowest piece will yield two nice resawn pieces wide enough to get the 18" square top. The grain on this piece had the most pronounced curvature to the grain of the three, so I chose to mark out  and crosscut the piece where the curvature makes the least impact. I haven't decided yet if I'll glue those two boards up to be bookmatched or one next to the other. It all depends on what the final look will be like.

The apron boards and the drawer front will come from the third piece that hasn't been mentioned yet. Resawing that board will yield four nice boards for that purpose.
I've started by crosscutting one piece in order to get the length to size before resawing.
All this resawing is the purpose behind my recent purchase of the giant Dick saw. It is the Ryoba that is 300 mm long, has a much thicker sawplate and larger, more aggressive teeth. It should work well for this.

The reason I bought it is I couldn't get my Diston D-8 that I usually use for resawing in my suitcase, and I didn't want to build a framesaw for the purpose before starting this project. The saw was about 40 Euros from Dictum.
My set up for kerfing my wood before resawing.
I have been thinking a lot about a kerfing plane. I think getting a good kerf all around a piece of thick wood is a great trick for keeping everything aligned for resawing. I thought that perhaps instead of using a kerfing plane, which I didn't have, I could clamp my Dick saw an appropriate distance off of my bench and run the wood past it.
After some experimentation, I discovered kerfing with the crosscut teeth worked better.
With the blade removed from the handle and clamped firmly in place, I just pushed the wood past the blade until there was a kerf around 1/4" deep or so all around the piece.
Pull the wood past the clamped blade.

It seems to work really well!
Once that was done (and I think with some practice it could be done freehand), it just took some creativity to clamp the piece to my sawbenches (my only work bench surface) in order to saw away.
Deepening the groove on the end grain.

Deepening the groove on the long grain.
With the kerf cut, it is just a matter of sinking the saw in the kerf and connecting the lines. Yes, it sucked, but it was much quicker than waiting until I befriended someone in town with an appropriate bandsaw setup.
The giant Dick saw actually seems to cut fairly efficiently.
Once I started making progress, I wedged the cut parts open with my shop knife.
For scale, the wood is a bit over nine inches wide.
I thought I might have to spend a couple days resawing this wide piece, but it was actually finished in a relatively short time. This was the hardest cut of the whole project, so it will be downhill from here.
All the way through!
As you can see from the first picture in this post, the cut turned out exceptionally well, in my opinion. I think this was the smoothest resaw cut of a wide board I have ever done. The thicker plate on this saw did a nice job of keeping the cut straight. No humps or crazy saw marks!
That's enough work for me for today.
I clamped the pieces up just in case the inside of the board was a different moisture content than the outside. If it is, it could cup as it dries. However, I'm not too worried as I think the wood has been well dried, and it is quartersawn, which should resist cupping.

Over all, I would have to give this giant Dick saw a positive review. It might not be my first choice for resawing a nine inch wide board, but in my circumstances it worked perfectly. I recommend it if you find yourself in a similar situation.

Next up, resawing the aprons and ripping the legs!