If you are wondering why this post is called
My Cribbage Board, it is because although I've made several cribbage boards, I actually don't have one of my own. The Frau hates playing cards with me because she always loses, so she has no interest in learning cribbage. Unfortunately, hardly anyone in Europe plays cribbage, so I haven't really needed one.
I figure I ought to have one, though, just in case. I usually make these as gifts. This one will be mine.
At least for now.
The two pieces, as we've seen in
the last post, now fit together.
 |
| It just happens this opening is sized perfect for my hinge. |
I had a nice, Spanish made brass butt hinge laying around, so I decided to use that. It was a coincidence that my cut was just the right depth for this hinge. I think I may have used it as a guide for the width, but I don't really remember.
 |
| Just a little of the one side needs to be removed to fit the hinge. |
After marking where the hinge goes, I sawed to the line and split the wood to depth.
 |
| Just like splitting a tenon. |
In short order, it fit.
 |
| Looks good from here... |
 |
| and here... |
 |
| but not so good here. |
To get the hinge to close perfectly, I had to plug the screw holes with bamboo skewers, re-drill and try again.
Three times.
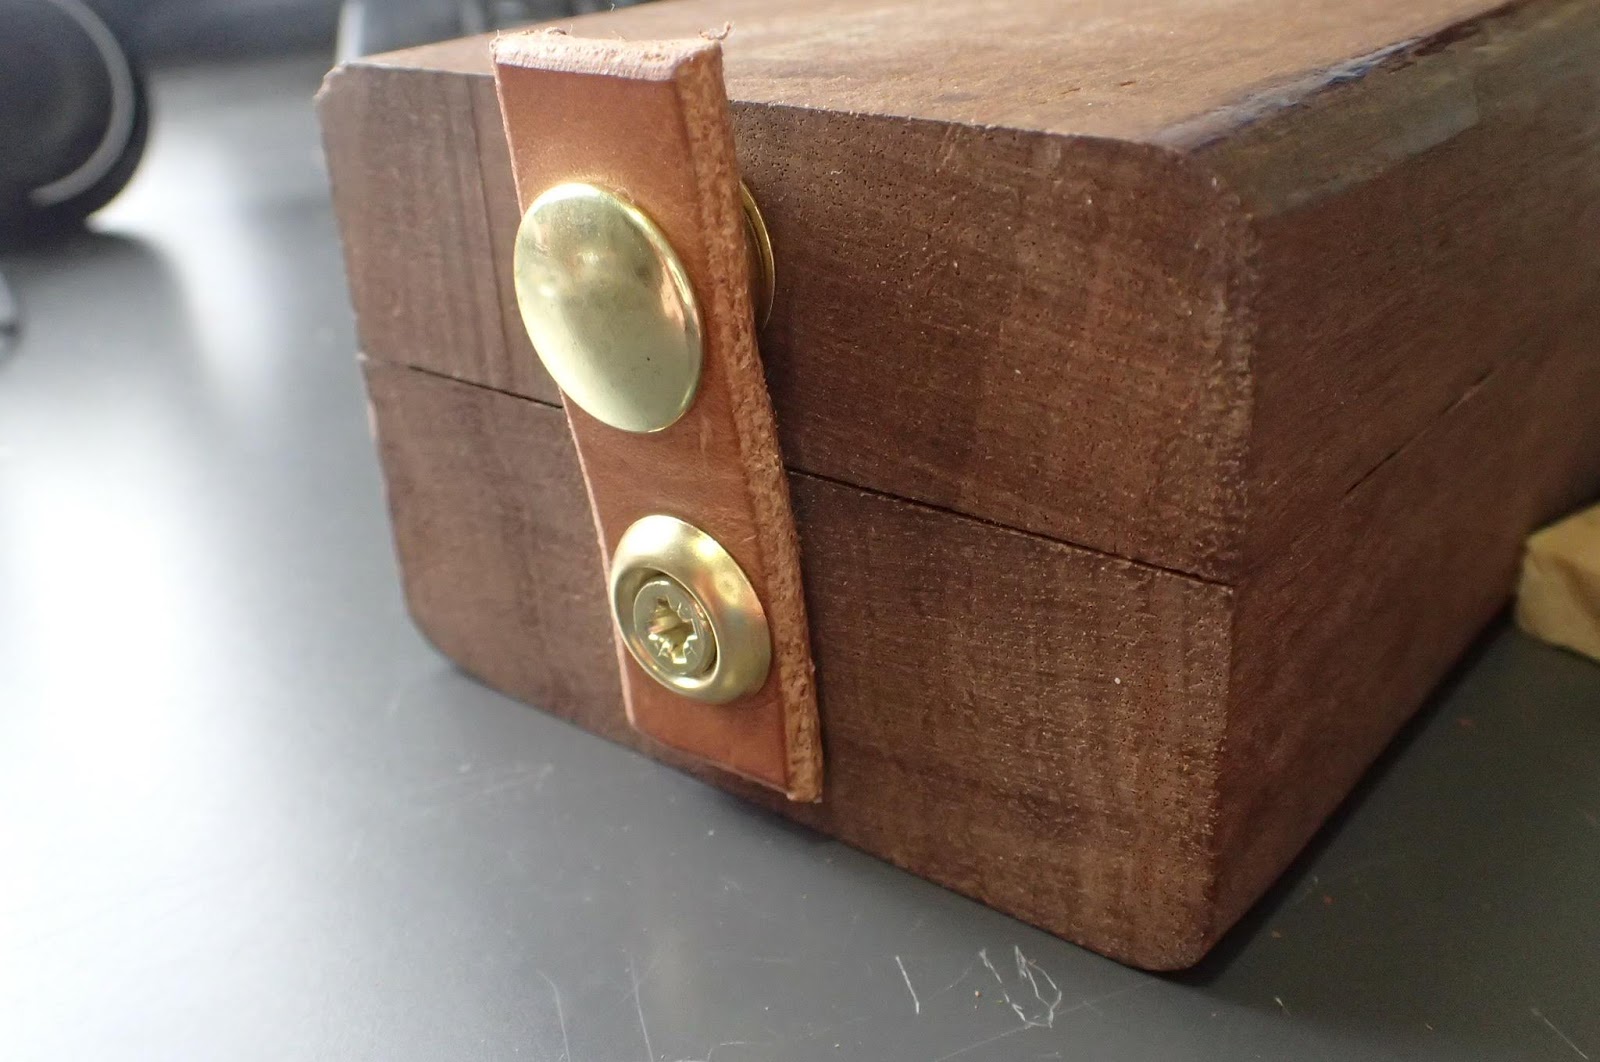
I finally got everything to fit and close nicely, and made a leather snap to keep the game closed.
 |
| The ugly screw is temporary. |
Now that the mechanics of the cribbage board work, I turn my attention to laying out the holes. I don't like to use templates for this, as I make every cribbage board one at a time, and they are all unique. More often than not, I choose how the holes go in to fit the piece of scrap wood rather than trying to cut a piece of wood to fit a template.
To do this, I mark out the rows with a marking gauge, and step off the holes with two sets of dividers: one for the distance of the groups of five, and the other for the distance between individual holes. After the holes are drilled out, I plane the marks away.
 |
| I made six lines for the rows. It will be a three-handed board. |
 |
| Next I step off the holes, and use a knife to mark all of the other points. |
It took a lot of trial and error to get the steps to line up so the holes worked with the break in the board where the hinge is. It just happens to break in the middle of a group of five, but I didn't have to adjust the holes so it would look weird. I'll just have to be careful to drill the holes straight to avoid a blowout.
After the cross marks are made with a knife, I used an awl to dimple the point where the brad on my drill bit will start the hole. If I was careful with the layout, it will look very uniform.
 |
| The finished layout. |
The next and final post for this project will show me drilling holes - nearly 200 on this board - and finishing. You'll be intrigued that I used spray paint and nail polish.
Really!
Stay tuned!
Check out the first post in this series
HERE.


No comments:
Post a Comment