Showing posts with label Finishing. Show all posts

Sunday, January 20, 2019

Different Linseed Oils Tested - Surprising Results!

I love boiled linseed oil (BLO) as a finish. Also paste wax. For me, I finish 90% of all my projects with one or the other, or both.

Over the years, I've tried several different kinds, with the exception being raw linseed oil. I've never used it as a regular finish. It's time to put them to a head to head test.
The contenders.
For this test I used four different batches of oil:
  1. raw linseed oil 
  2. Off-the-shelf BLO
  3. Home-refined linseed oil - batch 1
  4. Home-refined linseed oil - batch 2 (from the previous post)
Test material is some brown oak scrap.
To test these finishes I used some scrap brown oak I had laying around. Brown oak reacts very well with BLO, so I knew the finish would be dramatic as opposed to using something like maple, which doesn't darken as much with BLO.

I took a single stick of brown oak and cut it into four pieces, so they all should be very similar. After cutting it and thinking some more, I decided I needed one more piece as a control. I got another piece from a second stick of brown oak originating from the same tree, only this one is a bit more quarter sawn than the others. I don't think this affected the results much.

First, I should explain how I apply a BLO finish, which may or may not be how you do it. I see some people really take care in applying it, using many coats and sanding between coats.

Not me.

Normally all I do is slather a bunch of oil on the wood with a rag or a paintbrush, or whatever is handy. I wait ten or fifteen minutes, then I wipe off the excess and buff it out with a clean rag.

It's not often I use more than one coat this way, unless there are obvious dry spots. Usually, after several months, the oil finish starts to get a bit dingy looking, and a fresh coat of oil applied the same way freshens it up.

For this test, I decided to apply one kind of oil on each of four different scraps, front and back. I then waited a day or two and applied another coat, just to make sure everything was applied nice and even.
The first coat of oil absorbing into the wood.
Here is what I expected to happen with this test:
  1. All of the test pieces would eventually look very similar.
  2. The raw linseed oil would take much longer to dry.
  3. The store-bought BLO would look like an inferior finish.
  4. My home-made versions would be clearly superior in every way.
Let's see if my expectations are reality.
I honestly can't see the difference after the first coat.
I expected all of the finishes to look about the same. What I didn't expect was that all four of them were dry enough to move onto the next step at about the same time. I've always accepted what I've read about raw linseed oil taking up to 30 days to cure. My experience here is that while the store-bought BLO was dry to the touch after buffing the fastest, the others were dry to the touch only a matter of a few minutes later.

This I didn't expect at all.
My home-made paste wax.
I also made some paste wax. I used one part beeswax and three parts of my original home-refined linseed oil, less 10% which I replaced with orange oil to make it smell nice.

My plan with the wax was to leave one side of the test pieces finished with only the linseed oil, except for test piece #5, which is left in the white.

The other side of all five sticks would get three applications of my paste wax. I apply a light coat of wax, wait about 15 minutes, then buff it off with a clean cloth.
The sticks with the unwaxed sides up.

Closer view of the BLO-only sides. They all look the same, except the unfinished one.
The wax went on beautifully. My only complaint about the wax is that it got a bit too runny for my taste as I was applying it. For the last application, I added 1% carnauba wax to my recipe which firmed it up nicely. Next time I might try 2%.

I applied the three coats of wax and left a day or two for the wax to cure between coats. I was a bit surprised that the wax darkened the un-BLO-ed piece nearly as dark as the others. Giving it some thought, it makes sense because most of the paste wax is my home-refined linseed oil.
All five pieces with the oiled and waxed sides showing.
The finish with the wax looks great, and feels very smooth, and has a beautiful soft matte sheen. The oiled-only side looks great, too, but feels a bit more like bare wood.
Close-up of the oiled and waxed sides.
To most clearly see the differences, I took some close-ups.
Home-refined oil #2 and wax on the left, wax only on the right.

Home-refined oil #2 without wax on the left, unfinished wood on the right.
What did I get out of this test?

I spent a lot of time and effort making my home-refined oil, and raw linseed oil doesn't take significantly longer to dry on wood.

Really?

Clearly, I'll have to use raw linseed oil a lot more in the future to see if it really is this easy.

I  used a high-quality raw linseed oil with no additives. It is the same thing as flax-seed oil, if you'd rather get it at the health food store.

All of the finishes look pretty close to the same. If this is the only concern of yours, I'd go for the big-box BLO. The other oils are much nicer to apply and use, because they don't smell of artificial chemical dryers that make BLO stink. After a few days of air, the finish will completely cure and be odorless.

If you are worried about a food-safe finish, the natural oils probably all will be safe. However, Bob Flexner says that any finish is food-safe once it's cured. I have no problem using BLO on a cutting board, but you might be more picky than me.

Another bit of information I've found out since my last post, is that one woodworker used a refining process similar to mine for his raw linseed oil, but only left it to cure in the sun for one day, rather than all the months that I did. A super clear version of linseed oil might be desireable for painting, but perhaps it isn't as valuable of a quality for a wood finish. My next batch of home-refined oil will reflect this.

But first, I'm going to find out if raw linseed oil will work for me. That way, I can get all the benefits right out of the jug it came in.

If you have experience with BLO, sun-bleached linseed oil, raw linseed oil, stand oil, or something like that, I'd love to hear your thoughts in the comments.

Sunday, January 6, 2019

Making My Own Cold Bleached Linseed Oil: Part II

About two years ago I wrote on this blog about an experiment refining my own raw linseed oil. This post generated more feedback than any other I've done. It's weird that I haven't written about this stuff since.
Today I bottled up what I made in my second batch that I started about a year ago.
Take your pick: a Maß or a caña.
I was able to get about two and a half liters of the finest BLO type finish I've ever used. I love this stuff because it doesn't smell like chemicals (but it does smell like the Mediterranean Sea), It covers wood nicely, and it dries quickly (and then is odorless).

I think a better name for this stuff should be: Refined Linseed Oil. It's great that it can be done at home.


This time I did things only a little differently. I started by buying a five liter jug of raw linseed oil (good stuff from a boutique shop). I couldn't find the lid to the big jar I used last time, so I went and bought three more.

I bought plastic ones because they were cheaper. This was a mistake. It worked out alright, but I was continually worried that they would come apart while shaking, and there was indeed some leaking. Next time I'll make sure to use glass jars.
Plastic jugs for refining the oil this time. Do yourself a favor and use glass jugs.
Just so you can see the difference, here is a picture of the stuff I made last time next to the jug of raw linseed oil.
Refined vs. raw.
Last time I went to collect sea water and sand from the beach when it was a bit stormy. This time I got some water and sand that was much cleaner to start with. These materials are easier to clean before starting the refining process, and the final product smells only a little like the Med, as opposed to smelling like sludge water from the harbor.
These raw materials were far superior to what I used last time.
A bit of sand in the bottom of each jug, a liter of seawater and a liter of linseed oil in each jar. Shake like crazy and wait. Plus, I still have about two liters of raw linseed oil to make some more.
Freshly shaken mixture.
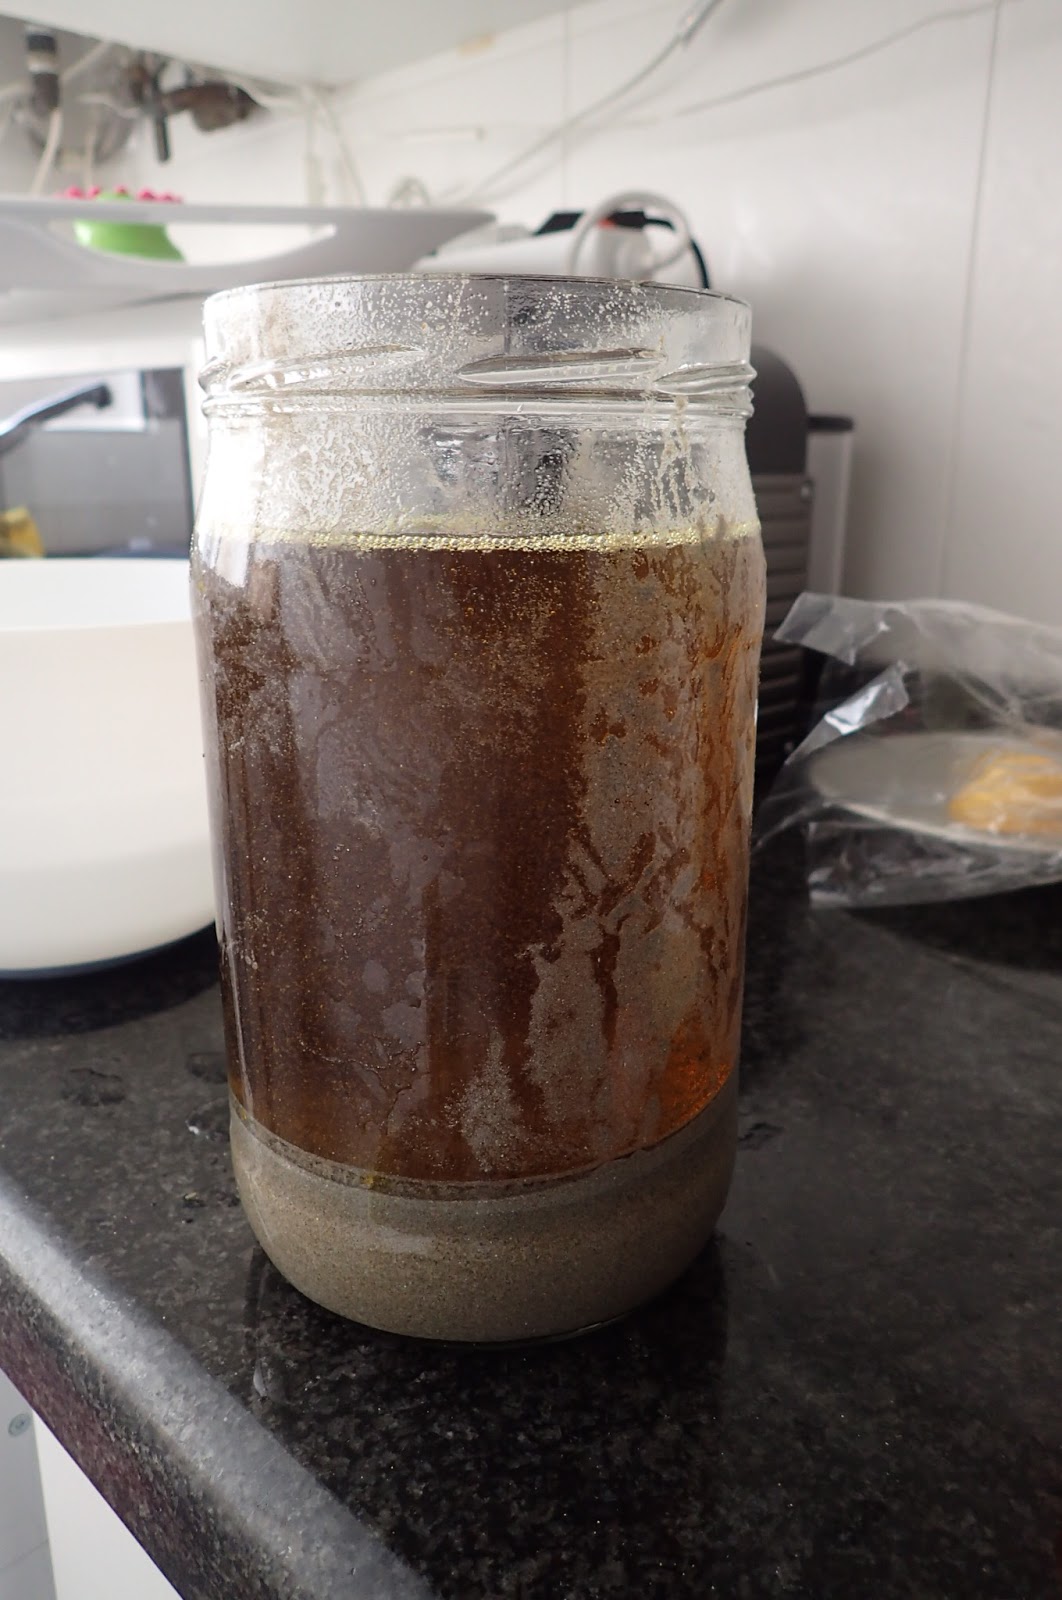
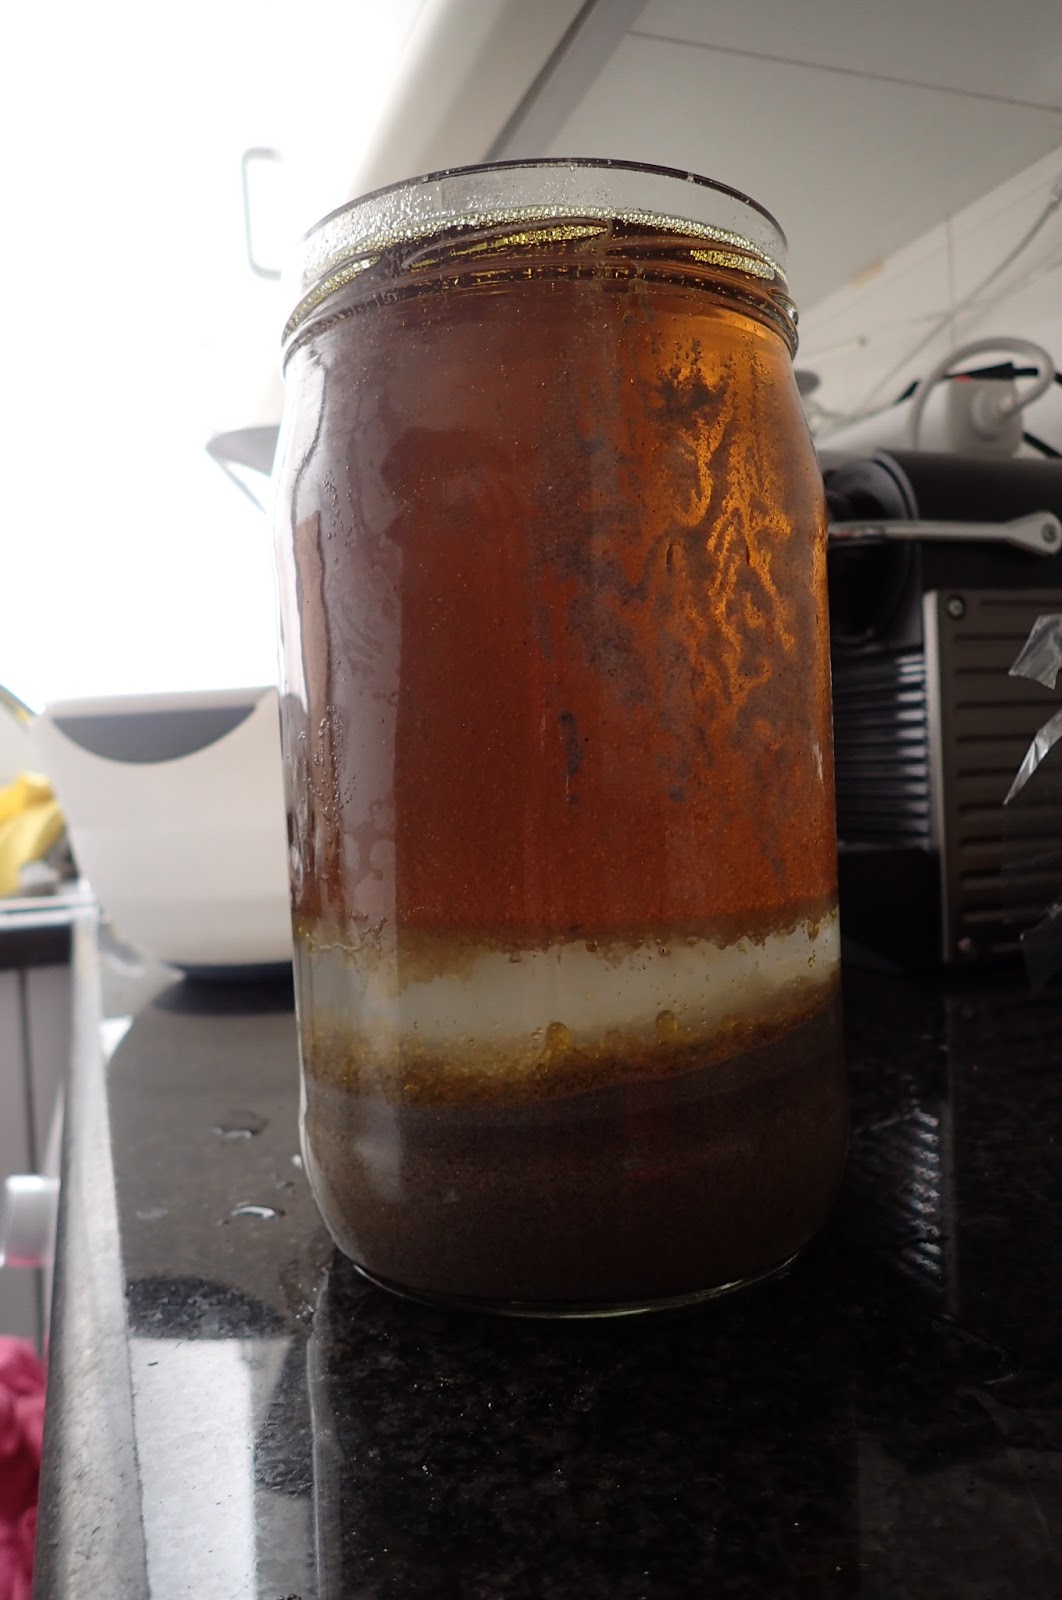
After a while you can see the oil floating to the top, above a layer of fat that we are refining out of the oil. The clear stuff is seawater and there is sand on the bottom.
After an hour or two.
This time I left each iteration to rest a day or two. You can clearly see the layers in this photo.
A day or two later.
Here's an interesting photo: It shows how quickly things start to work. The one on the right I haven't shaken yet, the one on the left was shaken and rested about five minutes, and the one in the middle I have just finished shaking. I think this was after the first shaking, I racked off the oil on top and mixed it with plain seawater - no sand.
Different stages.
After doing this for a few weeks (and couldn't be bothered doing it any more), I put the resulting oil in glass jars and put them in a sunny room where they wouldn't be bothered. They stayed here for about ten months. I left the lids off completely for a few weeks, then just rested them on top to help keep debris out.
Let's wait for the sun to do it's part.
The idea is sunlight does the last part of the process, which is to make the oil lighter in color. I think if all the fat is rendered out of the oil, the sun will eventually turn the oil colorless. The color I am at is just fine for woodworking, artists making oil paints might want it a bit clearer.

It could also be that the area I put the jars didn't get quite enough direct sunlight. The sun shines in that window only a few hours every morning.

Once I collected the jars from their resting space, I filtered out any debris that was in the jars. I just ran the liquid through a clean shop towel, and in about ten minutes it was all done.
Straining debris from the jars of oil.
Much of the debris in the oil already collected on the bottom of the glass jars, and since I poured the oil out as gently as I could, it stayed there.
It looks like Weinstein - the debris that is sometimes at the end of a bottle of wine..
I decided to keep the oil in plastic jars that I bought especially for this purpose, because they do better on the bounce test with the tile floors in our apartment. I'll keep an eye on them and if the plastic starts to degrade I'll switch them over to metal or glass containers.

It was an accident that they now look like the urinalysis cups that we used when I was in the Army.
New batch on the left, old batch on the right.
I have enough raw linseed oil left over for one more batch.

I really like this stuff. It has no harmful chemical driers, and only smells like seawater for a day or two after it is applied to a wood project. So far, it works just like BLO, without the toxic smell. With the exception that I haven't come across the need to apply more than one coat.

One might find it a bit thick, but you can mix it with turpentine to thin it out a bit, something I've done with BLO before on first coats. Usually, however, I just slather it on my project, wait a few minutes, then buff it out with a dry cloth.

The first batch I have been using by itself, and I plan to experiment with this batch mixing it with some other things to try some other finish recipes that usually include BLO. I'll report how it works.

I would certainly recommend this to anyone who wishes to try something a bit different. I think the resulting oil is of higher quality, and a lot safer and pleasant to use. The process is simple and easy, but it does take some time and patience.

If you have no access to sea water, I'm pretty sure a heaping tablespoon or two of table salt in tapwater would work just fine. I've also been told an alternative to clean sand is kitty litter. Perhaps I'll try it this way someday when I get back to Munich.

Check out my original post for more info on the process.

Finally, some of the comments on the last post suggested a much simpler alternative to this process is just to buy plain old stand oil. I'm told it is a similar product. I promise I'll get some and do a comparison one of these days. I've also been told that it is a bit different than regular stand oil, and is instead comparable to this oil (the German translates literally to "sun-thickened linseed oil), which is 234 Euros per liter at the time of this writing. For obvious reasons, I'll not be comparing my oil to this stuff.

Give this a go if you'd like to try it. I'm sure you'll be happy with the results. If you do, please let me know your experiences with it.

Thursday, April 26, 2018

Plane Rehab - Record #071 Router


I like it.
I have a project coming up that has sliding dovetailed crossbattens in hard wood. I am a big fan of doing things like this with minimal tools (i.e. only a chisel), but I thought I would treat myself to a new old tool:

A router.

I about had a heart attack when I started looking for routers on eBay. The last time I looked, they were a dollar a dozen. Not anymore.

I had considered buying a new Veritas or Lie-Nielsen, but I already have one of those in Munich. (Just wait, I bet I'll have been back to Munich and had the opportunity to fetch it before I get to the project with the sliding dovetails.) Also, few retailers in Europe happen to have them at the moment. I bet I could sell my Lie-Nielsen here for a healthy profit, if I could get to it.

I was able to find a router on British eBay, and the seller was willing to ship it to Spain for a reasonable price. This one was more than I really wanted to pay, but because it was Record and not Stanley, I saved fifty bucks.

After a short wait, this arrived in the mail:
I was happy with it. It looks better than I expected.
The plane was in remarkable shape. I would say 95% japaning is intact. 105% if you count the yellow paint. Some of the parts turned rough, and there was a small amount of surface rust that I wanted to get rid of.
Broken down. Time to clean it up.
I decided to turn my attention to the knobs, first. My thought was this was the hardest part of the rehab. It turned out to only take an hour or so. I went through the grits with sandpaper, 120-240, then burgundy and gray 3M pads.
Wow! Not bad.
I was worried as most of the "experts" on YouTube do this on their lathe, or with some other power tool. I was just careful, and sanded the least amount possible. I couldn't tell before, but now I see the wood is actually stained beech. There was only a few little spots where I sanded through the stain. I had considered staining them again, but decided since I have no stain, I'll just go with what's there.

I finished them with a dunk in my home-made BLO, and topped it off with my home-made beeswax and orange oil wax. What a nice finish. Nothing stinks.
Before and after brass knob bolts.
I considered polishing up the brass screws, but decided in the end to only clean them up with a bit of liquid scouring goo and a toothbrush. This eliminated all the dirt, but left the patina.
In situ.
This didn't take much time, so I next turned my attention to the metal bits. Since there was no heavy rust, I cleaned everything with the same scouring goo and a toothbrush. What needed it got a soft wire brush. I've always liked this way of rehabbing planes, as 1) it's easy, 2) it is not invasive - it leaves the plane in the condition it was found in, only clean, and 3) it's easy.
After.
The hardest thing I did with this plane was sharpening the blade. That only took 20 minutes, and it's not perfect. However, it should service. The more I sharpen the blade, the better condition it will get over time.
071, or o71? That is the question.
This is a solid plane, and I expect it will work just fine. I like the depth stop on my Lie-Nielsen better, but I like that there is a front "foot" on this one. The LN probably adjusts in finer, more accurate increments, but I expect with a little fiddling, this one should work just as well.
I think it turned out nice.
I look forward to getting to know this tool, and when I am eventually re-united with my Munich shop, I might sell one or the other.
I kept the yellow paint. It's part of this tool's history.
Or, I might not.

Thursday, February 23, 2017

Experiment: Making My Own Cold Bleached Linseed Oil

I was always happy with standard boiled linseed oil (BLO). It's got a lot of great things going for it: it's widely available at any hardware store, it looks great as a finish on it's own, it can be combined with other things to make different finishes, it makes a great wipe-on finish, etc.

My only beef with it for a long time is the smell.

It turns out that BLO isn't boiled at all. Nowadays, raw linseed oil (which works as a finish, but takes weeks to dry making it unhandy) is mass produced by adding metallic chemical drying agents such as manganese and cobalt which through the magic of chemistry makes the linseed oil dry relatively quickly.

A quick internet search produced a Material Safety Data Sheet (MSDS) for some BLO, which includes this:

Effects of Overexposure:
Inhalation:  Vapors may cause irritation of the respiratory tract.
Skin:  Prolonged or repeated skin contact may cause irritation or dermatitis.
Eyes:  Contact with eyes may cause burning and tearing.
Ingestion:  Ingestion of large amounts may cause gastrointestinal irritation.
Chronic:  Not Available.

Overall, it looks pretty safe. But not totally. I wouldn't drink it.

Then, I was ruined by Dictum. They sell a Swedish cold-bleached linseed oil.
Linseed oil from Dictum. Also, some great smelling turpentine balsam, and some natural tung oil from Denmark.
This stuff is great. No chemicals, it smells great, and it works fantastic! After a little bit of research, I think I know how this was made, and I am going to try to replicate it in my apartment.

What could go wrong?

The first thing I found was this great YouTube video by Joe Besch:
His website led me to a page on Tad Spurgeon's website. Mr. Spurgeion's passion is oil painting, and shares on his site how oil paints made by the old masters were made from linseed oil.

I figure if this is good enough for the old masters, it should also work for woodworking.

Enough blah-blah. Let's get to work:

First, instead of pressing my own flax seed, I ordered a liter of pure, quality raw linseed oil from El Barco, a local paint shop in Valencia.
Raw linseed oil.
Once it arrived, I went for a walk down to the beach. Joe Besch's video shows him adding sand, salt and marble dust to his mixture, but after reading Tad Spurgeon's notes, I am convinced that plain sea water and some sand from the beach should work great. These additives, from what I can figure, are to help purify the final oil similar to running water through a sand filter purifies the water.

I'm not sure, and if you would like to try it, I'm sure you'll have success using only tap water.
Believe it or not, you can buy sea water at a local grocer for 3.99/liter!
It was a bit stormy, but my trek was successful.
beach sand and seawater. And who-knows-what.
There was some dreck in the water, so I filtered it out with a paper towel.
Filtering the sea water.
Then I washed the sand by filling the jar with tap water, fixing the lid and shaking like crazy. I dumped the water out and repeated until I didn't feel like doing that any more.
The clean sand.
Likely, I used way too much sand. I think much less would have worked just as good. Once I dumped the liter of linseed oil into my two liter jar over the sand, I figured it was too late to take some out and we'll just have to see how it goes.
Next I dumped in my raw linseed oil.
Then, I topped off the jar with sea water. I would have liked a 50-50 mix of oil and water, but this is where we are. I think it should do something.
Oil on top, the water sank below it, and the sand is on the bottom.
Next I shook the jar like crazy until everything was mixed.
After the mixture was shaken. Not stirred.
Over the next couple of hours, I shook it up again. Joe Besch suggests three times.

Then, let it sit in the sun.
Waiting...
After an hour or so, you can start to see everything separating nicely.
After an hour.
And the last photo is where we are this morning, after about ten hours of rest.

If you are wondering what you are looking at, you can clearly see everything settling in layers. The bottom is the sand, and the little black bubble looking things above that is actually clear water. It is heavier than the oil so it sinks to the bottom.

The yellow band is a layer of fat we've just rendered out of the raw linseed oil. I suspect this is the stuff that prevents raw linseed oil from drying quickly.

The brown layer on top is the good stuff.
The next morning.
No earlier than tonight, and likely tomorrow, I'll extract the top layer using a baking syringe that I bought for the purpose. The idea is to get the pure stuff off the top without any of the unwanted stuff below.

I'll follow Joe Besch's advice and do this process again with my refined oil. I imagine after a couple times of this, I should get some pretty nice quality stuff.

The last step is to let it rest in the sun for some weeks or months, and the yellow color will evaporate away.

For my purposes, it probably doesn't need to be crystal clear, but it will be fun to see how far I can take this.

There is likely to be quite a bit less than one liter of oil after this process, but what I have should be good.

I'm not sure if this will be worth it, but it is fun to see if it will work.

Keep an eye on this blog in the future, I plan to post on the results of this experiment over time.

Wednesday, May 27, 2015

Stanley #3 Smoother

Last fall I finally finished the walnut dining table I had been working on for the last couple of years.

The main reason I got hung up with this project, is the stock that I had chosen for the top had crazy reversing grain and produced tear out when it was just looked at wrong.

I tried everything I could think of.  I sharpened my blade on LV bevel up jack plane.

No go.

I tried the 37 degree blade in that plane.

No go.

I tried the 50 degree blade, which resulted in a 62 degree effective angle on that plane, which should be enough to tame the worst wood.

No go.

I tried my #80 scraping plane.

No go.

I finally used a hand scraper over the entire top to get a top that had no tear out.  The only problem with this is the table now didn't look flat.

I hated this look.

Don't get me wrong, I am extremely proud of this table, it looks gorgeous -

- In the right light.

It is difficult to photograph, but in the wrong light, it looks a lot like the following picture:
Crazy scraper bumps.  Believe me, it looks a lot worse in real life.
This is the only project I have done in the last couple of years that I couldn't smooth satisfactorily with the tools I had - i.e. my BU jack.

I therefore paid close attention when Christopher Schwarz announced he was going to use a #2 smoother for a year, and Richard Maguire started a series on cap irons and tear out with his #3 smoother.

I decided I needed to find a small smoother with a cap iron rather than one with a high angle and a tight mouth.  After striking out on eBay, I found the perfect plane at Handworks in Amana.  A Stanley type 10 #3.

Planing this table top isn't the catastrophic extremity that you might think.  The finish is just burnished bee's wax.  That's it.  If I decide to leave half of the table the way it was, the wax finish should theoretically be able to be re-applied to the table with none the worse for wear.  Time to get my new secret weapon out.

I monkeyed with my new plane the other day, sharpening the iron and setting up the cap iron like the Schwarz and Richard Maguire said.  Tonight, I decided to go for it and try it out on our dining table.

The first couple swipes showed how not-flat the table is.  However, I was astounded that this plane worked easily where so many of my previous attempts failed.

The secret is the cap iron being set as close to the cutting edge as humanly possible.  I was getting absolutely no tear out, going either with the grain or against it.

Just to prove it, here is a photo of how wide I have the mouth set on this plane:
This is about how far I usually set the mouth back on my jack plane for rough work.
This was utterly amazing to me.  I would say that I am getting to the point in my woodworking that it is getting hard to utterly amaze me, but there you have it.
About 20 minutes work.
I do have to admit that I have very little experience with a bevel down smoother.  One of the reasons I haven't got one, is that with bevel down planes, I think you probably need three:  a jointer a jack and a smoother.  I can do a lot of these tasks only with my BU jack.  I haven't ever run across a wood that I couldn't smooth with that plane.

Until this project.

I decided that this project was worth the investment in a new vintage tool - if it worked.  Boy am I glad I did.

I have a feeling that every once in a while a dedicated smoother is required, so I think that this one will be it.

The only problems I came across is that after a while, a shaving got caught under the chipbreaker.  This was expected, as I couldn't quite get the chipbreaker to fully close up to the original iron.

I also found out that this table top requires the blade to be super-hyper-freaking sharp in order to work well.  I did wind up with some microscopic tear out toward the end of my planing session that wasn't there at the beginning.  Unfortunately I don't have my sharpening stones here, so I'll have to finish this task up another day.

I like the steel on this iron, and I have no problem with using the original thin iron.  The only problem is there is only about 1/4" on the iron left until I run in to some pitting, and the cap iron isn't quite what it used to be.  I am a bit undecided at what to do to remedy this.  I could buy a new cap iron and blade from a company like Lee Valley or Hock, but I could also get a vintage replacement.  I think a vintage Swedish blade and chipbreaker would be cool.  I could also spend some time and research rehabbing the one that is original to this plane.

Anyway, here is some vintage tool porn:
I really like the look of this old plane with the low front knob.

The type 10 was manufactured between 1907 and 1909, according to the internet.  There are some real neat features from this time period.

You can tell it is a type 10 because it has two patent dates (unlike the type 11 which has three), and there is no frog adjustment screw.

The frog adjustment screw would be nice, but I figure once the frog is set, there shouldn't be much need to muck with it on a dedicated smoother.  Plus, my intention is to keep the mouth relatively open.
I thought it was neat that this was a model #3C.  That means the bottom has the corrugations.  I don't think they do much other than look cool.  But hey!  It is cool to look cool.
Just look at the frog:
The money shot.
I think the blade says, "STANLEY - PAT. 4/19/92."  I mistakenly thought that this was a later blade, but it turns out it is from the time that this plane was made, so my guess is it is original.  If it was in good shape, it would be worth as much as I paid for the whole plane all by itself!  I like the steel, it sharpens up nicely.
Overall I am extremely pleased with the plane and it's performance.  The walnut on this project was extremely frustrating to deal with, and this little smoother seems to be capable of taming it nicely.

My plan is to smooth the top until it looks good enough, then re-finish it.