 |
| Completed wedges. |
The tenon on the trestle is about 3/4", so the wedge should be about 1/3 of that. 1/4", however, seems pretty flimsy for this stout table. Therefore I pulled out a piece of ebony from my stash that finishes out to about 3/8". I think this will be just fine in the end. If not, I'll just plane them down a bit more when I fit them.
 |
| Hunk of 3/8" ebony from my stash. |
Too late now.
It should be fine in the end. If not, I can always cut off the tusks and mount the tenon in the mortise permanently like Christopher Schwarz did in his article.
I started by smoothing out the bandsawn surface on the ebony I chose for the first wedge. It turns out it was a bit figured, and very difficult to plane. I got there in the end.
At first, I was going to try to get two wedges from this one stick, but decided not to be stingy. I had some more of this thickness of ebony, so I pulled out another one, and cross cut it to length.
This time, I smoothed an edge, and drew out the final angle of the wedge on the rough face, and ripped it to final shape. This made smoothing it a bit easier, because there was less material to work with.
 |
| The second blank on top of the first. |
 |
| The third blank, with a nasty hork in the middle. |
After crosscutting it where I wanted, I marked the wedge shape from the first one one the rough surface again. The shape is about one inch rise in 12 inches of length.
 |
| Ripping the wedge shape on the rough blank. |
 |
| Artsy smooth planing photography. - With my phone. |
 |
| Getting there. I even put some wax on one side to see what it will look like. |
 |
| 10 ct. for the toe, a whole Euro for the heel! |
 |
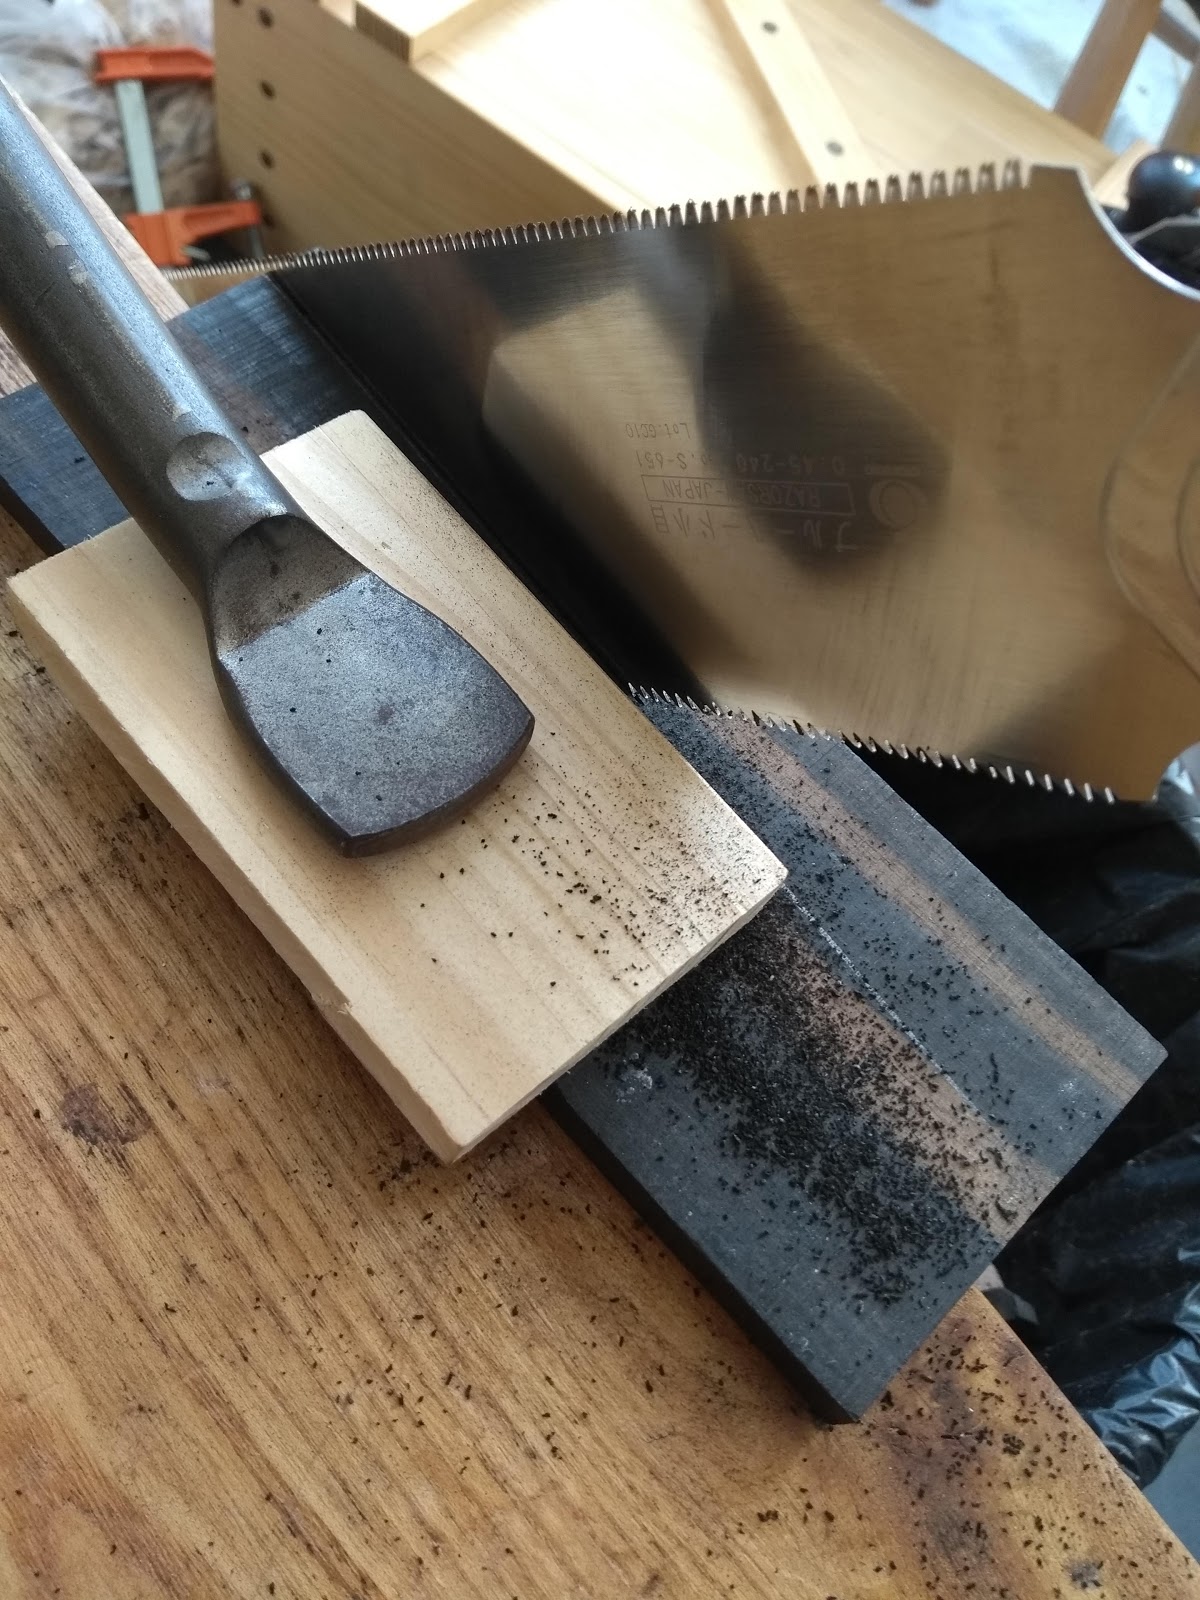
| Paring was quicker than sawing. |
 |
| Starting the roundover shape with a rasp. |
 |
| Finishing it with sandpaper. |
 |
| One makes do with whatever workholding is available. This worked fine. |
I think they will look nice.
 |
| Glamour shot. |
Part I
Part II
Part III
Part IV
Part V
Part VI
Part VII
I think those wedges are going to look great on the finished table, nice work! Also I have to say the name for your wax is awesome, you could definitely market that to customers.
ReplyDelete