I spent a week or so back in Germany and was able to get a lot of work done on the table. I was hoping to finish it while I was there, but I was also realistic enough that I shouldn't count on it.
I'm back in Spain now, and I am pleased with the amount of work I completed on the table. One more trip back and I'll have it.
Maybe.
I didn't have the energy to blog about the build last week, so I'll do it now. I'll stretch this out to about for a few posts so you don't have to scroll through a hundred pictures.
Here is what was waiting for me on my bench when I got back.
 |
| Nope, the wood fairy didn't advance my project any since January. |
The basic joinery was done on them, and I had tapered one of the upper rails. Let's knock out the other three tapers.
I did this by sawing close to the line, then planing the rest of the way. I made sure to mark where the upright beam met the foot so I wouldn't wreck the joint. In fact, I stayed about 1/2" away from it, intending to come back later and finish it off. I think I may not do any more, as it looks fine as it is.
 |
| I sawed the wedge off, then planed to my line using a jointer, then a smoother. |
I was very careful when I glued up these laminations in order that the grain would look about right, but I am surprised it came out this well. My guess is that once the wood darkens up, it will be difficult to see there are two boards glued together.
 |
| Two boards glued together and finish planed. |
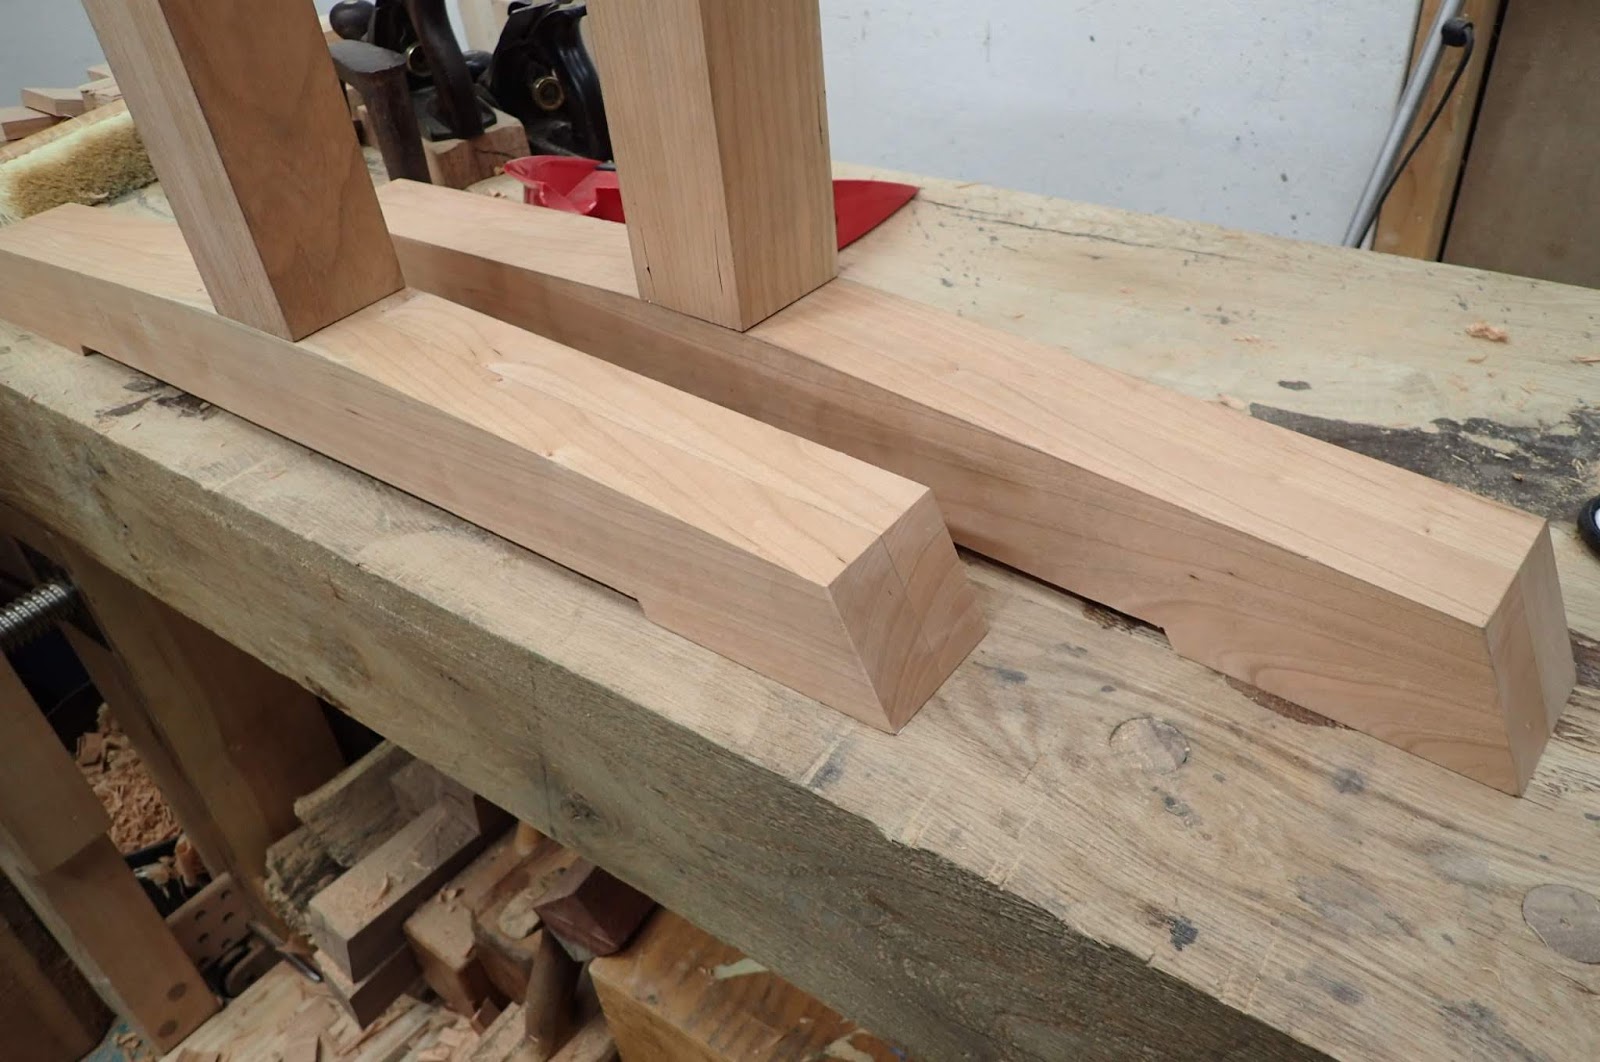
After tapering each part, I sawed the end off at a pleasing angle. I checked to make sure the upper supports and the feet would be the same length to each other while I was at it. The upper support doesn't need to be the same length as the foot, but the feet should be the exact same length.
 |
| Sawing the angle on the end of this support. |
 |
| This looks much more refined. |
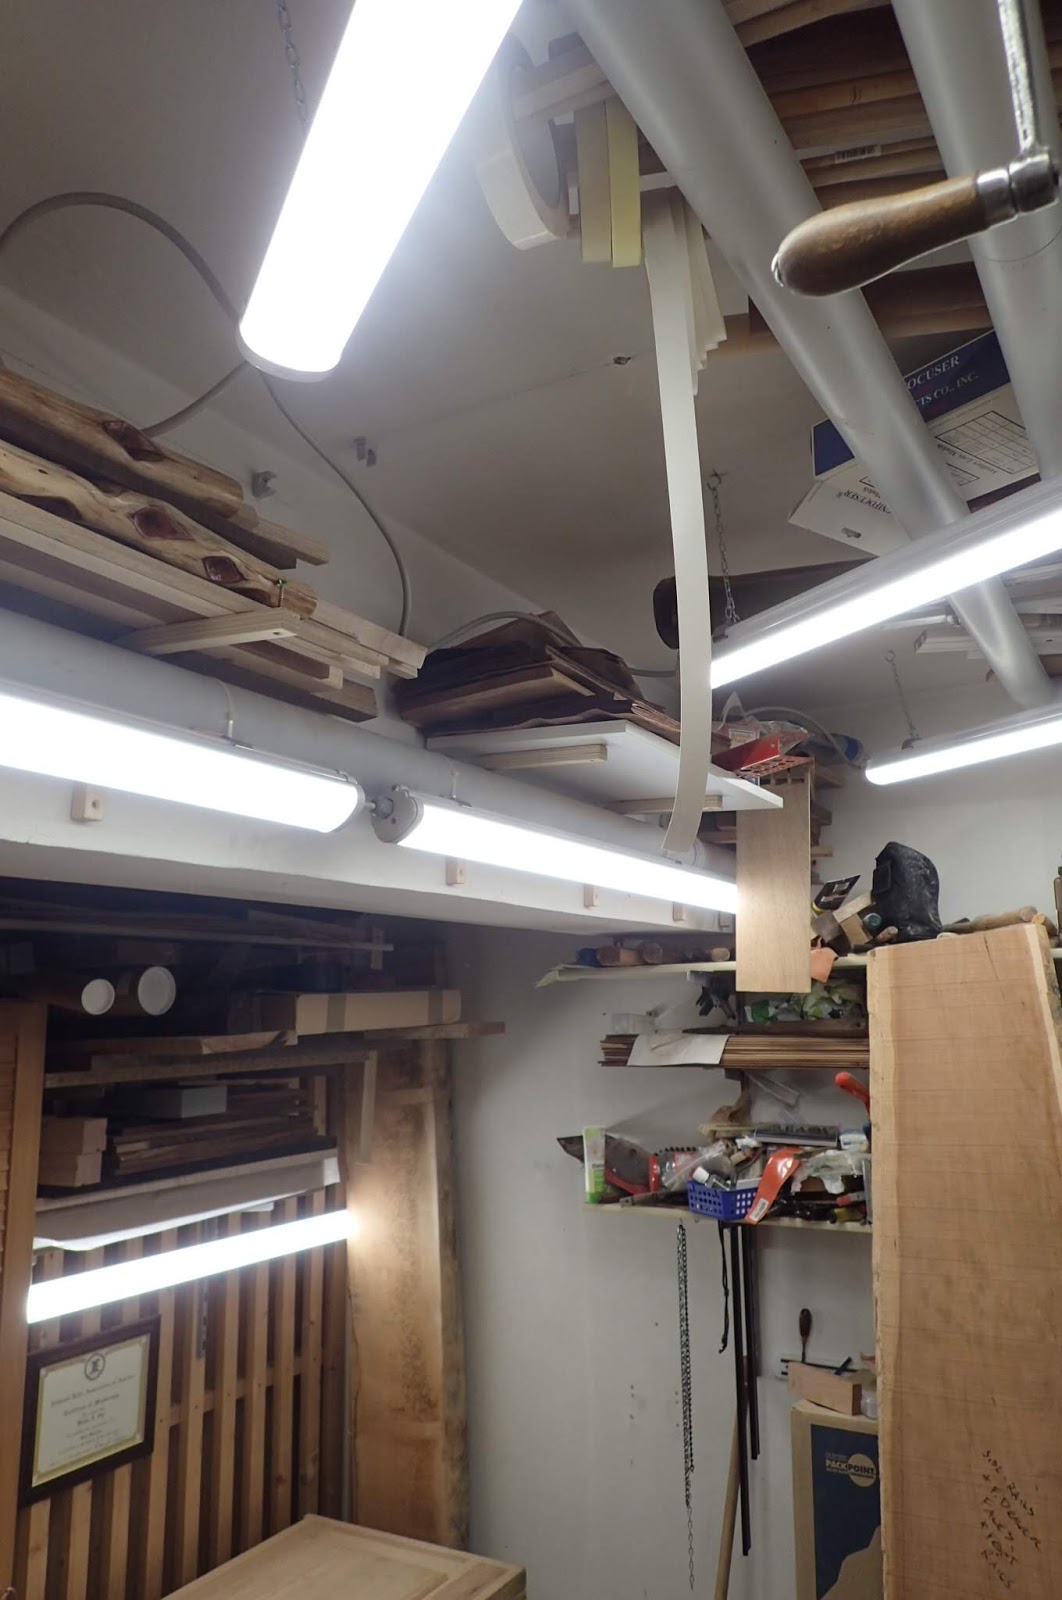
In January I upgraded my shop lighting. I got rid of the insufficient lighting I had and added four LED shop lights. This was an amazing difference, but it still could use a bit more. The directions said this light could handle being wired in series with up to six lights, so I ordered two more. The first one I put next to the one right behind my head that gives a little lateral light, and the other I mounted above my tool chest which gives me some direct horizontal light at my bench, right behind me when I am at my face vise.
Holy cow! What a difference!
The light coming in from the side is essential for seeing all of what is needed. It feels like a real shop now.
 |
| I'll admit it does look a little ridiculous with six shop lights in my 100 square foot shop. |
I still might get some kind of moveable spotlight someday for close work, but for the meantime it is nice to be able to see what I'm doing for a change.
Back to work:
 |
| I was careful to make sure the parts were the same length after cutting the angle. |
The feet were a little different, as I wanted to add a little cutout just like The Schwarz did in
his article. I measured in about four inches from the end, and started a cut at the same angle as the foot.
 |
| Starting the removal of the center cutout to define the table's feet. |
Then I made a series of relief cuts here and there to aid in chopping out the waste.
 |
| Saw down to the line... |
 |
| Then bash out the waste. |
When doing this, I usually start with the chisel about halfway to my depth mark, and go down halfway or so. Then, halfway again, this time the cut will be a little thinner and a little smoother. Eventually you get down to your line, flip the piece over and do the other side. This avoids blowing out something which can be seen when the foot is standing up.
I smoothed it the best I could with a plane, and didn't worry too much about it being perfect since it isn't a visible surface. However, the tenon now is sticking out, so I marked a pencil line around that and sawed it off.
 |
| Don't forget to saw off a little of the tenon, too! |
The effect is a little bit more refined, and will hopefully sit sturdy on a floor that may not be perfect.
 |
| Finished feet. |
Now that I got all that done, I realized I still had some more face planing to do to bring the surfaces of all the beams flush to each other. With these pointy ends, workholding isn't easy.
Or is it?
I just cut a notch in a piece of scrap and used it as a block between my work piece and my planing stop. It worked perfectly.
 |
| The 30-second solution. |
 |
| That is, it took me 30 seconds to make this jig. |
If you missed the previous posts on this build,
check them out:
Part I
Part II
Part III
Part IV
And come back tomorrow for Part VI.


Nice legs?
ReplyDeleteDamn. I said that on your FB post, didn't I? Regardless, those table legs look great, Brian! Well done.
Haha! Thanks, Ethan. I actually think that's what you wish people said when you wear a kilt.
DeleteThat joint line sure won't be much noticeable, good job.
ReplyDeleteToo much lights? Nah! At my age I need all the light I can get, gone are my days of working by candlelight, then bathing in red tactical lights :-) Bring out the artificial sun LOL
Bob
Thanks, Bob! It sucks getting old, but new lights are like the fountain of youth!
DeleteI dpn't have any funny comment to offer. But I sure like the table!
ReplyDeleteCheers
Pedder
(Think you won the smaler shop challenge)
Haha! Thanks, Pedder!
DeleteThis shop is actually a lot more functional than what I am using in Spain! Someday It'll be nice to get all my tools back together and I won't have to suffer with using the second best tool for something.
Nice job so far Brian! I especially like the planing stop solution you came up with to plane the legs - resourcefulness at its best.
ReplyDeleteThanks, Rudy! It would have been much smarter to wait to make that final crosscut until I didn't need to plane any more.
Delete