 |
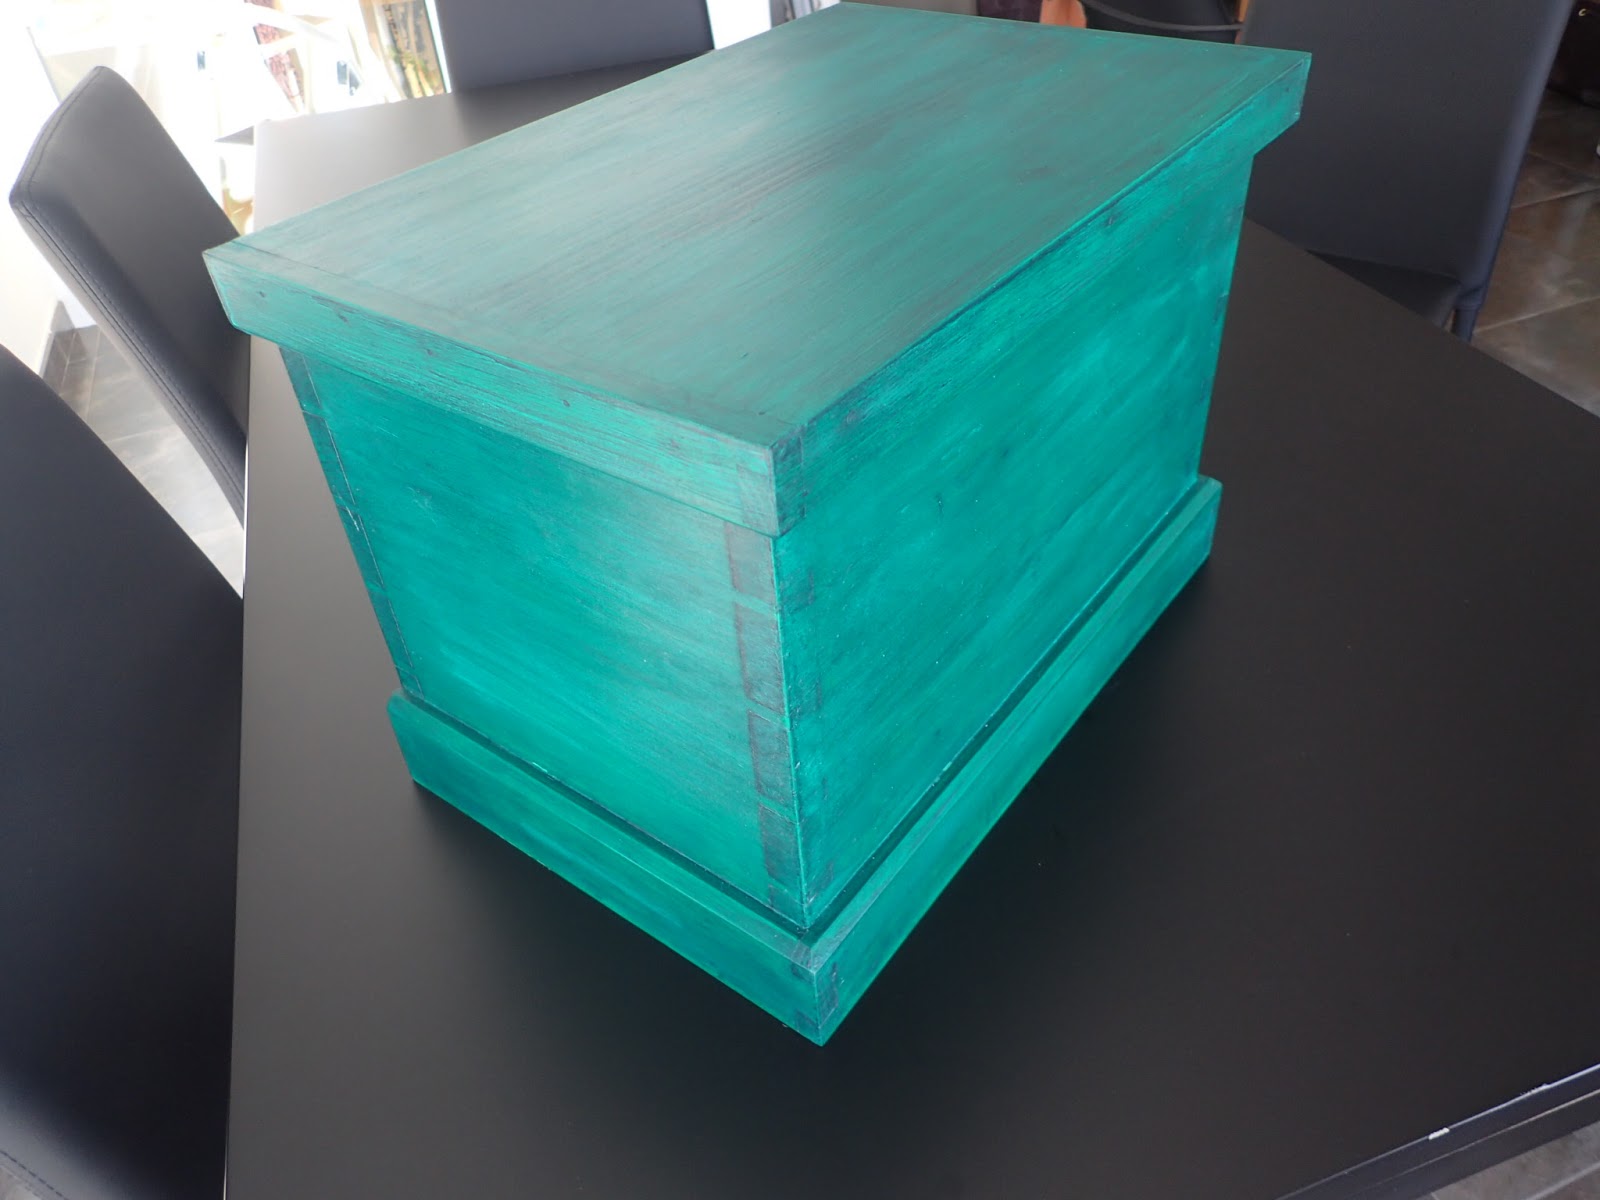
| The School Box is done! |
 |
| Another glamor shot. |
 |
| Not the ultimate hinges, but they are very good, and they were available locally. |
 |
| It was a bit breezy, so I had to snap this picture fast before the lid could fall and potentially ruin my project. |
To make the paste wax I melted some beeswax in a double boiler, added approximately an equal amount of turpentine, and let it cool.
It was then only a matter of applying the wax in my usual way, waiting about 20 minutes for the turpentine to evaporate, then I buffed it off. I am pleased with the result.
 |
| A beeswax paste wax gives this project a nice sheen. |
Time will tell how it will hold up, but today I am pleased with the result.
After Action Report (AAR):
- I feel that I was able to complete this project with no compromises.
- It was good to see the dovetails go together from the saw using Mule-saw-inspired workholding.
- Planing on the floor isn't as nice as planing on a Roubo workbench, but the results are perfectly satisfactory. My biggest complaint is my bones and muscles aren't what they used to be, and it doesn't take long of doing this on the floor before things start to get sore.
- I had considered making this project with only tools from my Beginner's Tool Kit (jack plane, a couple chisels, Japanese saw, and a few marking tools), but decided instead to only limit myself to the tools I brought with me to Spain. Except I permitted myself to buy a clamp. I see that I also bought a compass for 1.50 Euro, and used that for dovetail layout.
- Making milk paint is fun, cheap, and easy. I'm pretty sure anyone could do what I did with ingredients that are already in your house.
- Turning some of the kitchen fixtures permanently green leads to a stern lecture from the Frau.
- Having lots of natural light to work with almost makes up for not having a proper shop.
- I have no idea what angle my dovetails are. I randomly set the bevel gauge to an angle that looked pleasing to the eye.
 |
| All of the tools I used for this project. |
- Veritas Bevel Up jack plane.
- Dick Saw in the Ryobi configuration.
- Three vintage chisels, a big one, a medium one, and a small one.
- A chunk of particle board about a foot wide and two feet long that I used as a work surface.
- Marking and layout tools:
- self-made marking knife with Hock blade.
- Starrett 6 inch adjustable square.
- Veritas marking gauge.
- vintage folding two-foot rule.
- Shinwa bevel gauge.
- the absolute cheapest school compass I could find.
- Bow saw.
- Screw driver handle with Festool bits.
- Vintage Frost/Mora Swedish slojd knife.
- Blue Spruce mallet.
- Vintage egg beater drill with a very small drill bit.
- A hammer for driving nails, and a tiny hammer for blade adjusting.
- Arbornet sand paper (P180).
- Card scraper.
- Cheapo paint brush.
- Cheapo f-style clamp.
- Sharpening stones with two of Dan's whetstones, a white one and a black one, a DuoSharp course diamond plane for grinding and keeping the oilstones flat, and a hunk of leather for a strop (bare with no polishing compound).
 |
| The Frau bought me this pencil sharpener. |
I also wanted to remind myself that spending all my time building shop fixtures and tools is nice, but sometimes one should just buckle down and get a project done. Sometimes I forget that the point of all that fancy shop accessories is for building furniture in the first place.
Lastly, I wanted to hopefully inspire a beginning woodworker to just get out there and start building. They may not have all the tools and shop fixtures they think they need to do woodworking, but a lot can be done with less than you think.
 |
| One last glamor shot. |
With all of that said, I think a few shop fixtures, even in my home office would not go amiss. I find that I really miss most from my home shop my tool chest. I think a Dutch tool chest would be a fine addition to this shop. A sawbench that doubles as a stand for it would be perfect. I think the sawbench first...
If you would like to see all of my blog posts for this build, here they are:
Part I
Part II
Part III
Part IV
Part V
Part VI
Hi Brian,
ReplyDeleteglad to see that I'm not the only one with bizarre pencils or pencil related equipment.
The box turned out great and I'm impressed how you have made it. I think I would have been too lazy to do that under this circumstances.
Maybe you have to improve your abilities to conceal things. That will minimize your risks.
Cheers,
Stefan
Hi Stefan,
DeleteThanks! I think you probably would have done the same as me. I didn't want to wait two to six years befor my next project.
Have you already found a school to attend, that accepts this box for theirs students?
ReplyDeleteGreat built!
Hi António!
DeleteWell, I am taking a beginner's Spanish class. I thought I was doing well in it, but today the doorbell rang, and a man started speaking "machine-gun Spanish" to me. I got from him that he was a technician that was there to work on the elevator, but I'm not sure what he wanted from me. I explained to him the problem, but he understood nothing, and went to ask the neighbor instead. I suppose I have a bit of work to do.
As far as the box, as soon as I can figure out how to use "cuadro de la escuela" in a sentence correctly to the instructor, I will.
Euskady, Catalã and Castellano are difficult for me either and the Portuguese grammar is similar, I prefer Galego (from north near Atlantic). Now... for a English speaker that must be hard. Good luck with that!
DeleteThe weird part about Valencian or Catalonian is it sounds kind of nice, but reading it is worse than French, with X's all over the place.
DeleteI'm determined to start communicating more than, "La cuenta, bitte," to these people. 😃
Thank You for the tool list.
ReplyDeleteAs I have to work in the courtyard (weather permitting)or even in the living room (if it is for home improvement, it is ok), the broom, dustpan and vacuum cleaner are on my list.
Sylvain
OMG! I forgot about those. We don't have a vacuum, but the house came with a broom whose best quality is it has a really long handle, which is nice, and a dustpan with a long handle which means I don't have to bend over. It also has a rubber lip, and anything swept towards it goes into the dustpan. I'm not always having to sweep, and sweep, and sweep.
DeleteSince this office I work in is part of the house, I have to keep it pretty clean so it can be mopped a couple times a week, too.
And the towel. Really enjoyed this build and all the detail you gave us. AAR is a great feature. Great job!
DeleteI think it's understood that you can't travel the universe without a towel.
DeleteThanks for the compliment!
Hey Brian,
ReplyDeleteI wasn't sure about the color at first, but it has grown on me, and I really like it. It reminds me of verdigris, the patina that you get on old weathered copper.
As always, very nice work. The box looks great. I am really impressed with your implacability to continue woodworking in an apartment with limited tools. My hat's off to you. I think would have likely put my woodworking on hold and been at the tapas cafe with a good bottle of vino. I'm glad you didn't chose that else we would miss your blog. (Although, I guess your blog could go foodie for a while). "Paella-erable?"
All the best,
Jonathan
Good idea! I think much of the food here is unfamiliar to most Americans. Trust me, you haven't lived until you have had a grilled sepia (cuttlefish)! And the wine! The Frau and I have been having fun sampling all the different Spanish wines (we prefer red ones at the moment), many of which can be had for about $2 per bottle. We haven't been fancy enough to pay $10 yet, anyway.
DeleteThanks for the compliment! I think I have my next project picked out!
Great series of posts!
ReplyDeleteI really like the green colour of the chest.
The only problem with making stuff with as few tools as possible is that it becomes addictive :-)
Brgds
Jonas
Hi Jonas!
DeleteThe green seems to be a big hit! At least everyone is being very nice about it.
I agree that it is addicting. I hadn't intended this to be about using the least tools, but I did have to come up with some creative solutions. I am seriously thinking about building another one ushering as few tools as possible. I think it could be done with a jack plane, a pair of chisels, a few marking tools and a Ryobi saw.
No workshop, no bench, made your own paint, and made your own wax. All that is left is to harvest te tree and mill the lumber! Not too shabby for a displaced woodworker!
ReplyDeleteThis box turned out great. Very nice work. I like the vaerigated effect of the milk paint that you whipped up. I may have to give it a try myself. There is only so much natural wood projects that can be put into a house, sometimes you need a little color.
Hi Greg, thanks for the nice comment!
DeleteIt sounds like quite an accomplishment when you say it that way.
The paint was fun. Next time I'm going to try some natural pigment.