Showing posts with label School Box. Show all posts

Sunday, October 16, 2016

Benchless School Box Build - Part VII - Completed Project and AAR

I am calling this project complete.

The School Box is done!
There are always a few more things that could be done to it, but I declare this project a success. All that is really left is a little bit of green paint on the inside to get rid of, and some kind of chain to stop the lid from falling open. I also bought a half-mortise lock for this chest, but it is far too small to look good, so I'll keep my eye out for a better one. If I find a nice one I like, I might install it. If not, This box is perfectly fine without.
Another glamor shot.
The hinges went on without any problems, other than a little paint needed to be removed that built up and prevented the hinge from fitting. That only took a few seconds to scrape out.
Not the ultimate hinges, but they are very good, and they were available locally.
Here is a photo of the box with the lid open. Since I spent the time fitting the hinges properly before, all that was required was to screw them on for a perfect fit.
It was a bit breezy, so I had to snap this picture fast before the lid could fall and potentially ruin my project.
Today I whipped up a batch of paste wax for this box. I was looking at the local places for an appropriate oil, such as jojoba or orange oil, but the first thing I found was some pure turpentine.

To make the paste wax I melted some beeswax in a double boiler, added approximately an equal amount of turpentine, and let it cool.

It was then only a matter of applying the wax in my usual way, waiting about 20 minutes for the turpentine to evaporate, then I buffed it off. I am pleased with the result.
A beeswax paste wax gives this project a nice sheen.
If I had used the powdered milk paint that I usually do, I would have first coated the project with boiled linseed oil before waxing. In this case, the home-made milk paint was glossy enough that I thought I would save a few bucks and forgo the BLO.

Time will tell how it will hold up, but today I am pleased with the result.

After Action Report (AAR):

  • I feel that I was able to complete this project with no compromises.
  • It was good to see the dovetails go together from the saw using Mule-saw-inspired workholding.
  • Planing on the floor isn't as nice as planing on a Roubo workbench, but the results are perfectly satisfactory. My biggest complaint is my bones and muscles aren't what they used to be, and it doesn't take long of doing this on the floor before things start to get sore.
  • I had considered making this project with only tools from my Beginner's Tool Kit (jack plane, a couple chisels, Japanese saw, and a few marking tools), but decided instead to only limit myself to the tools I brought with me to Spain. Except I permitted myself to buy a clamp. I see that I also bought a compass for 1.50 Euro, and used that for dovetail layout.
  • Making milk paint is fun, cheap, and easy. I'm pretty sure anyone could do what I did with ingredients that are already in your house.
  • Turning some of the kitchen fixtures permanently green leads to a stern lecture from the Frau.
  • Having lots of natural light to work with almost makes up for not having a proper shop.
  • I have no idea what angle my dovetails are. I randomly set the bevel gauge to an angle that looked pleasing to the eye.
So there you go. I was asked for a list of tools that I used to complete this project, so here it is:
All of the tools I used for this project.
  • Veritas Bevel Up jack plane.
  • Dick Saw in the Ryobi configuration.
  • Three vintage chisels, a big one, a medium one, and a small one.
I would have to say the above three were the workhorses of this build.
  • A chunk of particle board about a foot wide and two feet long that I used as a work surface. 
  • Marking and layout tools:
    • self-made marking knife with Hock blade.
    • Starrett 6 inch adjustable square. 
    • Veritas marking gauge.
    • vintage folding two-foot rule.
    • Shinwa bevel gauge.
    • the absolute cheapest school compass I could find.
  • Bow saw.
  • Screw driver handle with Festool bits.
  • Vintage Frost/Mora Swedish slojd knife.
  • Blue Spruce mallet. 
  • Vintage egg beater drill with a very small drill bit.
  • A hammer for driving nails, and a tiny hammer for blade adjusting.
  • Arbornet sand paper (P180).
  • Card scraper.
  • Cheapo paint brush.
  • Cheapo f-style clamp.
  • Sharpening stones with two of Dan's whetstones, a white one and a black one, a DuoSharp course diamond plane for grinding and keeping the oilstones flat, and a hunk of leather for a strop (bare with no polishing compound).
Did I leave anything out? Oh, yes. A pencil and pencil sharpener:
The Frau bought me this pencil sharpener.
Overall, a modest, yet quality set of tools. My goal with this build was to show that with a little thought, one can build real furniture with whatever resources one has.

I also wanted to remind myself that spending all my time building shop fixtures and tools is nice, but sometimes one should just buckle down and get a project done. Sometimes I forget that the point of all that fancy shop accessories is for building furniture in the first place.

Lastly, I wanted to hopefully inspire a beginning woodworker to just get out there and start building. They may not have all the tools and shop fixtures they think they need to do woodworking, but a lot can be done with less than you think.
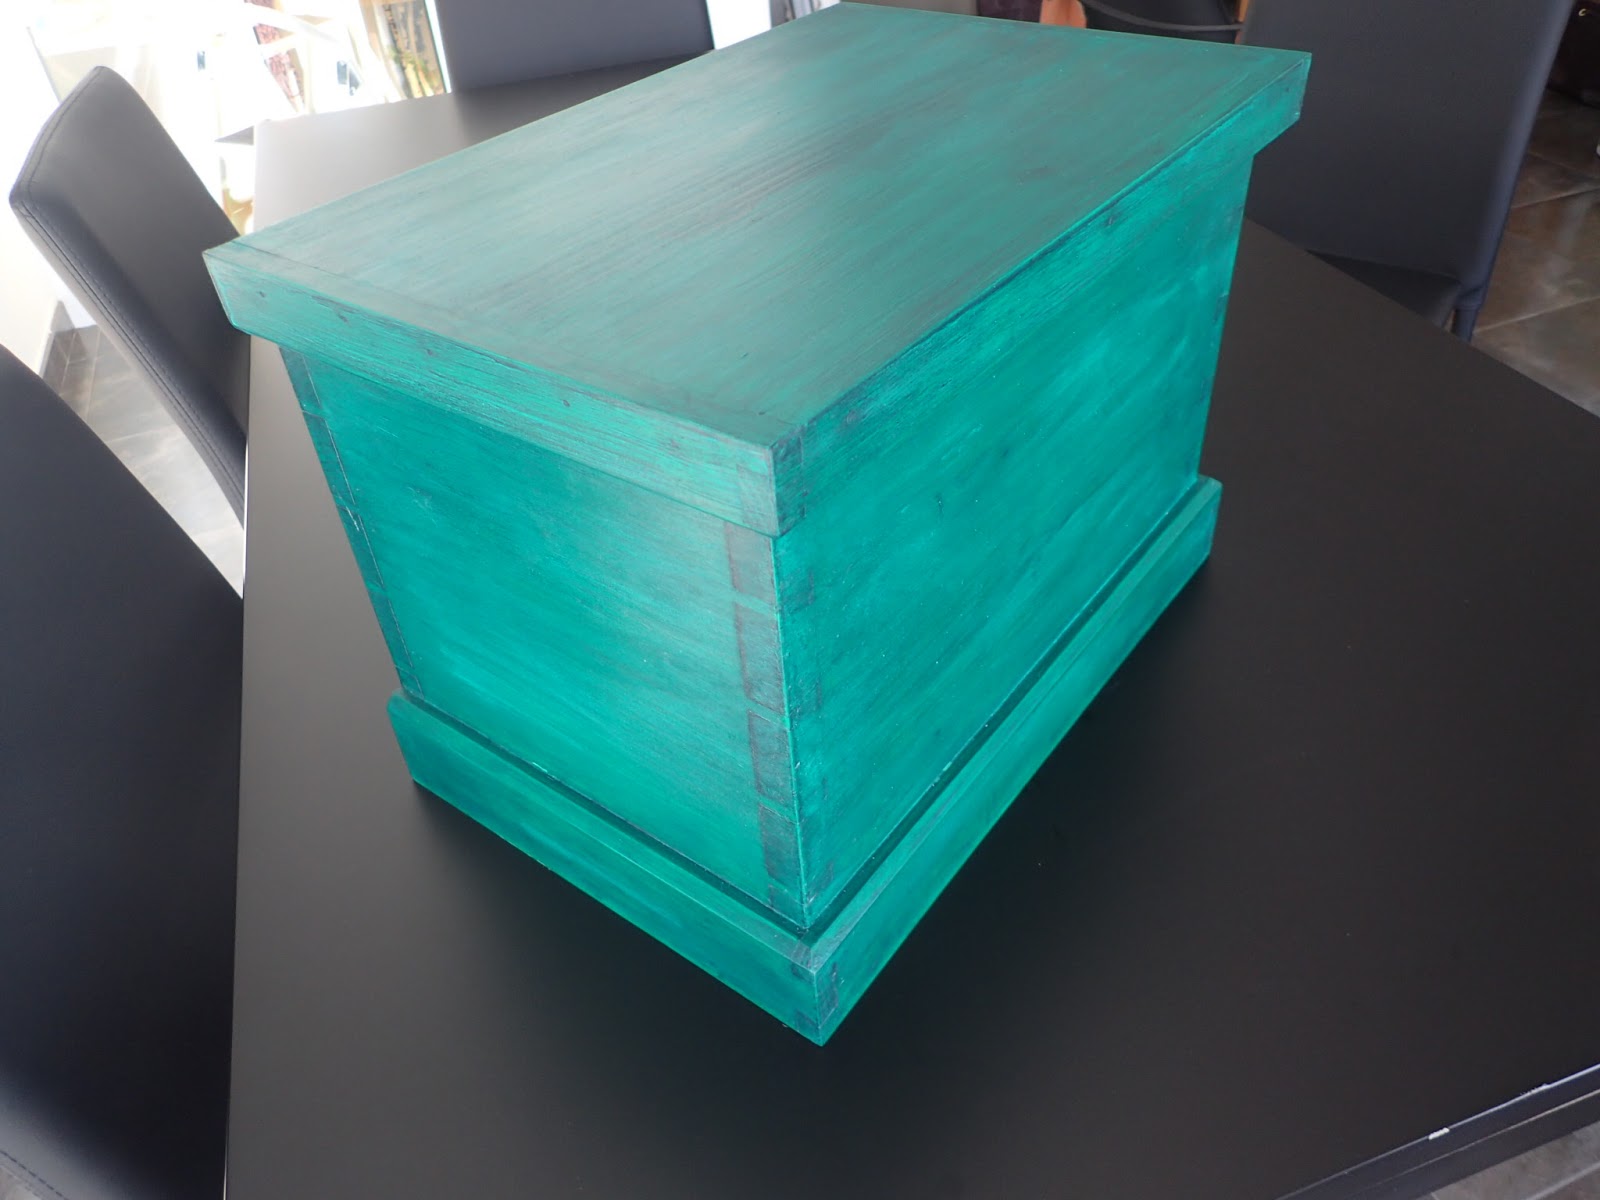
One last glamor shot.

With all of that said, I think a few shop fixtures, even in my home office would not go amiss. I find that I really miss most from my home shop my tool chest. I think a Dutch tool chest would be a fine addition to this shop. A sawbench that doubles as a stand for it would be perfect. I think the sawbench first...

If you would like to see all of my blog posts for this build, here they are:

Part I
Part II
Part III
Part IV
Part V
Part VI

Friday, October 14, 2016

Benchless School Box Build - Part VI - Home Made Milk Paint

Milk-painted box.

I think milk paint is a neat finish, and I wanted to use it for my school box. I've used milk paint before, but I have only ever used the pre-mixed stuff that is mixed with water.
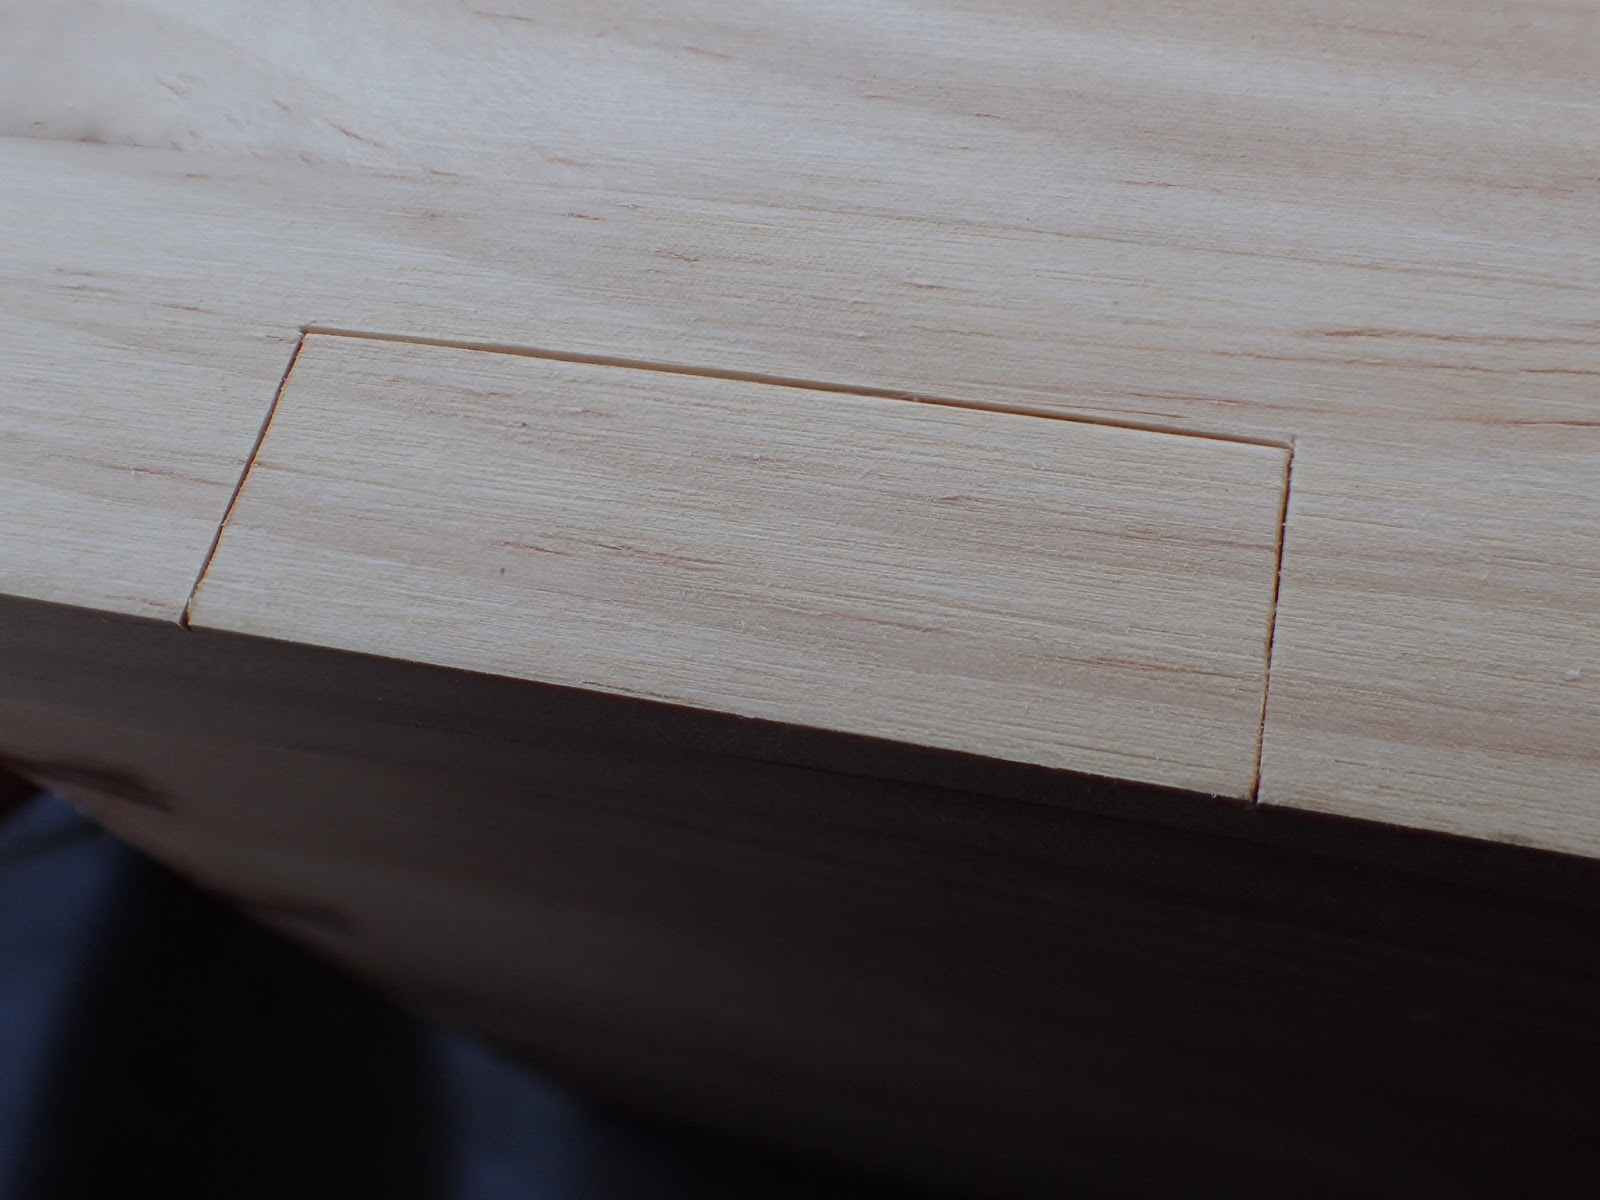
Milk paint like that is much more common (and affordable) in the US than it is here in Europe, so I thought I would give a try at making my own.

Most of the milk paint recipes online have as an ingredient hydrated lime, or some such thing. I didn't really have immediate access to that, so I looked for a recipe that only had things I could get at the grocery store, or the home center next door.

I came up with a recipe from Martha Stewart.

Really.

I thought it looked easy enough, so I gave it a shot.

All I did was take a half liter of room-temperature skim milk, and I squirted a healthy squirt of white wine vinegar because that's all we had.

It immediately began to curdle, so I lightly covered it and set it aside for two days.
Giving it a try.
Maybe now would be a good time to discuss how to do this in the kitchen without risking the death penalty from the Frau.

Take my advice and don't use good kitchen bowls, mixers, utensils, etc. for your first milk paint project, find some old junkie containers or buy some cheap ones from the Chinese flea market.

Just sayin'.

You were warned.

After a couple days, there is a good bit of curd and the liquid stuff (whey) is much clearer.
After two days.
Here is where I ran into some problems with Martha Stewart's recipe.

In Martha Stewart's defense, two other similar recipes I found had the same defect. It doesn't really describe which part you should save and which part you should use after straining the curd from the whey.

Needless to say, I did it wrong. I threw the curd out, and mixed some coloring agent with the whey.

It seemed reasonable to me. There is no way that nasty, cottage cheese looking stuff could ever make paint. It's too thick.

I was wrong.

It took me a while to figure out, I tried a couple things with my colored whey, including adding baking soda. What a mess! I'm glad I tried painting it with a test piece.

Eventually, I ran into this old blog post written by Brian Anderson for Lost Art Press. I couldn't envision it when I first read this post, but now that I knew what he was talking about, it was easy.

Just make up some more curds, add tint and whip them up until smooth and creamy.

That's it. Honest!

To make curds faster, heat up the milk until just before boiling, then add the vinegar and turn the heat off. 15 or 20 minutes later, there should be some curds to use, although there will be more if you wait longer.

I didn't get many pictures of the whole process. I'll just describe what I did instead.

I strained the mixture to get the curds by themselves, and let the whey drain down the sink. I used a big metal colander, and lined it with an old dishrag, since I didn't have any cheese cloth.

Then, I made sure to rinse the curd the best I could. The LAP blog entry suggested doing it two or three times. I'm not sure how he did that, probably had better drainage. I did the best I could. I think the idea is to remove as much acid from the vinegar as possible.

This leaves a clumpy glop of white goo, about the consistency of wet sand. The first batch I did, I put in a big mixing bowl, added a bunch of tint, and mixed with a fork and a whisk.

By the way, all I used for the green tint was some of the paint tint from the home center. It is the stuff that is used to color white house-paint whatever color you want. I found some that was water soluble, and went with that. Next time I might try a more traditional (read, "cheaper") tint such as brick dust, charcoal, or curry. For now, I used what I had.


What I used to tint my milk paint.

Mixing the cottage cheese mix this way makes an awful mess, and takes forever. After about thirty minutes of mixing this little bit of paint by hand, the mixture was about the consistency of mom's gravy.

Clumps and all.

Now I had something that I could use that vaguely resembled paint that I could apply with a brush.

My previous experiences with powdered milk paint that was pre-made resulted in a finish that was almost chalky, opaque, and very dry looking. This milk paint was nothing like that.

I was expecting it to have some of the crumbly bits on the surface that could be brushed off with your hand when it dried.

This mixture was very hard when dry, and almost glossy.  I ran out of paint after three coats, and this is where I was.
Three coats.
It was also a bit translucent.
It is really clear. BTW, that is my mixing bowl in the corner. I got in huge trouble because the green tint didn't come out.
While this is an interesting look (the Frau says "interesting" is the little brother of "Scheisse"), I wanted something a bit more traditional. Also, there were some defects in my painting job such as ugly brush marks that wouldn't wipe off like I thought they would.

The next day I took some 180 sand paper and smoothed the whole thing down. I wound up getting to bare wood in a couple spots. My first plan was to smooth it out and darken it up with boiled linseed oil.

The more I thought about it, the more I decided BLO probably wouldn't fix all my problems. This paint is kind of glossy, and I suspect BLO might not penetrate like it does on the milk paint I've tried before.

The answer was to make another batch of paint. This time I took the Frau's electric hand mixer and smoothed out the curds in no time flat. I thought I was being smart and did this before mixing the tint. This would have worked if I didn't put a big green thumb print on it when I put the business end in the dishwasher.

While this time the mixture was creamy smooth, it seemed a bit too thick. I thinned it with a little water, and that worked great.

If you thin it with water and think you might have overdone it, just put your mixture in the fridge for 15 minutes and it will thicken up a bit.

I applied three more coats, this time using my best brush-stroking technique, trying to leave as small of brush strokes as possible.
I think it turned out much better.
I like that the dovetails and other joinery details can still clearly be seen.
Crisp chamfer is still visible.

Close-up of a dovetail pin.
I really like this finish. Now that I kind of have it figured out, I think I can experiment with it a bit more. My guess is that adding some lime or one of the other recommended additives will make the paint a bit more chalky and opaque. There is definitely some experimenting to do.

This paint is almost glossy, and very tough to the touch. I had originally planned on topping this with BLO, but I think I will not. If anything, perhaps a coat or two of paste wax.

Next up, the completed Benchless School Box and AAR!

Thursday, October 13, 2016

Benchless School Box Build - Part V - The Rest of the Woodwork

A picture is worth a thousand words, so this post will be like not reading 30,000 words. Think of how much time I'm saving you!

I'm getting very close to being done with this build, so enjoy a photo essay.
How'd I get here?
Planing a carcase this way is a challenge, but do-able.

Pilot holes for the nails.

Cut nails. I put several in at opposing angles for strength.

Nailed on, but needs a bit of trimming.

A Japanese saw lets you cut very close to the line. All that is left is a little cleanup with a plane.

Done with the bottom.

Except for counter sinking the nails. No punch, so I dulled the end of a screw for this.

Glamor shot of my dovetails.


Now, I have something at a good height for sawing!

Time for a removable till.

Marked out a stopped groove.

Using my fancy new self-made marking knife with a Hock blade. It's very nice.

I spent a little time rehabbing this knife for this job. Not enough room in the box for a chisel.

First, I deepen the line with this knife.

Then, slice out a bit for a V-notch for the saw.
Here's what it looks like. I tried to keep the knife line as crisp as possible.

A bit of free handed Dick saw action.

Finished saw kerfs. Not perfect, but I'll take it.

All that's left is to pop out the waste with a chisel.

I've decided that one should get good at doing this with a chisel before spending money on a router plane. Same with a shoulder plane.

Joinery done, glue the till bottom to the till side.

Then, mark where the supports go, nail and glue them in.

Installed till. Time for hinges.

I am installing butt hinges. The first step is mark out as carefully as possible where they go on the carcase.

This part is easy. Rough out with a chisel.

Then, carefully use a chisel to pare to the line. Slow is fast.

Plenty of test fitting results in a perfect fit.

The mortise for the lid is only slightly more complicated. Start by an accurate layout.

Carefully remove the wood from the edges, then remove the mountain in the middle.

This is what it looks like part-way.

Finished mortise. I lost one little chip on the side,

Nothing to worry about. This particular hinge masks the chip. Plus, it's in the back, anyway.

I like to test they fit perfectly before securing with screws.

And finally mounted. I'll only use one screw for now, I'll install them all when I permanently attach the lid.

Now it's time for more dovetails for the skirt and dust seal.

One down. I think that for this moulding, which covers only three sides, I put the tail on the wrong side. If this went all around, this is correct. It shouldn't hurt anything, however.

After gluing it up, I chamfered it with my Veritas BU jack.

Glued and nailed all around. Repeat for the dust seal.

Here is the chest with completed woodwork.
What a fun build so far. Next up - experimentation making my own milk paint.