Jeff Lefkowitz had a tip on Instagram a few days back that leather glued with hide glue made nice floor protectors for chairs if glued on with hide glue. He punched out disks and glued them on, but I decided to just glue on scraps and trim them with a sharp chisel.


Now that the desk is almost ready, I can take a couple of final swipes on the top with my smoother. Since it is all put together, there is a bit of a problem with workholding. I braced it the best I could against my tool chest, and everything worked fine.
 Tadaaaa! The finished project.
 I had a little tung oil/BLO mixture left over from my last project that I used on the top. This top is gorgeous. I really like that it is made from one wide board.
 The ash parts got plain boiled linseed oil (BLO). This was because I ran out of tung oil. I used tung oil on the top in a hope that it will give a little bit more protection. We do not plan on abusing this desk, though. After a few coats of oil like this, I will top it off with wax applied with a pollissoir.


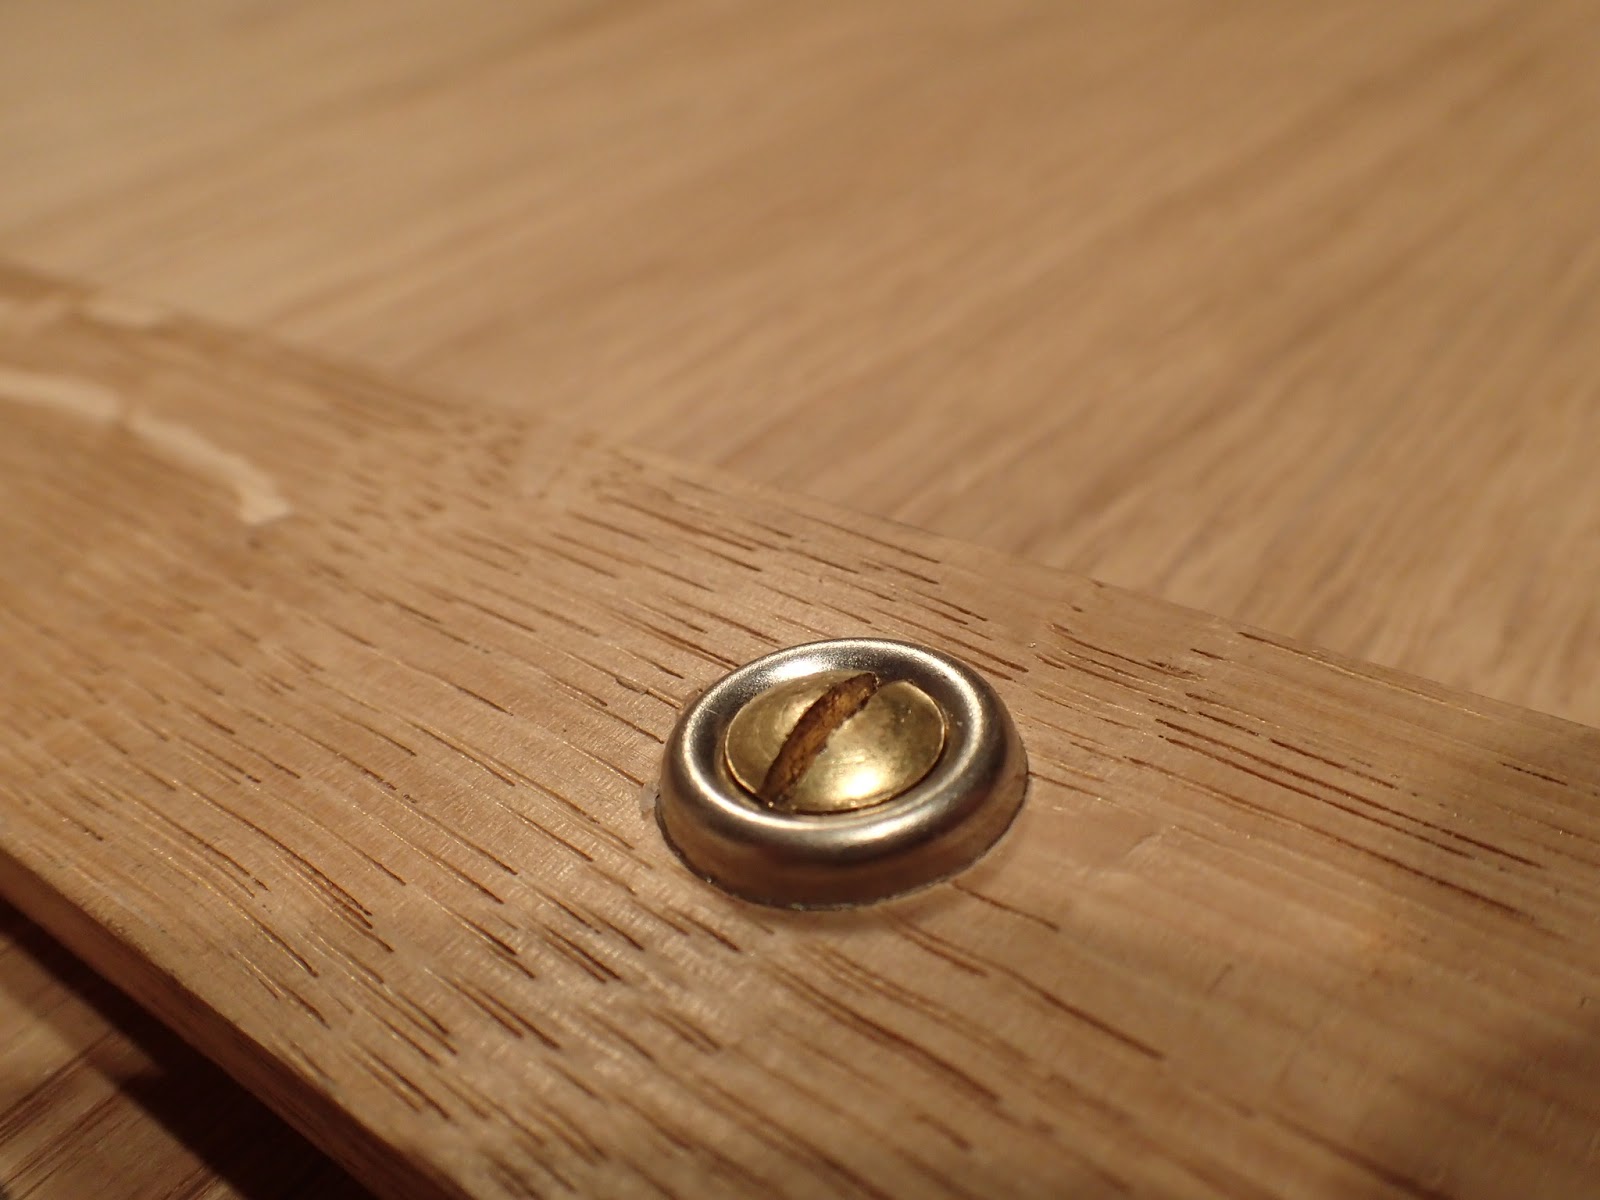
Here are a few more detail shots.
 Here is a picture a bit out of order, it is the last photo before finish was applied.
 Another photo of the drawer.


 I have to say that I am happy with how this desk turned out. It might not wind up living where it is supposed to go for long, it might go to the other apartment and be paired with one of my Welsh stick chairs.


I would highly recommend this project if you need a nice looking, quick and dirty project. It really is fast to make.
Nice, Brian.
ReplyDeleteThanks, Mom!
DeleteExcellent.
ReplyDeleteThanks, Dyami.
Deletethats' a really excellent piece, I think anyone who gets to sit at it will be soothed by the feel of the wood. I can't imagine sitting at this desk without opening and closing the drawer every time, just for that satisfying whispy sound of the wood runners. very cool. thank you for sharing the process.
ReplyDeleteadam of oakland, ca, usa
Thanks, Adam. I admit I have run my hands over the top a couple tims, and yes, I have opened the empty drawer, too.
DeleteReally nice piece!! Well executed!!
ReplyDeleteThanks David. It isn't perfect, but I am happy with it.
DeleteVery nice, perfect for the apartment.
ReplyDeleteHi Matt, we have this big, ugly IKEA desk right now. It takes up so much room with zero style. This desk will fit a lot better in the space while making a statement, hopefully.
DeleteNice work Brian, I love the look of the drawer sitting under seemingly by itself, nice touch. And you even finished it in a very short month, bonus! :-)
ReplyDeleteBob, sipping coffe in the hospital waiting room
Well, I didn't do it nearly as fast as the blog makes it look. I bought the lumber in September. All of the work was done on the occasional weekends.
DeleteI hope your wife is doing well. Take care.
It really turned out nice, thanks as always for sharing, I hadn't thought about the sliding dovetail moving the leg position. That will probably save me some future frustration.
ReplyDeleteThanks, Jeremy. You can really fine tune that joint that way.
DeleteGod, I really hate to zombie an old thread, but I've been planning to build this table and recalled that you made one so I hope you don't mind a few questions now that you've had it up for a while.
ReplyDeleteDo you find that wood movement is an issue? With the cross grain battens, I would assume you've got wood moving in two opposing directions. Did you pick species and cuts that would move less?
Hey, Scott!
DeleteSorry I didn't get to this sooner. Blogger had your comment hidden in an area I don't often go. Here it is!
Have you started your table yet? I'd love to see it.
As far as wood movement goes, the only trouble I've had, if you could call it that, is the top has shrunk in width a tiny bit, and of course the cross battens did not. Since they are not glued or fastened any way that would prevent this movement, the only sign of movement is the battens now stick out a tiny bit. Like 1/32".
If it bothered me, I could always tap them toward the back of the desk with a mallet. I suppose if one wanted to keep them flush with the front of the panel, they could be secured with a peg. Just be sure to only put one in, near the side that you want to stay put. The top will shrink and the batten will only stick out on the back side that way.
Cheers!