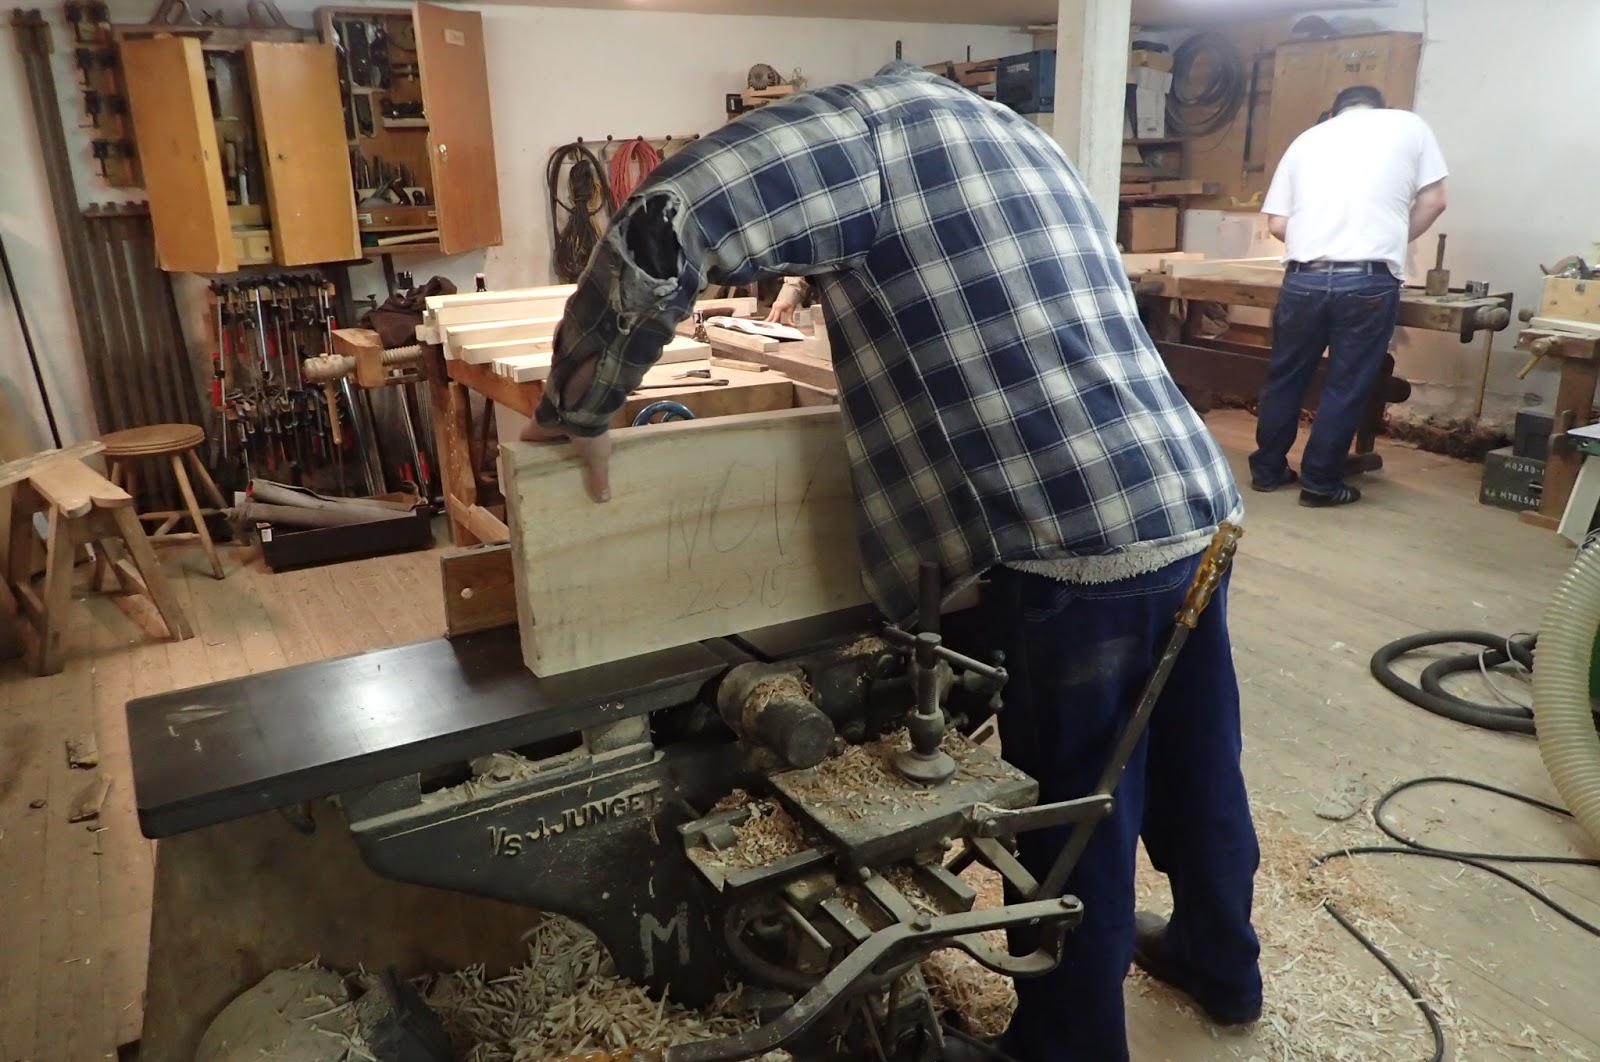
I've been back to Spain for a couple weeks, and have had some time to reflect on what happened during that awesome week of chair building in Denmark.
 |
| Jonas, Brian and Alex on the last day. |
But first, let me catch you up. Day 5 turned out not to be the last day, like we were supposed to. Alex and I talked Jonas into letting us stay one more night, so we could cram in a bit more woodworking the morning before we drove off.
 |
| Here I am slathering BLO on my elm chair parts. |
Alex was a bit slower, but to be fair he built two chairs in tandem. He had never built a Roorkee chair before, and actually had quite a few firsts, including first time turning on a lathe and first time working leather. That being said, he came up with a pair of the finest Roorkees I've ever seen.
 |
| Alex's chairs approaching completion. One elm, one sycamore. |
I started an elm version after I completed the sycamore one.
I think I could have gotten a bit farthur, but I wound up re-doing a stretcher, as one of them disintegrated in the mortise. I posted this pic before, but just to jar your memory:
 |
| Rotten stretcher. |
We made a giant mistake when milling the wood. The ends of the sycamore board we were using were gray in color. I figured that was just on the surface, but it was gray all the way through. That was my first sign, but I figured it would be OK.
This particular stretcher happened to be running fore and aft, and the broken part was in the back again. Funnily enough, the chair still sat even when the part was broken like in the picture. I thought it had a funny lean when I was watching some of the others sit in it.
If you look closely at the above picture, there was enough of the tapered tenon in the hole that the chair still held up. I only noticed this when I disassembled the chair.
The gray colored wood turned out to be rotten. It was about the consistency of a wine cork. There was no strength left in it.
The fix was easy, I just milled another stretcher and was back in business. It did take a while, though, as I didn't have a spare stretcher octagonalized.
Moving on - I tried something else for the elm chair. Up until now we all had used the Veritas tapered reamer (12 degrees taper) and tenon cutter for all of the chairs. Having examined the original Klint chair (I'll have to do a whole additional post on that chair) we borrowed, it looked like those tenons were less of a taper than the 12 degrees we used. Why not try a six degree taper, since I have a six degree tapered reamer here?
 |
| Using my six degree reamer. |
 |
| This is what it looks like when the taper is done being reamed. |
This was amazing. This reamer is much more accurate to use. It is possible to check for square after every half turn (or less, if you wish)!
 |
| Stretchers with six degree tapers. |
 |
| Assembled joint. |
The design of the Roorkee allows for the joints to be a little sloppy. It will still sit and hold together if everything isn't perfect. The leather keeps everything from falling apart.
But...
Using the six degree tool allowed for an insane level of accuracy so each joint was perfect. Plus, I think the six degrees holds a little tighter.
This means that the wooden bits stay together on their own as in this photo:
 |
| My elm chair and the saw benches already in use. |
In fact, the chair has been sitting in my office waiting for leather since I got back without falling apart. I'm curious as to what difference this will make in how the chair sits, if any.
Alex and I stayed up until after two in the morning working on our chairs that Friday. When I got up Saturday, Alex was already in the shop. "This isn't a chair building vacation," he he explained, "it's an extravaganza!"
 |
| From top to bottom, the original Klint, Jonas' bench from two years ago, his Roubo stool, his Safari chair, and mine in black. |
Jonas and Mrs. Mulesaw were busy Saturday morning, but let us have our way in the shop. We finished up about noon and made our way back to Germany.
We stopped in Kiel to visit Pedder and have a cup of coffee. Pedder was kind enough to show us his shop.
 |
| Pedder in his shop. |
Pedder's shop, just like mine, is in a Kellerraum in the basement of his apartment building. His shop isn't a whole lot bigger than mine, but he has it set up a little smarter, I think. One thing I really liked was his light which can be seen in the above picture. I might have to get one like it someday.
 |
| Pedder's saw vice. |
He has a really cool saw vice. It is like many other's, but it has ebony inlaid in the jaws to aid in a contrasting background when filing saw teeth.
 |
| A perfect idea! |
We left Pedder's after a short visit, and spent the night at my in-laws.
 |
| Alex and the Schwiegereltern. |
When I got home, I put a final coat of paste wax on the sycamore chair.
 |
| Glamor shot. |
I then packed it up and mailed it to my brother.
 |
| I figured out a way to pack up the legs to take less room. |
 |
| Here is another shot with the belts undone. |
While I was home in Munich, I tried out the brass screw Jonas made for my No. 12.
 |
| You can see the old one was bent. |
I don't know how he did it, but it is a perfect match. He turned it on board his ship without the original to look at.
 |
| Perfect fit. |
After two days, I boarded a plane back to Spain. I booked 50 kilos of luggage, and wound up taking 60!
 |
| Here's why. |
Alex finished up his chairs the day he got back.
 |
| Alex enjoying one of his new chairs. |
I had a little work to assemble my saw benches that I brought in my checked luggage (along with the elm Safari chair, and enough wood and leather for two more chairs).
I glued the legs up, and since each bench had one elm leg and three ash, I figured I would put an elm wedge in the ash legs, and a sycamore wedge in the elm legs.
 |
| OCD therapy. |
I also constructed a precision instrument for marking the legs for cutting.
 |
| The finest of construction. |
After that, it was just a matter of cutting to the line...
Using one saw bench to make the other.
 |
| Action shot. |
 |
| Ready for finish. |
 |
| I really like them. |
They will have to pull double duty in our apartment, so they will need some kind of finish. I decided to just put a coat of boiled linseed oil on them.
 |
| Finished staked saw benches. |
I was going to write a bunch about what I learned from each of the other woodworkers here, but I might save that for later. Let me just say that if you ever get a chance to work with other woodworkers, whether it be a cooperative build like this, or a class, the projects you take home are just a bonus compared to what you really get watching the others work.
Once again, a big thanks to Jonas and Mette for being such kind hosts.