My weekends lately have been on Mondays and Tuesdays. While this is a bit of a bummer, it makes for some good woodworking days. This weekend a bit more eventful than most:
I'll start in reverse order and walk you through what a great weekend this was for me.
First (or last, depending on how you look at it), I have been a very bad boy on eBay lately. If you have been trying to buy an Ohio bench plane, I apologize for your lack of luck, as I now own them all.
Most of them have been sitting sadly rusting in a plastic crate, but I have had some luck with an O4. Tonight, I got to try out an O7 with a blade that I did my best to rehab today. I think I really like these planes.
 |
A curly full length shaving with my Ohio O7.
Ahem.
Full disclosure - One of my Ohio O7s. |
Big news in the way of my
2nd Annual June Chair Build - I have an amazing piece of wood to make chairs with!
 |
| 14 board-feet of not exactly traditional Windsor chair material. |
That's right, it is zebrano, or zebra wood (
Microberlinia brazzavillensis). A good friend in Munich that I met on InstaGram has a lot of great lumber in his shop. I had to twist his arm a bit, as he had plans for this piece, but I convinced him to part with it. It is 8/4, about seven feet long and a foot wide. I'll have to laminate two pieces together to get a seat blank, but if I'm careful I should be able to get two stunning seat blanks from this board. I can't wait.
The only problem is the Frau decided this board would make a perfect console table. I told her she had until I started to break this board down into seat-blank sizes to come up with a design.
Whatever she comes up with, I'll try to tell her it would be more appropriate to build in ash.
I was kind of steering toward making some painted staked patio chairs, but now that I have this board, I think something spectacular is in order.
 |
| Not something I am particularly proud of. |
As far as the couch table goes, you'll remember from the last post that I have the base assembled and a coat of finish on it. I have been doing a lot of thinking about this, and I have decided I am not content with the gappy joints resulting from re-arranging where they all go. I had fit every single joint, then after that it became clear the sticks had to be assembled a different way. This resulted in some of the joints looking like the one above - not good enough.
Today I ran out to the Dick shop and milled up enough ash to re-do it. This batch is just as straight and perfect as the last. I did all of the milling on machines this time, and finished in about an hour and a half. It took that long as I fiddled with the angle of the saw blade for every rip in order to get perfectly rift-sawn stuff resulting in the grain looking the same on every face of every stick.
Now that I know how to build it, it should go much faster. I can gang cut some of the parts. The long ones are all exactly the same, and there is a left version and a right version of the short ones.
 |
| A freshly milled do-over. I'm glad I had some extra wood. |
And finally, the first thing I got to do this weekend - meet
Pedder!
 |
| Me and Pedder. |
Pedder is half of the extremely talented duo of saw-wrights at
Two Lawyers Tools. If you haven't been to either Pedder's blog or the TL website, go there now for some major drool-ocity.
Pedder and I spent some time in my tiny shop talking saws. He is a cheerful guy and passionate about saws. I love talking to guys like him because you can learn so much.
He brought a couple of saws with him to show off.
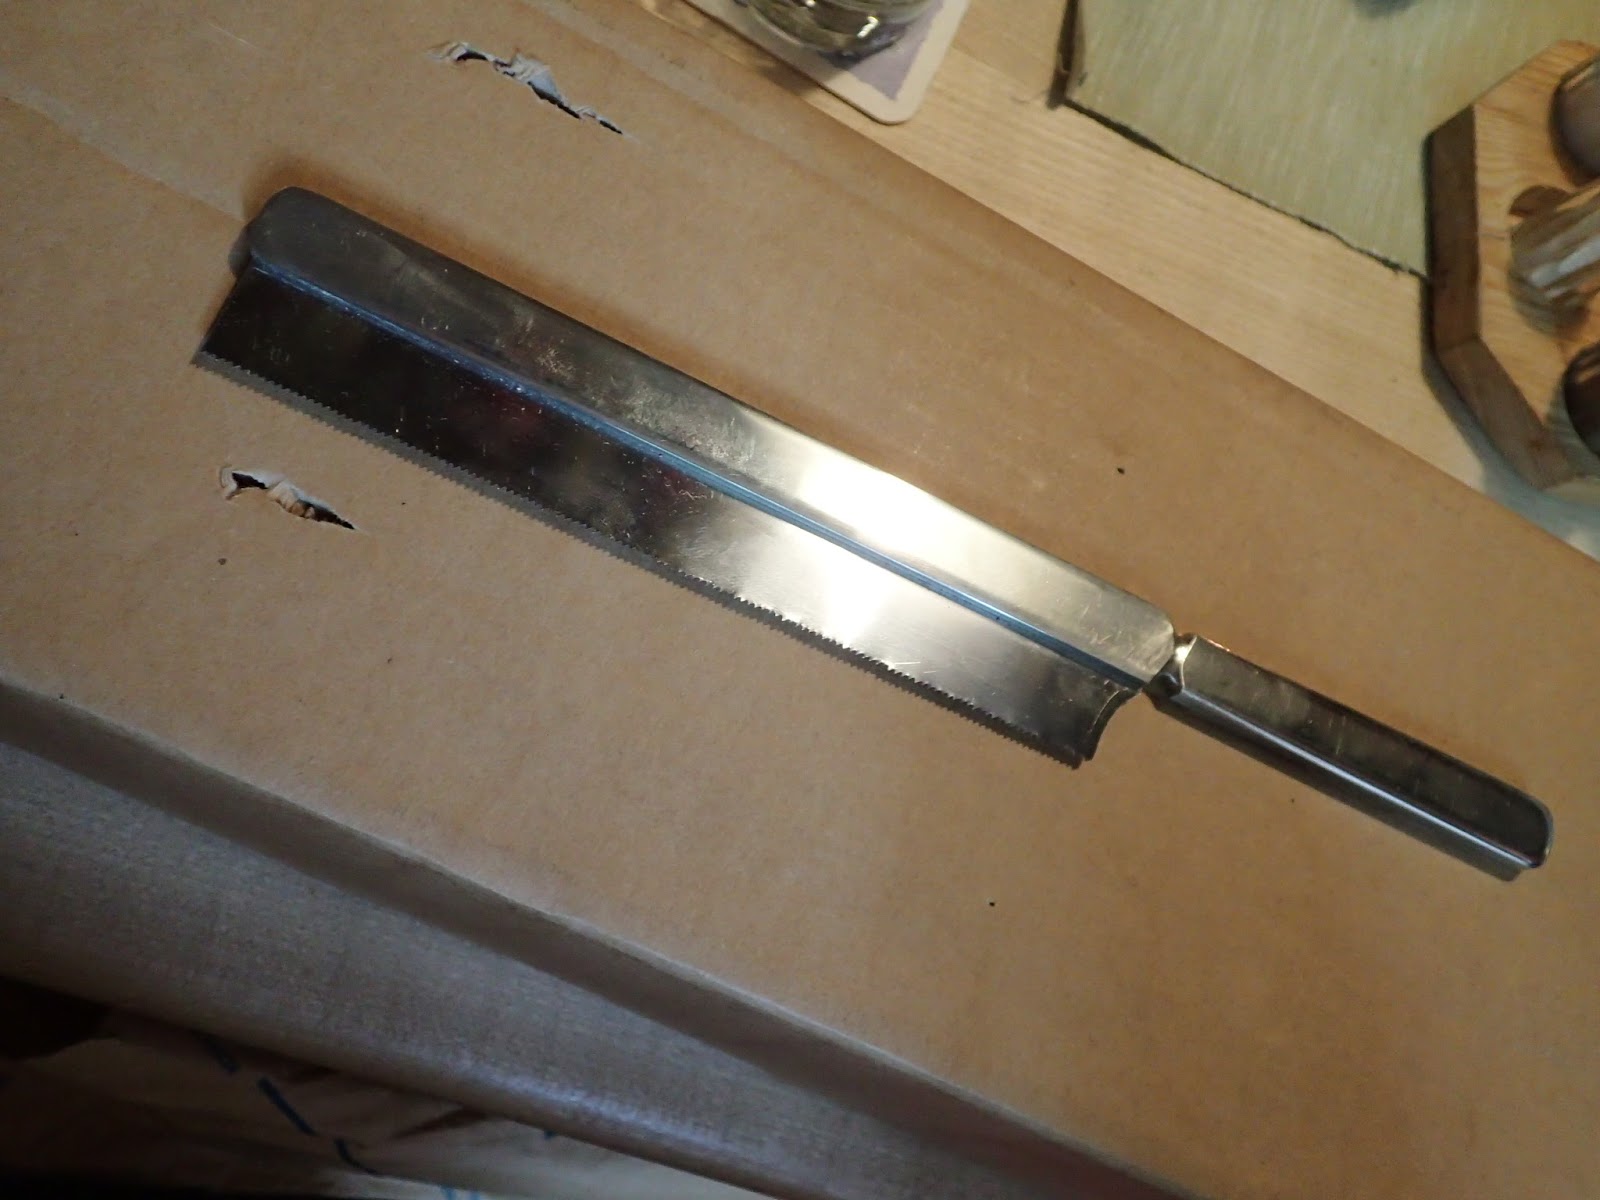
 |
| The butter knife. |
This cute little saw had perhaps the smallest teeth I have seen, and a very thin blade. It even works!
 |
| That is a narrow kerf. Alex should post the photo of me making this cut. |
He also brought along his
modern saw in pear. Not only is it beautiful, but it fits the hand like a glove.
 |
| For some reason the only photo I have of this saw is this artsy one. |
We met a couple of local woodworkers and had a nice time at the local guesthouse. Unfortunately the weather didn't cooperate for the Biergarten plan.
 |
| Alex showing off a Bavarian half-beer. |
It's always fun meeting up with a group of like minded
crazies craftsmen.
 |
| Peter showing off with the pear saw. |
Pedder also brought along his personal ebony dovetail saw. I also didn't get a proper photo of this, but it is a stunner.
 |
| Perhaps the empty beer glasses had something to do with the lack of proper photography. |
Also there was Martin. Enjoy this portrait of him:
 |
| Martin is a photogenic chap. |
Great fun was had by all. Except, perhaps, the poor waiter.
 |
| Peter, me, Pedder, Alex and Martin. |