 |
| Ta-daaaaa! |
 |
| Feed-N-Wax |
The consistency of this product is a little more liquid-y than what I make. It seemed to work well, though, and it is very easy to apply this way. What I did was squirt a glob in the middle of a cloth, wrap the cloth around it, and use the cloth as an applicator. After letting it sit for 10-15 minutes, I buff it out with a clean cloth.
I like the look.
Now that the finish is done, let's get rid of those ugly drywall screws and replace them with roman nails. Unfortunately the only Roman nails I happened to have are 60mm long, about 2 1/2" or so. Total overkill for this, but it's what I have.
 |
| Out with the old... |
 |
| In with the new! |
This engineered hardwood is much more fragile than solid 3/4" pine, so I had to be very careful. Most of the screws I backed out left a hole big enough that I could push the nail in with finger pressure until less of an inch of the nail was sticking out.
 |
| Notice a Roman nail makes a good hammer handle wedge. |
It's just then a matter of carefully tapping the nail home.
 |
| But not too far! |
I've learned the hard way that if you keep banging on these nails, the head will crush the wood fibers around it, spoiling a nice paint job. One only needs to tap until the sound changes. I check it is deep enough if I'm unable to get a fingernail under the head of the nail.
 |
| One minor blowout. |
There were only two nails that decided to misbehave. One is pictured above, it blew out on the underside of the center shelf. It's not too bad, and it's in a hidden place, so I left it be. The other was on a corner with a dovetail. Remember, I reinforced my dovetails with nails, and I think this reinforcing nail pushed my Roman nail out of the way. While I was tapping it home, I noticed it started to come out of the bottom of the chest. Since I still had little way to go with the nail, I decided to remove the nail and squirt some PVA glue in the wood that was deforming. I then nipped an inch of length off the nail with some nippers, and pounded the nail in. Good as new.
 |
| My method of clenching nails in a single photo. |
I decided to attach the battens on the fall front with clenched nails. I really like this technique. It holds forever, like it or not.
Now I can say I'm done with the carcass of the chest. Here's some glamour shots:


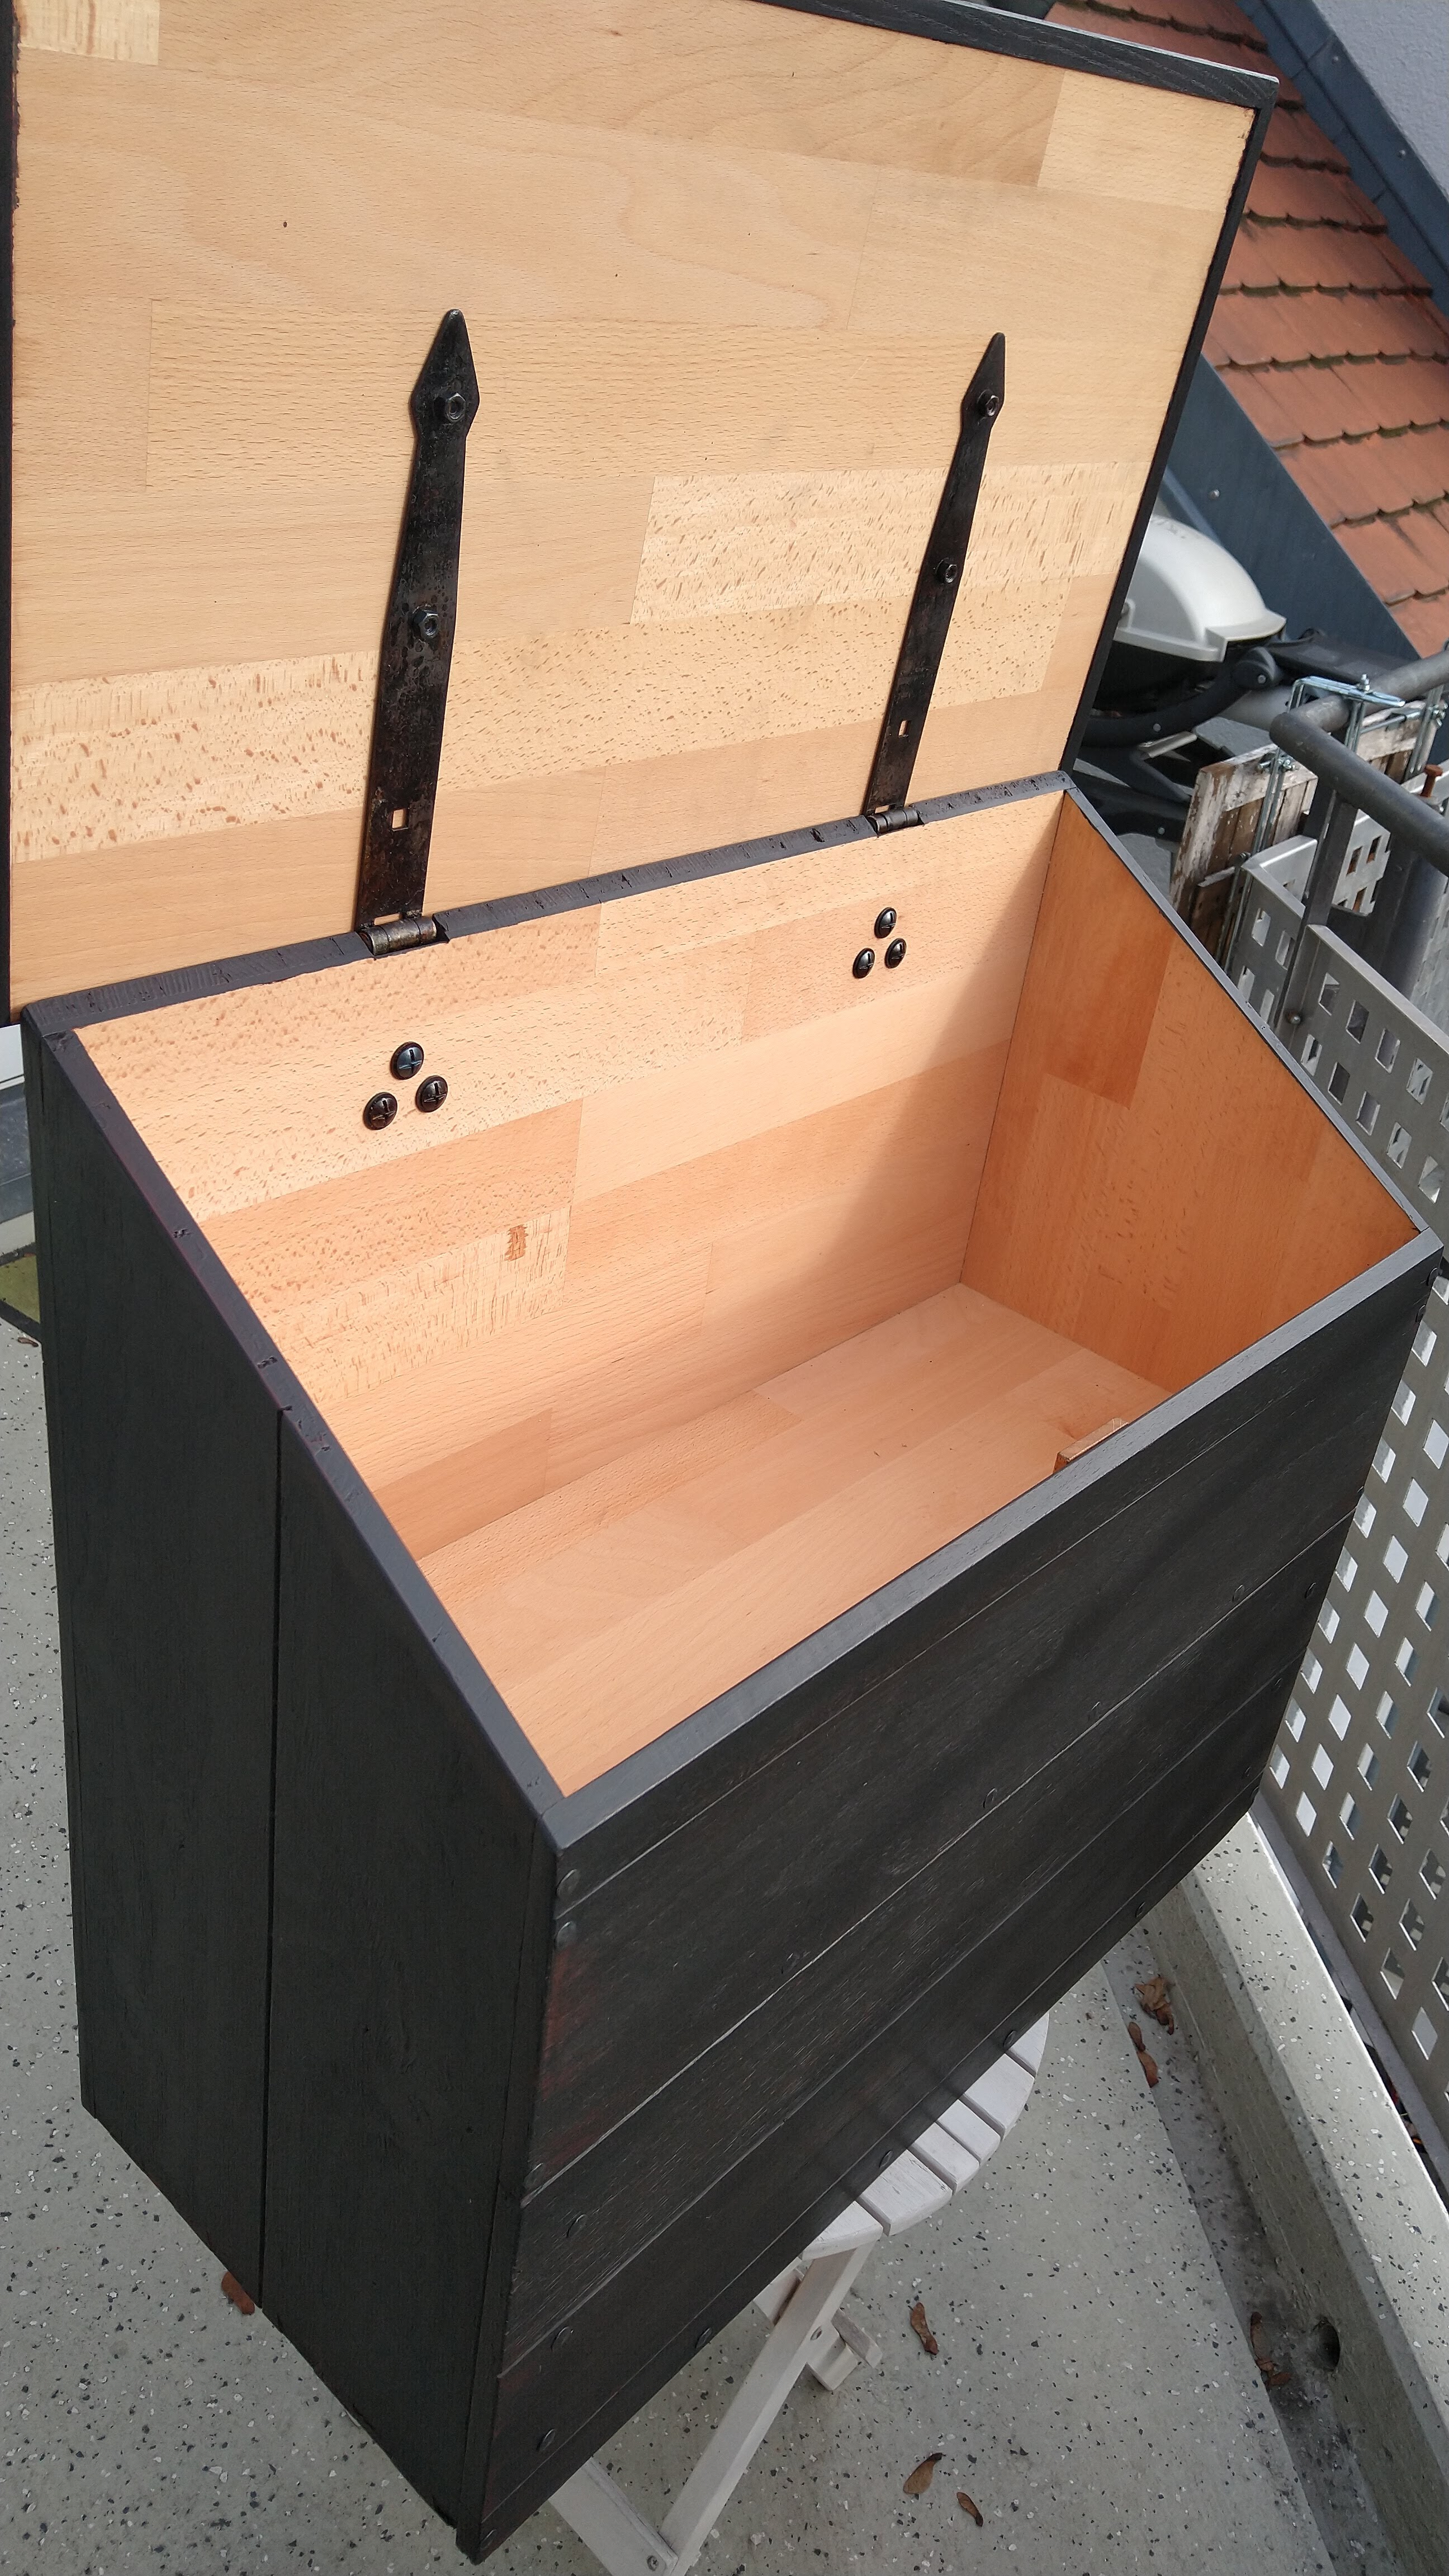


There's obviously a bit more to do, such as organize the top compartment to hold my leather working tools, add some handles on the sides, and maybe a lock. I might also decide to make another matching box for this one to sit on that is on casters. That would give me even more storage for stuff I didn't need that often, as well as making it easily transportable around my apartment.
Overall I'm extremely happy with this chest. I didn't really have high expectations for it. In fact, I figured it would be something that perhaps I would throw out someday and build again when I had better materials. But this box is surprisingly strong.
Someone asked about the weight. I'm not a very good judge, but I think it is probably similar to a chest made of pine. This one as it is weighs 13.4 kilograms ( about 30 pounds). Not too bad for a huge box.
The single best part of this chest for me is the finish. I toyed with the idea of turning the beech side out, but I figured the joints would bee too ugly and weird. I'm glad I chose this. I am stunned at how well those Japanese burnishers prepared the soft underside of the flooring material for milk paint. Sadly, it can't be properly displayed in photos. I find myself running my hands over the surface of the lid every time I walk by it.
The milk paint turned out so well, that I'm wondering what else I could make and finish this way. It just dawned on me that my ATC that I built in 2011 is still unpainted. Perhaps it would be fun to try red over black?
I look forward to many years of use from this tool chest. I hope you enjoyed the build half as much as I did.
What do these Japanese burnishers look like? The only burnishers that I know of are the French polissoirs.
ReplyDeleteHi J.J. Peddler, the Japanese ones are very similar, except there are three: course, medium and fine. The main difference is (in my opinion) that they are used more to remove the softest parts of the wood while leaving the hardest, as well as smoothing and polishing everything up nice. I think the Japanese word is Uzukuri. My fine burnisher is made of horse hair. Check out Part III of this build, I have a picture of them.
DeleteCheers!
Came out looking pretty snazzy. I like it.
ReplyDeleteThat Howard stuff... i put that stuff on everything...wood :-)
Here is to a New Year full of good news for a change
Bob
Thanks, Bob! Snazzy is definitely a good word for this chest. It makes me smile every time I open the lid.
DeleteA great series of blogs Brian. These DTCs are really great projects. I've built 2 now, but will probably do another group build of them in the future, since they are just such a good project at any level.
ReplyDelete