Greetings, loyal readers! I'm still here. Instagram is addictive, and tends to suck up a lot of my online creativity. If you aren't there, you are missing out on some real woodworking fun. Several weeks back I started on this project, and have a couple of blog posts in order to catch you up.
I do hate to think I am neglecting my blog, so I feel I need to share bit of what I have been up to in the shop:
Staked Desk ala Welsh Stick Chair inspired by a piece by Christopher Schwarz.
Or, Staked Desk for short.
This project started as an idea I got while gawking at some really wide ash boards at the lumber yard while scoping out wood for another project. I didn't buy them, and when I got home and started thinking about it, I decided that I really should have bought them, so the next day I headed back to the lumber yard.
Since there wasn't an employee pestering me to tell him what I wanted, I took advantage of some time to wander around there by myself to look at all what was available. I found some really nice wide 5/4 oak boards. The Frau wasn't so excited about the idea of an ash desk, so I figured this was the way to go.
 |
| Too big to saw in my Kellerraum shop space, so I used the common space outside of my shop. |
At least I got it home in one piece thanks to my new luggage rack I mounted on the Golf.
 |
| I used to have to saw boards to lengths no longer than 2 meters 30. |
The really great benefit of getting the wood home in one piece is you can really take your time figuring out the best way to cut the wood. I always feel rushed doing it at the lumberyard, and it sucks to regret a crosscut.
The entire design of this desk was done in my preferred way: on the fly with no drawings or cut lists, creating using the dimensions of the rough lumber.
In this case, the board I had was about 18 inches wide, so that is how deep my desk top will be.
 |
| I think this is the widest single board I have ever worked with. |
I picked out a nice section about 40 inches long or so from the middle. It was the nicest looking part of the board. I had no other immediate plans for this wood, so it will go in my scrapwood stash waiting for me to think of something cool to do with it. Perhaps a nice coffee table is in my future, or a couple of oak Shaker side tables with solid slab tops.
The rest of the desk needed to be made out of 8/4 stock (8/4 means two inches thick), and the best, straight grained stuff for staked legs they had was ash. I like ash, and I think it compliments other ring porous woods like oak nicely.
 |
| Ripping legs. |
First up is to rip some pieces that will be appropriate for legs. Having a hand-tool only shop, many would think this part might be a disadvantage, but in this case it is a huge plus, as I can cut them out however I want, ensuring the grain is as straight as possible from the top of the leg to the bottom.
The only thing I should have thought about was it would have been possible to start my tapered legs at this point, saving me having to plane them tapered later. Perhaps next time.
 |
| Since I sawed them square, it was easy to make them all four square. |
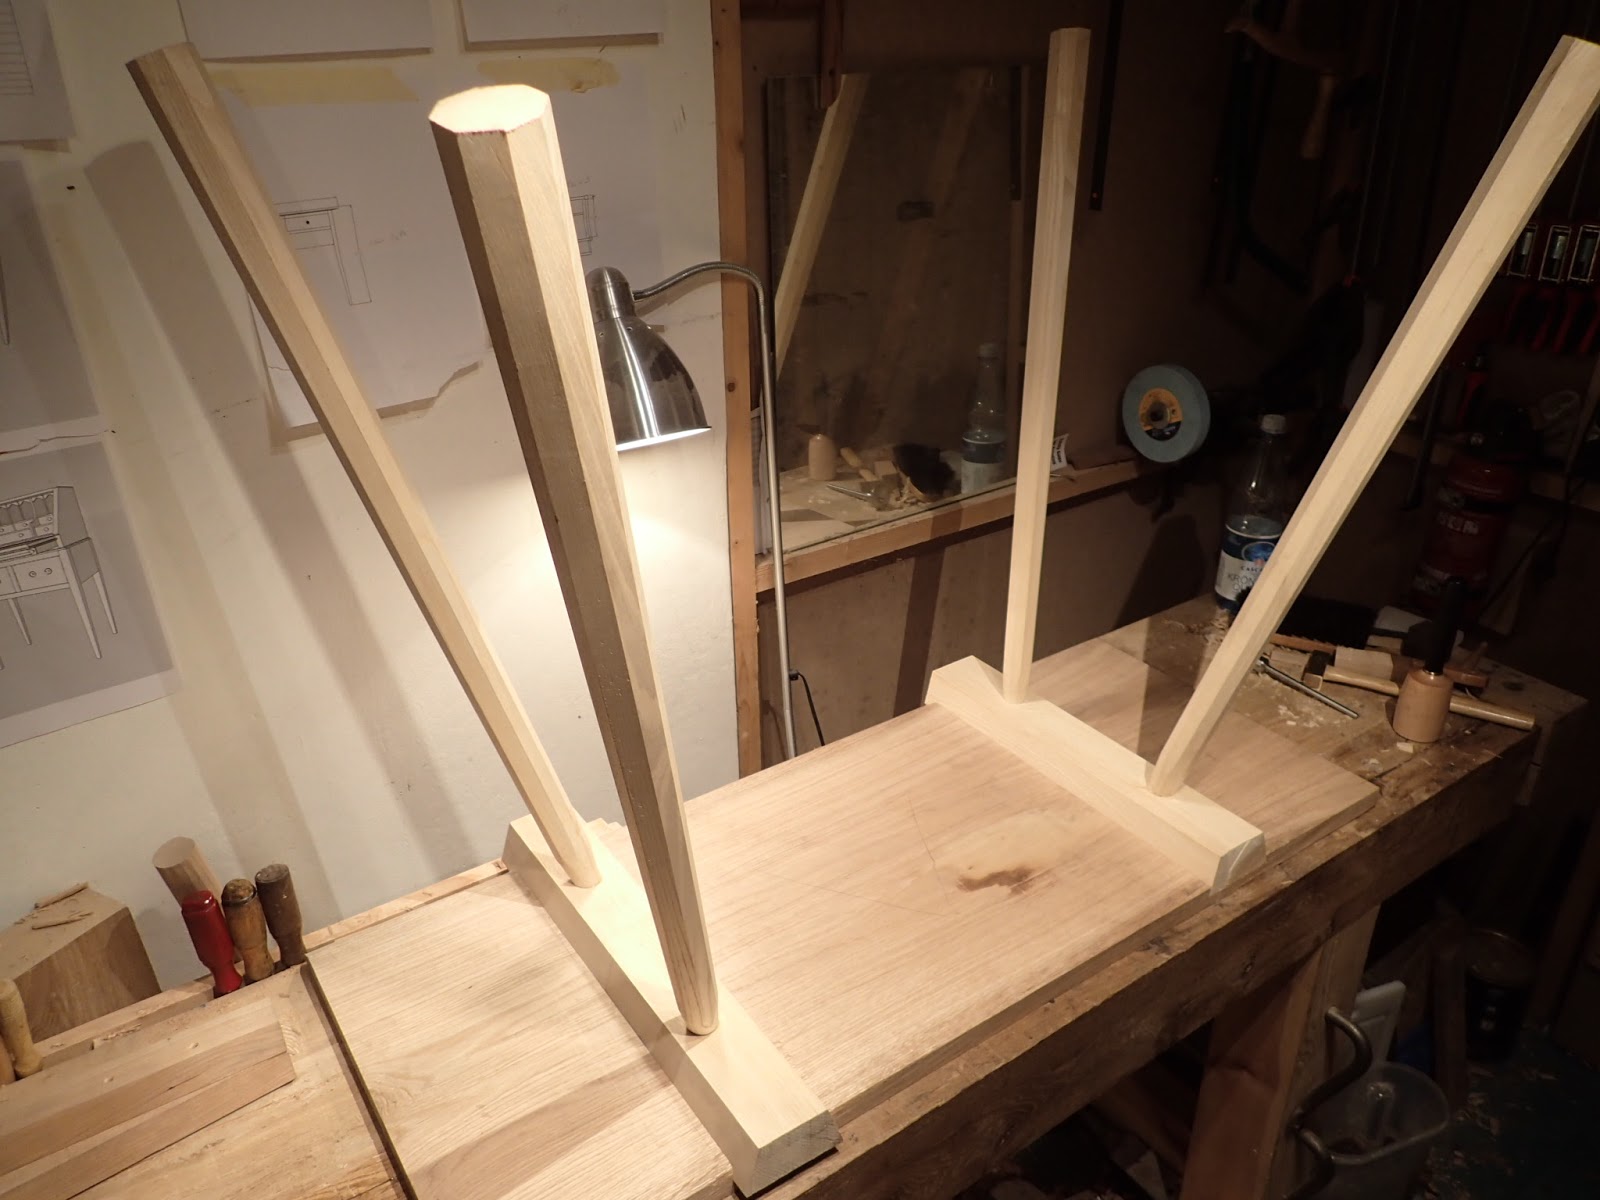
I decided I want these legs tapered and octagonal, similar to the legs on the Welsh stick chairs I have built. They will taper from thin at the top to thick at the bottom.
I laid this out with my 48" ruler, and started tapering with my ratty old Swedish jack plane.
 |
| This plane has become a workhorse in my shop. |
I'm not normally one for measuring shaving thicknesses, but I couldn't resist this time. This plane hogs off wood like crazy. It was sweaty work, but it didn't take long with this plane.
 |
| Pretty decent for a thick shaving. |
In no time I had the tapers roughed out.
 |
| All lined up, you can see the tapers on the four legs here. |
Next was to make them octagonal. The jack plane worked well to rough this shape, too, but left some tear out that needed to be dealt with. I haven't used my Krenov jack plane much, so thought I would try it here. The way I made this plane, it takes very fine shavings. It works kind of like a jointing smooth plane.
 |
| Did I invent something? A jointing smoother. |
After the legs were done, I needed the cross-grain battens. These have angles, and look trapezoidal from cross section. You'll see why in a minute, but the idea is that they fit in a sliding dovetail. They need to be thick because not only do they need to keep the panel of the desk top flat, they need to hold the legs.
I chose an angle by eye, and sawed. No idea what the angles are, and I am sure none of them are the same. Those of you OCD engineer types I'm sure are horrified, but really it doesn't matter as long as it looks OK.
 |
| Cross battens angled and sawed to length. |
One of them was perfectly straight grained, and easy to plane. The other one had a bit of a knot where the wood grain turned around. I had the dickens of a time planing it. I was getting tear out like crazy. It was here that I remembered a while back I had rehabbed a #4 sized Sargent smoothing plane. I hadn't used it on anything yet so I figured I give it a go, as nothing else I tried was working.
 |
| Bingo! |
What a relief! The trick with this smoother was with the chipbreaker. I had been setting it far too close to the cutting edge before. Backed off just a gnat's nadger did the trick.
Now that the undercarriage is on track, time to get the desk top sorted.
 |
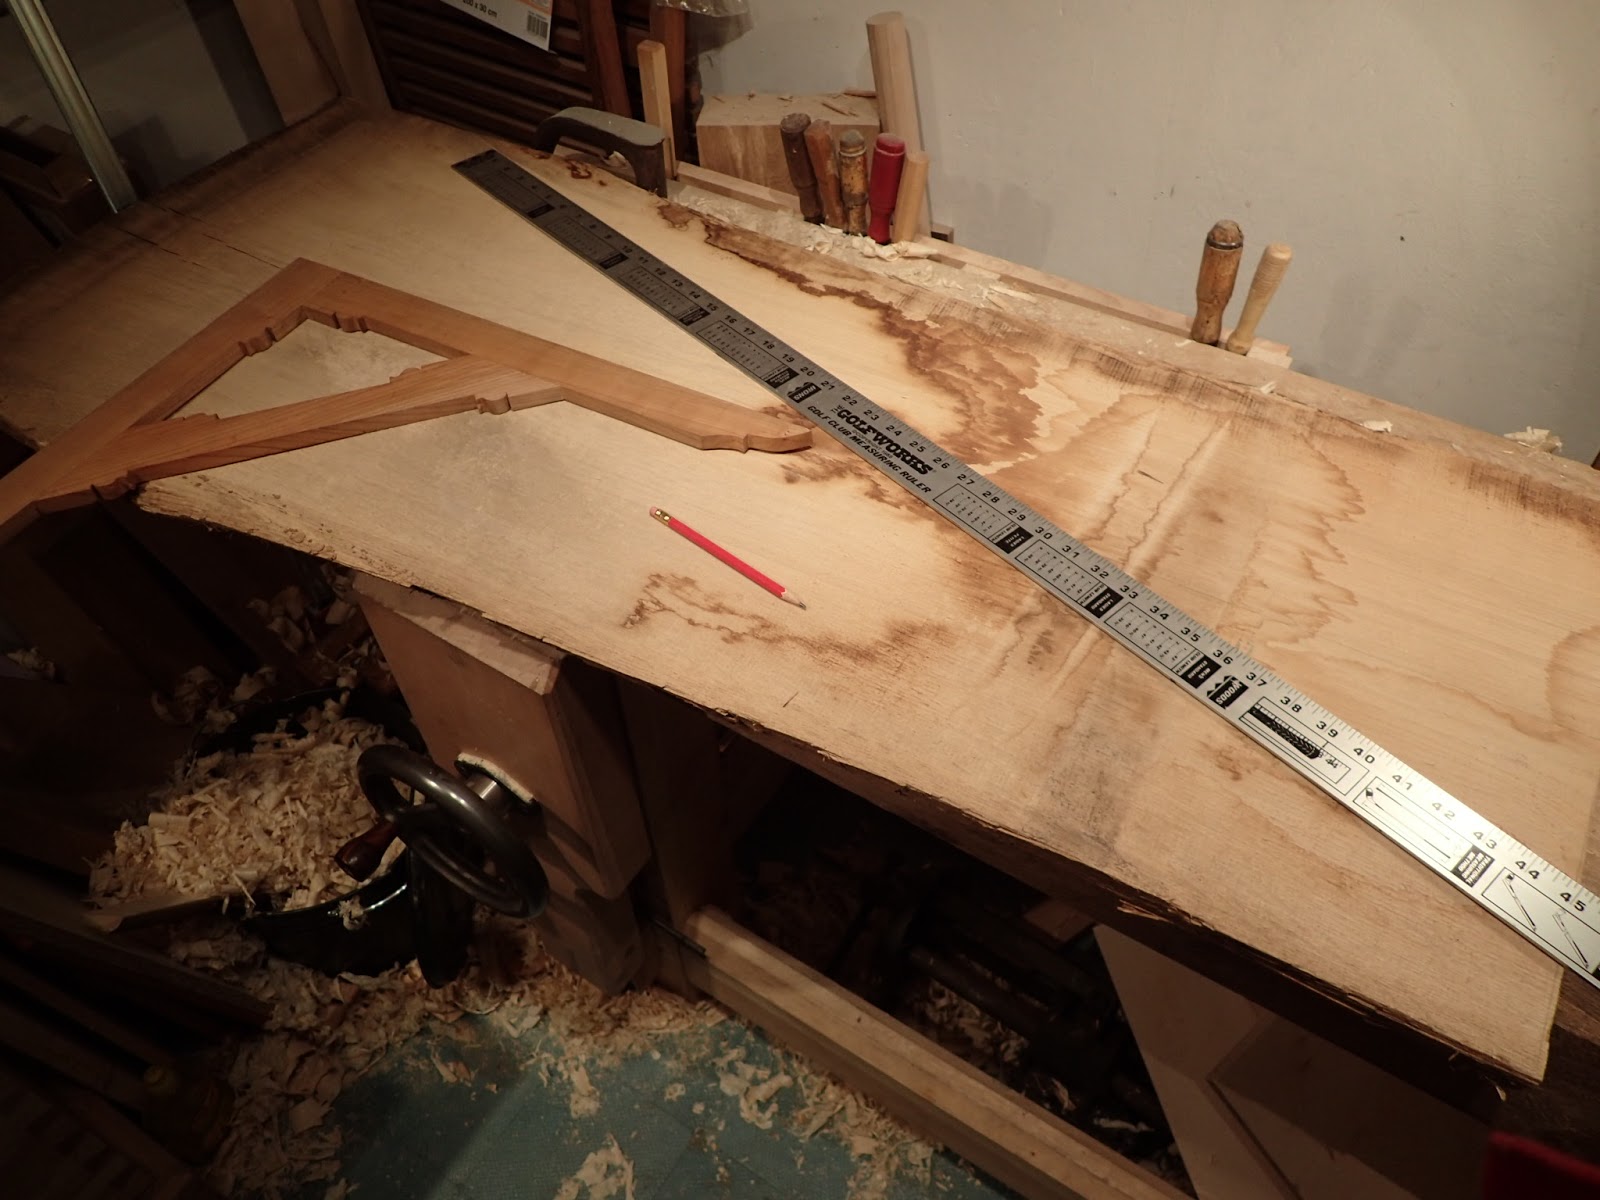
| Layout tools for a big chunk of lumber. I don't often get to use my layout square. |
I wanted to cut out this piece so it looks square, and was about the right length. First I got to crosscut a bit off of the cracked end,
 |
| New to me crosscut saw. Nice. |
then sawed and jack-planed down to the line I drew out.
 |
| Long boards are a bit of a challenge in my cramped space. |
 |
| For fun I had to play with the microscope mode of my camera. |
Now, the fun part: planing this monster. At least I don't have to deal with any glue lines.
 |
| Even with this plane, this job took a lot of calories. |
At least this oak was relatively well behaved. the grain all goes in the same direction.
I took a bit of a break and decided to taper the ends of the legs in preparation for going into their tapered mortices.
I got to use the drawknife that was given to me by Ray Schwanenberger for the first time. A good, sharp, full size drawknife is a wonderful thing. I look forward to really getting to know this tool. I used it to rough the thick part enough to get the leg into my home-made tapered rounder.
 |
| Now THAT's a knife! |
I made a rounder especially for this desk, as I wanted a taper as big as I could get. The rounders I have are all appropriate for chair parts, but I thought a little more meat on the tenon wouldn't hurt in this case. I made the taper in about two minutes using directions from
Tim Manney's blog.
 |
| This works great. Like a big pencil sharpener. |
Once I reamed out the matching mortice, I was good to go.
 |
| Layout of this joint was greatly assisted by Peter Galbert's book, The Chairmaker's Notebook. |
Back to flattening the desk top.
 |
| The giant problem here was once I got it flat, there was a big stripe going cross grain! |
After some advice by the good folks on Instagram, I took the advice of Chris Schwartz who said to keep going, it will disappear eventually. He was right.
 |
| The dark marks here are just sweat drippings. Yuck! |
Keep an eye out for tomorrow's post. It will include making the sliding dovetail and starting the drawer.