A picture is worth a thousand words, so this post will be like not reading 30,000 words. Think of how much time I'm saving you!
I'm getting very close to being done with this build, so enjoy a photo essay.
 |
| How'd I get here? |
 |
| Planing a carcase this way is a challenge, but do-able. |
 |
| Pilot holes for the nails. |
 |
| Cut nails. I put several in at opposing angles for strength. |
 |
| Nailed on, but needs a bit of trimming. |
 |
| A Japanese saw lets you cut very close to the line. All that is left is a little cleanup with a plane. |
 |
| Done with the bottom. |
 |
| Except for counter sinking the nails. No punch, so I dulled the end of a screw for this. |
 |
| Glamor shot of my dovetails. |
 |
| Now, I have something at a good height for sawing! |
 |
| Time for a removable till. |
 |
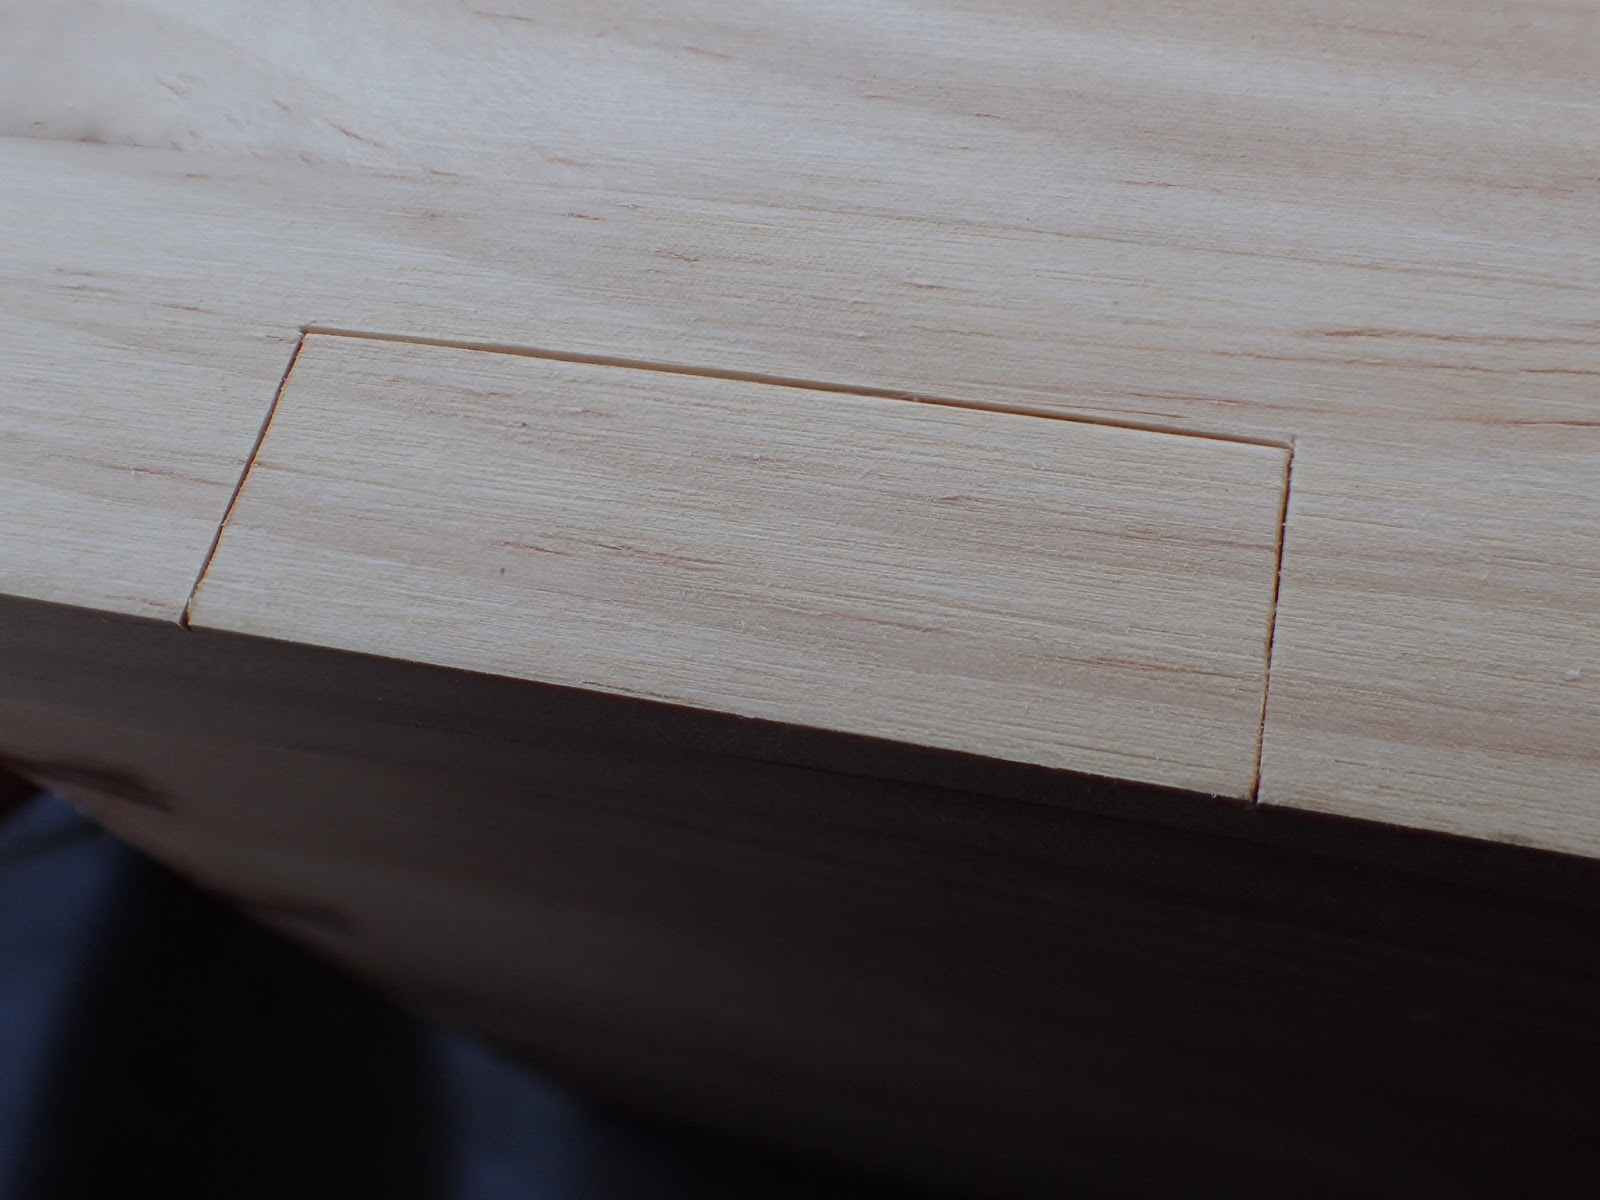
| Marked out a stopped groove. |
 |
| Using my fancy new self-made marking knife with a Hock blade. It's very nice. |
 |
| I spent a little time rehabbing this knife for this job. Not enough room in the box for a chisel. |
 |
| First, I deepen the line with this knife. |
 |
| Then, slice out a bit for a V-notch for the saw. |
 |
| Here's what it looks like. I tried to keep the knife line as crisp as possible. |
 |
| A bit of free handed Dick saw action. |
 |
| Finished saw kerfs. Not perfect, but I'll take it. |
 |
| All that's left is to pop out the waste with a chisel. |
 |
| I've decided that one should get good at doing this with a chisel before spending money on a router plane. Same with a shoulder plane. |
 |
| Joinery done, glue the till bottom to the till side. |
 |
| Then, mark where the supports go, nail and glue them in. |
 |
| Installed till. Time for hinges. |
 |
| I am installing butt hinges. The first step is mark out as carefully as possible where they go on the carcase. |
 |
| This part is easy. Rough out with a chisel. |
 |
| Then, carefully use a chisel to pare to the line. Slow is fast. |
 |
| Plenty of test fitting results in a perfect fit. |
 |
| The mortise for the lid is only slightly more complicated. Start by an accurate layout. |
 |
| Carefully remove the wood from the edges, then remove the mountain in the middle. |
 |
| This is what it looks like part-way. |
 |
| Finished mortise. I lost one little chip on the side, |
 |
| Nothing to worry about. This particular hinge masks the chip. Plus, it's in the back, anyway. |
 |
| I like to test they fit perfectly before securing with screws. |
 |
| And finally mounted. I'll only use one screw for now, I'll install them all when I permanently attach the lid. |
 |
| Now it's time for more dovetails for the skirt and dust seal. |
 |
| One down. I think that for this moulding, which covers only three sides, I put the tail on the wrong side. If this went all around, this is correct. It shouldn't hurt anything, however. |
 |
| After gluing it up, I chamfered it with my Veritas BU jack. |
 |
| Glued and nailed all around. Repeat for the dust seal. |
 |
| Here is the chest with completed woodwork. |
What a fun build so far. Next up - experimentation making my own milk paint.


Looks great!
ReplyDeleteReally impressive build!
ReplyDeleteCheers
Jonas
Thanks!
DeleteCould you list the tools used.
ReplyDeleteI am always impressed by Jonas working with a reduced set of tools. Now you are in the same league.
Sylvain
HI Sylvain, Wow! Thanks for the compliment. Jonas certainly is an inspiration.
DeleteI think I'll take some photos and do a blog post on this. Thanks for the idea.
My workhorses for this project were my Veritas BU jack plane, a Ryobi saw, and three vintage chisels. But, there were a few more. I'll post a few pictures when I get a minute.
Cheers!
I read your 1st and 2 sentence, but when I was scrolling by the pictures I thought instead of 30.000 words did he post 30.000 pictures??? lol
ReplyDeleteGreat report, it made me a bit jealous because I usually forget take pictures during the process...
Buy the way Aki and Leroy Merlin are from the same chain store. And near Alicante the group Eroski have some 'Tiendas' fo DIY.
P.S. - I'm glad the internet don't have smell.... lol
P.P.S. - I use the same kind of sandals/slipers with socks too
Haha!
DeleteThanks for the info. It is difficult for me to get to AKI, but Leroy Anderson's is convenient enough. That's where I got the wood for this box.
I hope you don't leave the house in horseshoes and socks!
That turned out great! I'm a visual leaner, so I really like the format of this post.
ReplyDeleteThanks, Greg. I figured a bunch of words would just make this post even more intolerably long. 😃
DeleteAgreed, great format. Appreciate having lots of pics, and even short comments make them clear. Great job on the box, too. Very classy hinges.
ReplyDeleteJeff
Thanks, Jeff! I'd probably get kicked out of Instagram if I posted 40 pictures at once.
DeleteThe hinges are nice. I got them for a reasonable price at Leroy Merlin, the local home center.
Brian,
ReplyDeleteThe build looks great! Awesome job so far!
But... black socks and sandals? *sigh*
Thanks, Ethan!
DeleteHaha! I don't leave the house like that. I'm not sure why I thought it would be OK to show a photo like that to the woodworking universe.