Having mulled this around in my head for a while, I decided it would be cool to make a drawer that hung from the underside with no external parts. I realized in my scrap pile I had some nice pieces of quarter sawn oak that would do nicely. Since the entire drawer will be exposed, the entire drawer will need to be oak. If it slid into a cabinet, I would probably use pine for the drawer with an oak face, but solid oak this one will be.
First up is to resaw a piece of scrap to make two sides to the drawer.
 |
| Resawing a piece like this is getting easier for me. Perhaps practicing on ripping 12/4 beech helps. |
The more I resaw by hand, the quicker and better at it I get.
 |
| I'm happy with this. |
 |
| A close up right off the saw. |
I also decided to finish the inside of the drawer parts before assembly. And by finish, I decided not to apply any finish to the inside, just to burnish it and leave it raw.
I started by using my pollissoir that I bought from Don Williams, and finished it off with what I have been calling an uzukuri. I'm not sure if this is really the name of this tool, but it is essentially a Japanese polisher much like the straw pollissoir from Don, only it is made from horsehair and intended to leave a much finer finish. I think it is normally used on softwoods, and in combination with courser burnishers gives a nice texture to softwoods. Using it on this oak, I feel like it gives a final bit of polish to what Don's burnisher has done. The wood is really smooth and silky to the touch after this treatment.
 |
| I like it! |
Now, on to the dovetails of the drawer. This is actually the first time I got to use this Moxon vise that was given to me by Alex on dovetails. I use it all the time for other things, I guess I haven't made too many dovetails lately. I can see all my future dovetails being cut on this vise.
 |
| I like it! |
It also dawned on me that this is the first time I have ever cut half-blind dovetails. I decided to use the method of overcutting on the inside of the drawer to facilitate removal of the waste. Easy peasy. I am not too worried about this marring my work, as it is difficult to see this part of the drawer when you open it.
 |
| Notice I have overcut my baseline on the inside of the drawer a bit. I have done that on purpose. |
Success! There's a few gaps I'm not too terribly proud of, but I think it will work.
 |
| This picture looks cool and you can't see the gaps. |
I used through dovetails on the back. It looks funny because the back is shorter so there is room to slide the bottom in, and with the contraption for the drawer to hang from, it needs to be short of the top of the drawer, too. You'll see what I mean in Part III.
 |
| Through dovetails and some tool porn. |
First, a glue up of the carcass of the drawer. Let it dry for a day before removing clamps.
 |
| Part I of glue up. |
Then, I decided to use slips for the bottom. The top I grooved to hang from the desk top. Another first for me, I haven't built a drawer using slips before. One thing I noticed when gluing this up is the thin walls of the drawer sides had both bowed inward a bit, and the slips reinforced them straightening them out. This is good for proper operation of the drawer.
 |
| Part II of glue up. |
Next, I worked on the bottom panel for the drawer. It turns out I had just enough quarter sawn oak (about 3/8" or so) to make the whole drawer. I measured one last time, and came up with needing another inch and a half width, which made me have to use another board, this one rift sawn, and lighter in color. After crosscutting the QS oak, I realized my second measuring was between grooves on the top of the drawer, and I could have got it all out of one board after all. Too late now!
I figured if I put that weird one in the back of the drawer it won't be so noticeable. Besides, it is the drawer bottom, and The Frau says the drawer will be full of crap and you won't see it anyway.
 |
| Smoothing the panel with my Sargent smoother. |
After smoothing it and polishing the show face in the same manner as discussed earlier, I cut it to size, and shot the ends on my shooting board.
 |
| This is the widest board I have ever shot this way. It took a little finesse. |
Then I used my shoulder plane to make some rabbets on three sides so the panel would fit in the grooves.
 |
| I used the shoulder plane because it is a bit lower angle than my rabbet plane, important for this cross grain work. |
All that is left is to slide it in. I think the slips actually made this a bit easier and more stable.
 |
| Sliding it in. |
 |
| Another view showing how the slips work. |
 |
| Even closer view. |
I trimmed off the part of the panel that stuck out and drove a finishing nail in that spot to hold it together. Again, no glue as contraction and expansion would tear it apart otherwise.
 |
| Finished drawer. |
It is true that this drawer took more effort and longer to build than the desk itself.
I made some more battens out of oak that will hold the drawer from the inside in grooves that I plowed in the top of the drawer. Again, no glue for these. I will screw them in. Here I am drilling clearance holes in the drawer battens for the screws. The center one is round, and the holes on the ends I elongated to allow for cross grain movement.
 |
| Boring. |
Next, a bit of finishing touches on the desk itself. I cut the battens to length with a bevel, bevelled the underside of the desktop a bit to match. Thanks to Aymeric for sending me a vintage spokeshave, it turned out to be the perfect tool for this job.
 |
| Dick saw on the battens. |
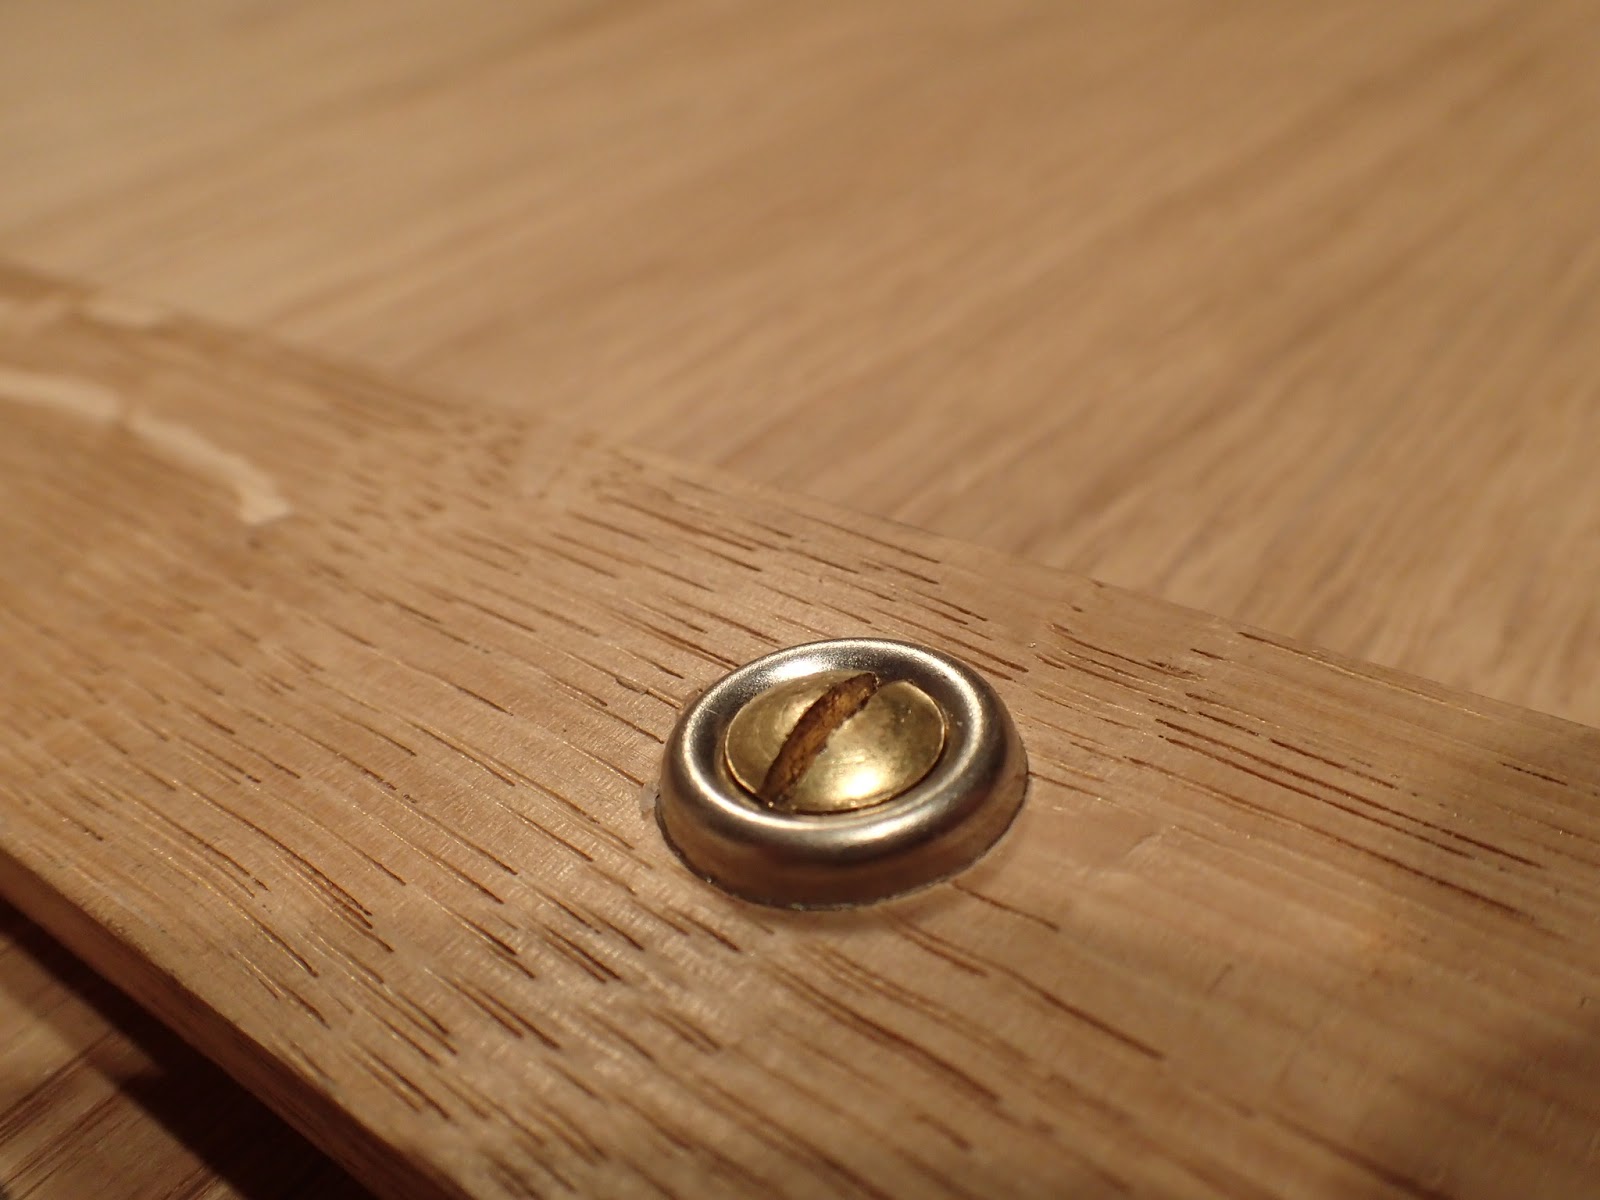
All that is left is to mount the drawer. Some pilot holes for the brass screws, and a bit of wax to help drive these screws.
 |
| Parafin wax on these brass screws because I had it handy. |
And here it is:
 |
| Glamour shot I |
 |
| Glamour shot II |
 |
| Glamour shot III |
Now you are caught up to where I am with this project. I hope to get finish on it in the next day or so, and you'll see the final project in Part IV.
If you missed the first two parts, see them here:
Part I
Part II


 Tadaaaa! The finished project.
 I had a little tung oil/BLO mixture left over from my last project that I used on the top. This top is gorgeous. I really like that it is made from one wide board.
 The ash parts got plain boiled linseed oil (BLO). This was because I ran out of tung oil. I used tung oil on the top in a hope that it will give a little bit more protection. We do not plan on abusing this desk, though. After a few coats of oil like this, I will top it off with wax applied with a pollissoir.


 Here is a picture a bit out of order, it is the last photo before finish was applied.
 Another photo of the drawer.


 I have to say that I am happy with how this desk turned out. It might not wind up living where it is supposed to go for long, it might go to the other apartment and be paired with one of my Welsh stick chairs.


