 |
| One of my flea market bargains |
I found this old scrub plane at a flea market the other day, along with a few other neat tools. I'm not sure what drew me to this tool, other than it felt really comfortable in my hand.
It sure isn't pretty, though. My guess is it was user made. There is a bolt that goes all the way through this plane, which stabilizes a big crack in the body. There is also a screw right above the bolt that stabilizes a smaller crack. The iron is painted red on both sides, and I have a sneaking suspicion that this blade was repurposed from something else.
The good news is that being a scrub plane, the tolerances do not have to be too fine. This is a rough tool, so a lot can be forgiven.
The first thing that needed to be done was the blade needed some serious attention. As you can see, when I started lapping the back some pretty serious problems are evident.
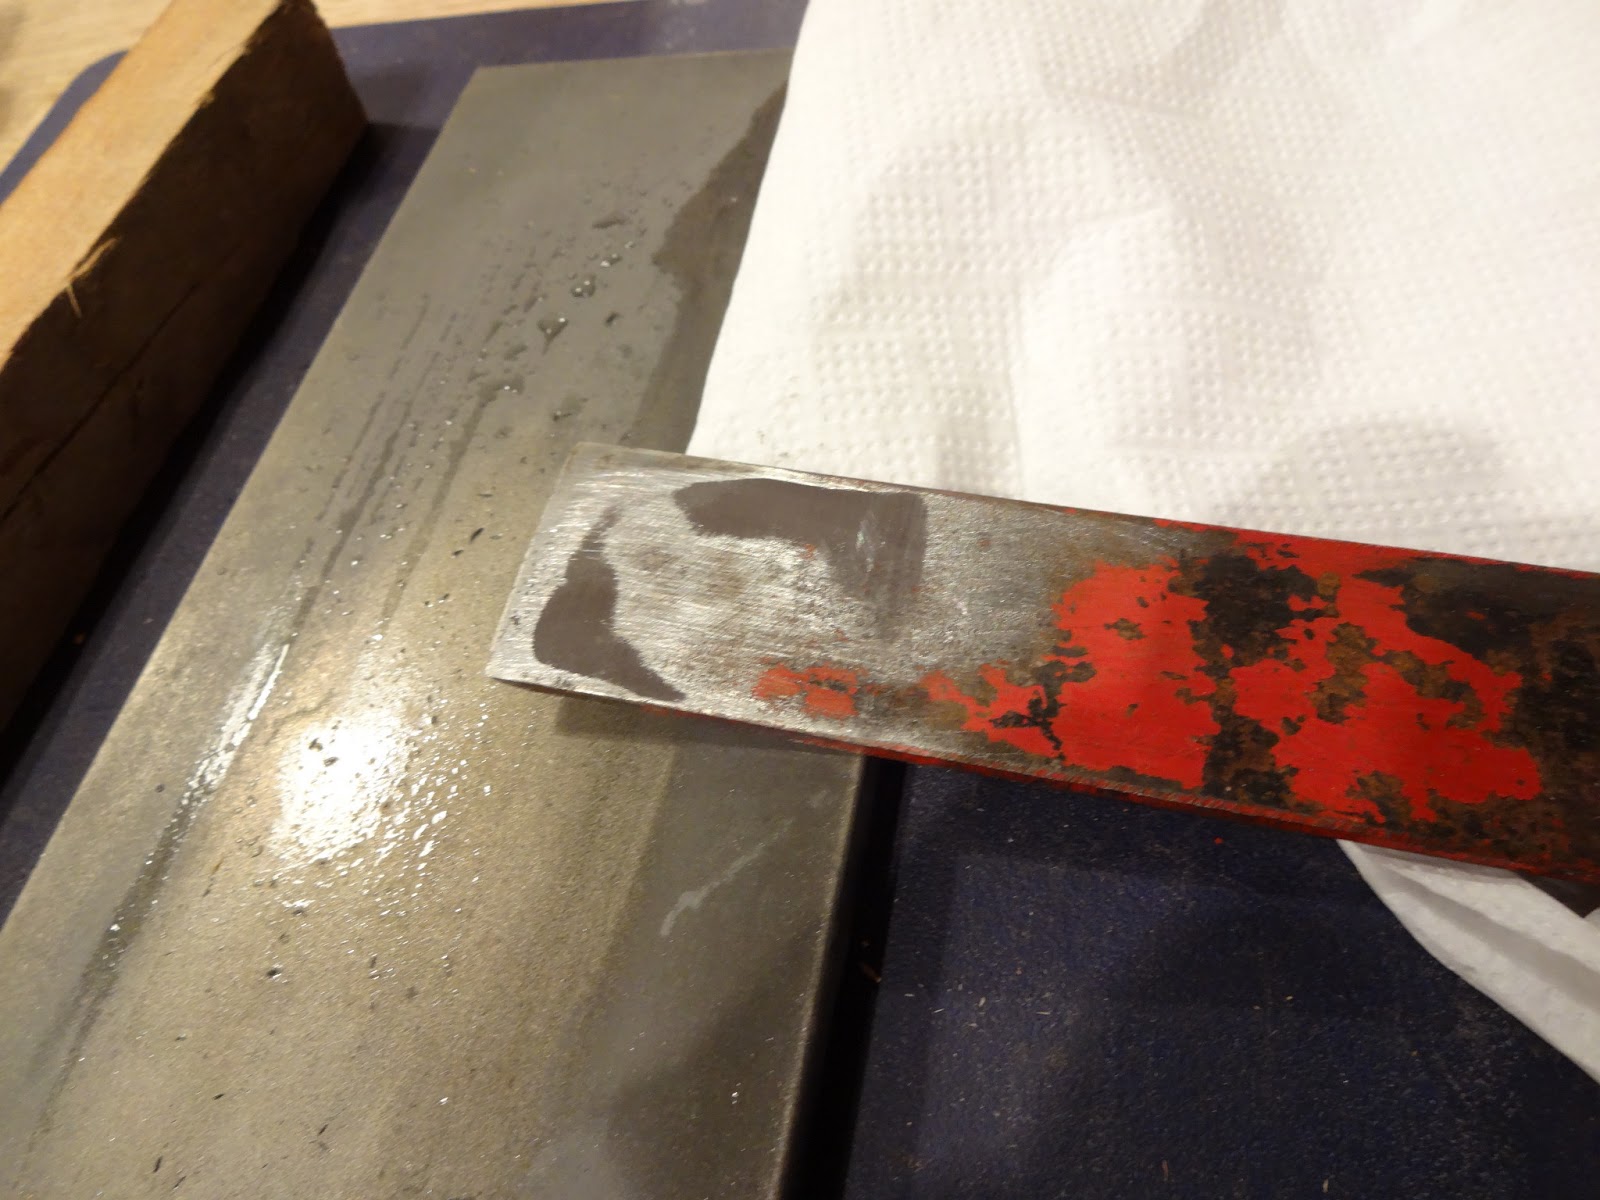 |
| Whoa! |
After lapping as much as I could stand, I painted the back with machinist's layout fluid and scribed a line with my compass with a three inch radius. I scribed this line pretty far back from the tip to ensure that the dubbed edge would be all ground away.

Now for the fun part. I recently got a new vintage hand cranked grinder from eBay. It is a Best Maide #151. This thing is awesome. It has the handle on the front, which I didn't think I would like, but I do. I put a Norton 3X wheel on it and off I went.
The big problem with this particular grinder, is there is no where on the casting to attach a tool rest. So I improvised.
 |
| Ghetto tool rest. Ugly, but functional. |
 |
| Grinding to my line. |

I did realize that it is important to wear eye protection when grinding. I am unaccustomed to wearing Personal Protective Equipment (PPE) when using hand tools, but this grinder is an exception. There is nothing to keep dust and metal parts from flying everywhere. Safety First!
After grinding to the line it was a simple matter of finding another riser block to get the angle I needed for the bevel grind.

If this looks as if it isn't the worlds most stable and accurate tool rest, you are right because it isn't. It is surprising, though, how well it worked. Grinding doesn't have to be perfect, honing and polishing does. Besides, this would have taken forever to grind on my coarse diamond stone.
 |
| Ground pretty close. I can move to my stones now. |
 |
| Back of the iron after the Ruler Trick. |
 |
| I think this is a sign this steel isn't good for a plane blade. |
I put the blade under tension, backed out of the way, and planed the sole flat with my jack plane since it was handy. Four or five swipes later, this plane was as good as new.
Now for a test!
I clamped up a scrap piece of cherry and started planing across the grain. After a little bit of fiddling, the plane really started taking some nice cross grain shavings. It didn't like it if it was too thick, it backed the blade out. As long as the blade was just shy of too thick, it cut very nicely.

I took a random shaving to measure with my calipers. 51 thousandths of an inch, not too bad. I'll have to compare that with some of the other roughing planes I have.
what !? you have a power tool in your shop!!! or is it a manual grinder?
ReplyDeleteI like your tool rest! the other day I had a hard time grinding a 1918 chisel from peugeot & frères that I found at an antique shop for 1 euro, next time I will know how to do it...
Hi Aymeric,
DeleteYes, it is a hand-cranked grinder. Power tools are too noisy and dirty for my little shop. I'll try to post a better photo of it soon.