I solved my leg problem by buying some more wood. Feel free to continue voting in the poll at the upper-right side of the screen, but so far the overwhelming majority of respondents suggest buying more wood.
At least that is what three of the four people whose votes are in said.
I probably would have done that anyway.
Today I went back out to the lumberyard and told them I needed one more board. I went back to the stack of 33mm (5/4) cherry, and flipped through the few boards that were there. I was looking for a board that had areas of very straight grain, and likely had straight grain along the edge, too. This can be hard to see, because on flatsawn boards the edge is covered in bark.
I picked one out of the few that were left that seemed would yield enough straight grain for four legs for my side table. However, there were quite a few areas that the board did not have straight grain. This will be interesting.
While, the forklift driver was moving my board to the area to be measured, I decided to look at the 40mm (6/4) stack. Lo and behold, there was an absolutely gorgeous piece right on top. I signaled the guy helping me, and told him I wanted that instead.
It barely fit in my car, but I got it home.
This is a big board. Total overkill.
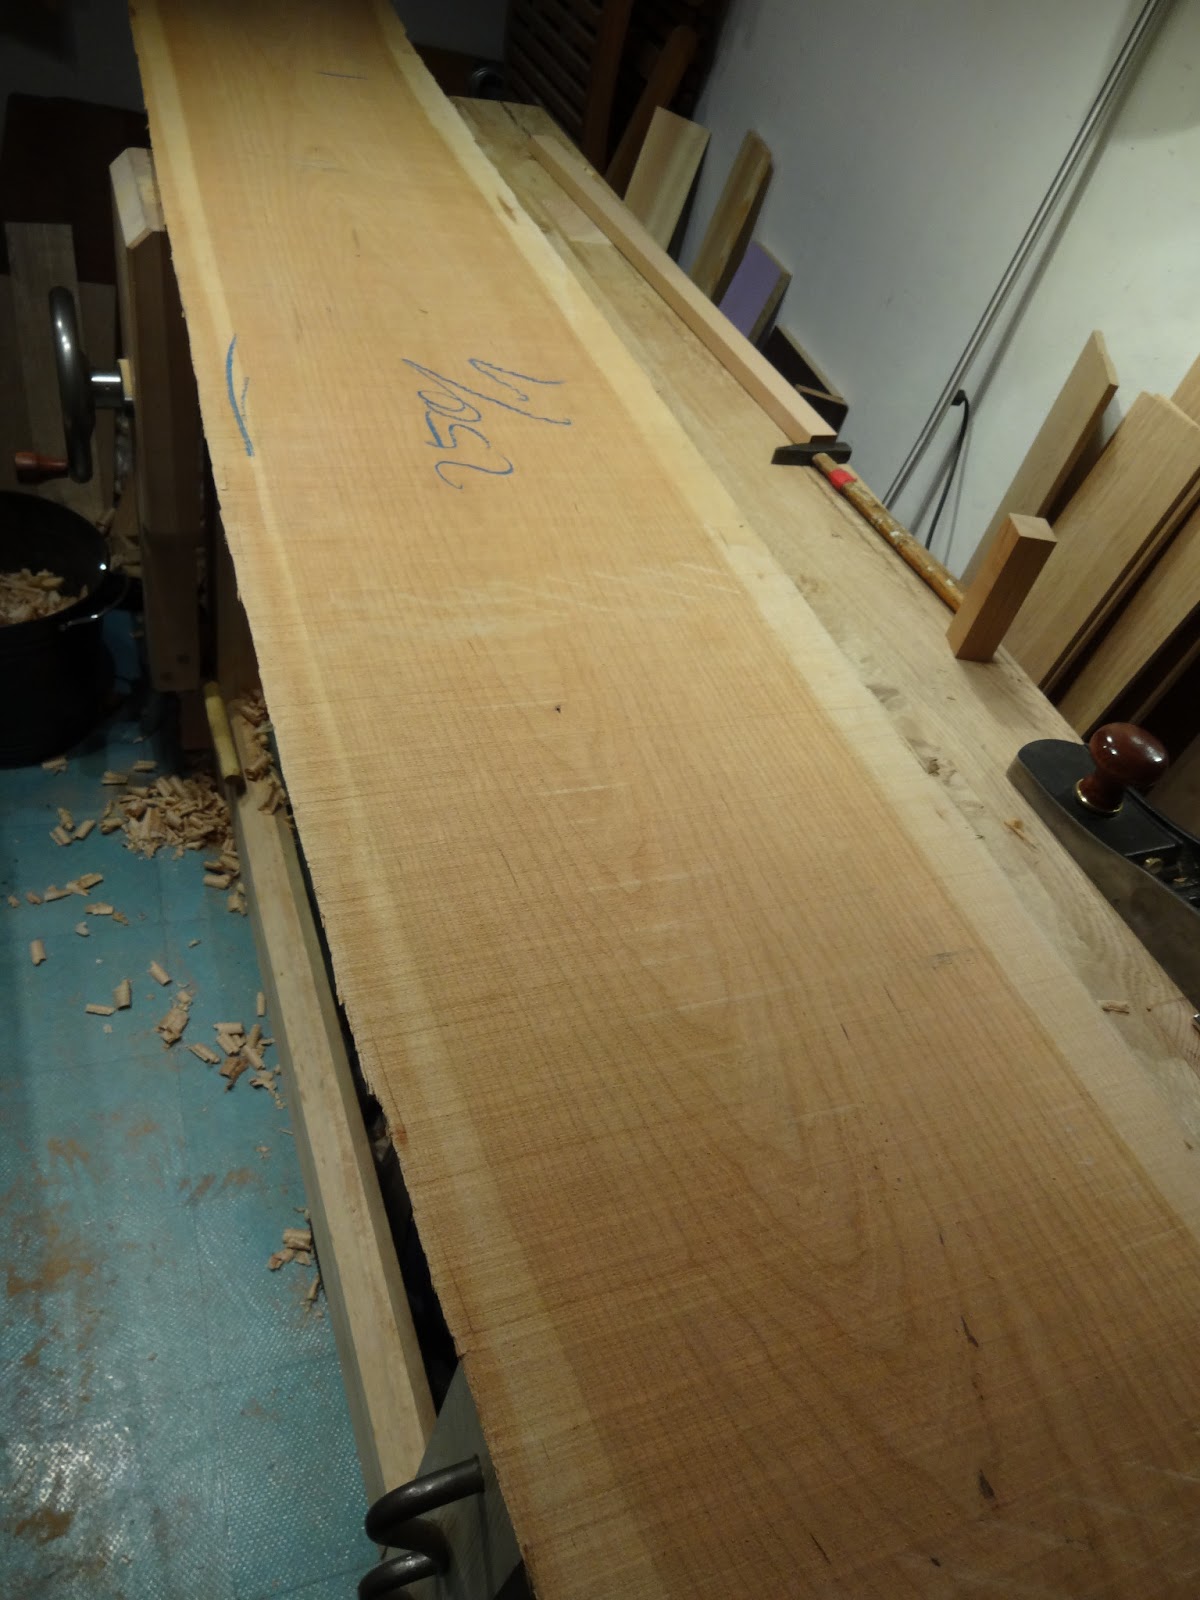 |
| It practically takes up my whole shop! |
 |
| This is the thickness of my table leg - 1 1/8". |
I put a straight edge inside the sapwood, and as straight as I could match the grain of the tree and struck a line. This was my first cut with the rip saw.
Incidentally, this is what I think is fantastic about hand tools. I can cut any line I want without doing all kinds of goofy things that I might have had to do to make this cut with a table saw. Draw a line, and cut to it.
When I cut along this piece, I found that indeed the board I picked had beautiful straight grain through its thickness. This could make the perfect leg.
With my little square of scrap, I laid out something on the end grain that will result in perfect 45 degree rings. I planed the edge of the board to match this angle, marked and struck another line to rip, and let my Ryoba do the talking. I thought this would work well making an angled cut.
 |
| Layout for the grain the way I want it. |
 |
| Angled cut with Japanese saw. |
It turned out perfect, making me glad I went through the trouble of using the right piece of wood.
 |
| I think it turned out perfect. |
 |
| Exact same grain orientation on each face. |
 |
| Caused by the rings going at a 45 degree angle. "Bastard Grain." |
One could save a lot of time and effort if you can get stock that is the right thickness to start with, and with the grain doing what you want it to. Machines definitely would have been a time saver with the oversize stock I bought. However, after looking at the 27mm (4/4) stock that was available today, I think I did pretty good. All of the pieces of this project are going to look great and be exactly the grain that I wanted. The only one that will look a bit odd is the rail that will be on the back. It is quartersawn, where everything else is flatsawn. I figure no one will know, as that part most likely will be up against a wall anyway.
Tomorrow I will (hopefully) make the other three legs the same way, and perhaps get started on thicknessing the other stock by hand.
What a nice piece of wood. It looks like it is at least 13 inches wide!
ReplyDeleteBy the way, the headline immediately got me thinking of "Legs" by ZZ top.
I think it is about that. And, the entire thing was clear.
DeleteI might have plenty left over to make another of these tables, that is if I resaw the carcase parts.
I will be following how you get the four legs the same. I've done getting rails/stiles the same but nothing like what you are going to do with the legs.
ReplyDeleteHi Ralph, Your question inspired me to write my next blog post about making these four legs the same dimensions. I hope that is what you mean.
DeleteHi guys, hi Brian, I have really been enjoying your blog for the past few days. It's simply great! Many thanks for sharing. I was wondering if when you go to the lumberyard you bring an hygrometer with you to check your wood?
ReplyDeleteHi Aymeric,
DeleteThank you for the kind words. I appreciate it, really.
The only wood moisture meter I have is a cheap Chinese 20 Euro version that I bought before I knew any better. I think it is accurate to within 20% or so.
I haven't taken it to this lumber yard, as I haven't had problems with wood from there (as long as I wait a week or two before using it. I know - I didn't wait before cutting this cherry board!). Now if you ask me about wood from the home center...
Ah... internet's back up for me! Even though the sawing probably took a bit, it also looks as though you tapered the leg. What'd you use? A joiner plane? I did four legs that way and I think my hand was about to fall off after I completed the last one!
ReplyDeleteHey Travis! Welcome back to civilization!
DeleteI attempted to actually make these leg blanks square. They will get tapered, though.
After making the rip cut to remove the leg from the rough stock, I finished with only my BU Jack plane. I cleaned one face, then took a very aggressive cut (more than .031") to plane one edge down square to the first face, and continued on with the other two faces after marking the depth with a gauge.
This cherry is a dream to work with hand tools.