Showing posts with label trestle table. Show all posts

Tuesday, October 15, 2019

American Trestle Table - Part X - Finished. With VIDEO

Hooray! It's done!
The finished table.
This might seem like a slow moving project. It is. My first post of the idea was from last Christmas vacation.

There were a few reasons this table took so long. The main one is I built it in Germany, when I live in Spain. We still own our place in Germany, and plan to go back there one day. In the meantime, we get back there every couple of months and I get a day or two to work on it. This time I had six or seven days to finish it.

The other reason it took longer than intended, is the wood for the base was changed from painted pine to American cherry. I love cherry, but it isn't quite as easy to work as pine. Also, I had to put a lot of brain power into matching wood grain for the laminations and stuff like that.

To start things off this time around I decided it was time to drawbore the leg assemblies together. After some testing, I decided to drive 13mm pegs into 1/2" holes. The measurments ensure that the peg is just a little oversize, and leaves a nice clean finish with no gaps.
Making  drawbore pegs with my Austrian dowel plate. Sorry, neighbors!
I was a bit worried using cherry for these pegs, as cherry isn't traditionally a good wood for this. For strength, one should use oak, ash, or something that rives well. I decided to use cherry for aesthetic reasons.
Surprisingly, all seven attempts survived the dowel plates. I sorted them and the best four are on the left.
This seemed to work out really well. Perhaps I was lucky. The slightly oversized pegs helped make good looking joints.
13mm peg in 1/2" hole.
This was the last of the joinery.

Pretty much.

The next job was the decorative job of adding chamfers to every edge that will be exposed. I used a block plane and a Stanley #2 for this job.They worked well. I then used scrapers to get to the corners not reachable by the planes. I paid extra attention to the   ends of the feet and upper supports so the corners look right.
Mock up after all the drawboring and chamfers.
Now it's time to think about how to hold the top onto the base. I chose buttons, and you can read all you ever wanted to know about buttons in the last post. What I didn't show was making the corresponding mortises in the base. Layout was important for this. I used a mortise gauge to mark one line 3/8" away from the edge, and another line about 7/16" above that. I then used a second marking gauge to mark the center point between the two lines.

My buttons are 1 1/4" wide, so I made my mortises about two inches long. I used a 3/8" brad point bit, and started the mortise by putting the brad point in the center line. Then it was just a matter of drilling out the waste, and cleaning up the sides with a chisel. I left the ends of the mortises round to save a bit of work.
Cleaning up the sides of the mortise.
Once I got the first two done, I used them to layout the rest.
This side done. I'll turn it over and do the other side.
Once the mortises were complete, I could finish everything with a coat of tung oil. I'll let the oil cure for a couple months, and when I next see the table at the client's house I will give it a coat of my special paste wax.
Base is done.

Here's a shot showing the buttons installed.
Now that the base is done there is not much to do to the top. It was one solid piece, after all. No need to laminate long boards together or anything like that. What a treat! Luckily Nils had the plank flattened by CNC before I bought it, so it was nearly ready.

The only thing I didn't like about it was there were some tension cracks in the middle where the figure was the strongest. I decided to mix up some epoxy with some brown tint to fill the cracks in.
Epoxy is dry. This seems to be an efficient way to remove most of the extra.
By the way, epoxy with brown tint has the exact same consistency of chocolate syrup. I swear it smells like it, too.
Here is that same spot after card scraping and a coat of tung oil.
After all the epoxy was flattened, I scraped the whole top. It didn't take long, and I'm impressed with how much more figure can be seen on a scraped top than when it had been sanded.
The finished table.
Overall I would have to say this was one of my favorite projects of all time. Mostly because of the single slab top, but I always wanted to make this style of table.

If I could do something over on this table, it would be to re-think the tusk wedges. They look great and were fun to make. The problem is one glaring flaw: if they ever come loose, the top will have to be removed in order to tap them home again. Perhaps I can make some wedges to mitigate this, but I would have to say that this style of trestle isn't ideal because of that.

It's not enough to ruin the table. Perhaps next time some wedges that tap in from the side would be more appropriate.

Lastly is this unusual video. I'm now back in Spain, and the client will pick up the table next weekend and drive it about 1 1/2 hours to it's new home. Just to make sure she would be confident in putting it together, I made a video explaining every possible thing I could think she would need to know in it's assembly. I added it to this post as I thought you might get a kick out of it.
Note: I'm not really cross-eyed. I used my phone to make the video, and it is hard not to look at the screen while filming. If I do more videos like this, I'll have to get used to looking at the spot where the camera is.

Note #2, I didn't really re-assemble this table after breaking it down. I taped everything in reverse order. I actually disassembled the table, and re-arranged the video clips to show it coming together. Only one screw has been in it's hole more than once. It was fun trying to think what I was going to say in the next segment so I didn't sound like an idiot saying everything twice.

Let me know if you like the video, perhaps I will do more in the future.

Here are links to all of the posts from this build:

Part I
Part II
Part III
Part IV
Part V
Part VI
Part VII
Part VIII
Part IX

Monday, October 14, 2019

American Trestle Table - Part IX - Solid Wood Buttons by Hand

Or: Practice Cutting Tenons While Making Buttons.

Modern technology has given us many ways to attach a table top to a base. Traditionally a table top is mounted to a table base using buttons, which allows for seasonal wood movement very elegantly.
A button that holds on a table top.
Making buttons with a table saw is easy, but you either have to use plywood for a strong button, or make a million extra cuts into the end grain in order to make the grain go front to back. You might be tempted to do a quick and dirty job with a piece of solid wood, but if the grain goes side-to-side, your buttons will break and your top won't be  mounted for long.

I suggest you go ahead and try it with hand tools. It isn't that much more difficult, and I think the extra time used doing it this way can be justified: making buttons this way practices skills you will need in cutting tenons by hand - one of the most difficult jobs to do with hand tools. I have decided that next time I make a table, I'll make the buttons before doing any of the mortise and tenon joinery as a refresher course.

What is a button? It's just a little block of wood with a tab. The block is screwed to the table top and the tab goes in an elongated mortise on the base.

They can be any size, but making them consistent means you don't have to fit each button to an individual mortise on the base. Mine are 3/4" thick and 1 1/2" long, with a 3/8" tab (3/8" notch) that is 1/2" long. The width can be anything from probably 3/4" on up. Mine are 1 1/4" wide, because that's how thick the board that I sawed them from was.
Sawing 3/4" button stock from a 5/4 board.
Make your stick as perfectly as you can. This is good practice. It's not the end of the world if your buttons are different thicknesses, but other parts of your table might need more precision. This is a perfect opportunity to practice thicknessing stock by hand.

Once your stock is ready, plane chamfers that will be on the outside of the button. Making these two chamfers now will make your buttons look more consistent than if you do them at the end. There are a total of five chamfers that I made on my buttons, and the two main ones were done at this stage.

There is only one thing on a button that needs to be relatively precise, and that is the distance from the table top to the underside of the button's tab (in my case, 3/8"). Accurate layout is key. set a marking gauge to 3/8", and register it from the bottom side of the button. Even if your buttons wind up being slightly different thickness, this measurement will ensure all the buttons hold your table top on nice and tight. Set this marking gauge aside and do not adjust it again until all of your buttons are completed.

The very first button has the cross cuts marked with a ruler and a marking knife. After that, use this first button to mark the others so they all are the same.
Accurate layout is the key.
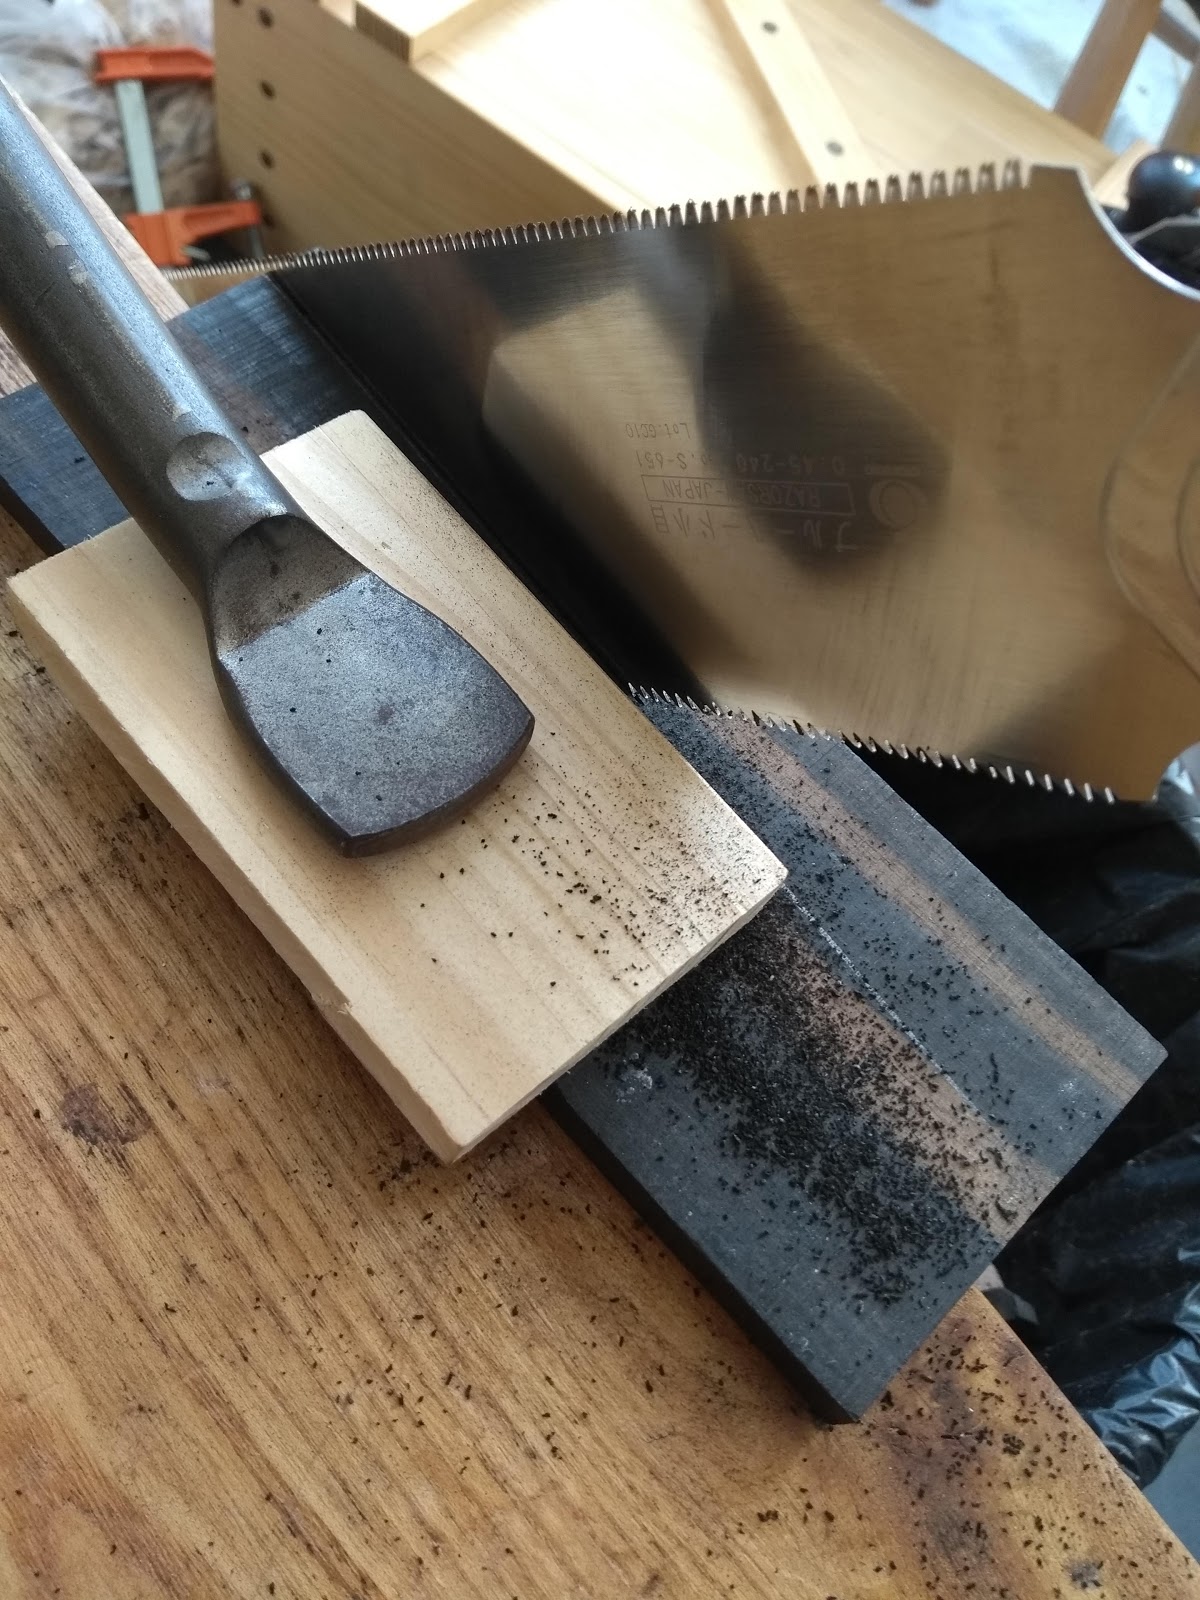
Accurate saw cuts are now important. One trick to assist is to make a little trench in the waste with a chisel. A crosscut saw now will track in that trench making this cut a breeze.
Notice that my "trenches" go opposite ways. I'm only carving away the waste.
Only make the crosscut for the tab at this point. Leave the button attached to the rest of the stock. This will help in removing the waste for the tab.
A saw tracks in this notch very nicely.
Once the crosscut is made, just like a tenon, remove the waste.
Sawing the waste.

Alternatively, split the waste. Paul Sellers has a nice YouTube video on how to do this.
Once the tab is done, then you can cut the button to length. In reality, the button will work no matter how ugly this crosscut is. However, try to do your best work for practice. Making a crosscut perfectly square is difficult, and a good skill to have.
Cut to length.
If you choose, you can clean up the back of the button with a shooting board. Here also is where you finish the chamfers: three on the backside of the button. This will leave a rounded surface on every corner that could be touched once the button is installed.

Regardless, take time now to square up the crosscut on the remaining bit of the stick. The rest of our buttons will come from this stick, and a square tab end will aid in looking neat (but is not strictly necessary).

Now we have a button that only needs a hole for the screw. The hole should be a little larger than the screw threads, so a screw can be pushed through the hole freely. I used counter sunk screws, so I added a countersink for the screw head to sit flush, and a tiny countersink on the table top side just to clean up the surface and ensure a stray fiber doesn't get in the way of the button seating flush to the table top.
My hand-powered countersink.
All that needs to be done now is to repeat the process for as many buttons as you'll need. I made twelve for my table, which is overkill.
Do they really need to look exactly the same? No, but making them this way builds many skills that are needed for other things.
To mount the table top, I made mortises in the corresponding parts of the table, drilled pilot holes in the top (ensuring not to drill all the way through), and screwed them in.
Done!
I think that solid wood buttons add a little flair to a boring part of the project. No one will ever comment on them, but you know they are there and that they were done right. I think the biggest benefit to using them is the skills you will hone. Face it: no one likes to practice things like tenons in scrap. Here you can practice making a dozen tenons exactly the same, and use the offcuts for a practical part of your project.

Saturday, March 30, 2019

American Trestle Table - Part VIII - Tusk Wedges

Short version: I made a couple of flat sticks prettier!
Completed wedges.
Long version:  While I'm in Spain and the table is in Germany, I can make some wedges for the tusk tenons that will hold the connecting trestle securely.

The tenon on the trestle is about 3/4", so the wedge should be about 1/3 of that. 1/4", however, seems pretty flimsy for this stout table. Therefore I pulled out a piece of ebony from my stash that finishes out to about 3/8". I think this will be just fine in the end. If not, I'll just plane them down a bit more when I fit them.
Hunk of 3/8" ebony from my stash.
I think if I had thought this out ahead of time, I would have made the mortises a bit wider to take a beefier tenon. I think a 3/8" wedge would do better in a tenon that is around 1 1/8" thick.

Too late now.

It should be fine in the end. If not, I can always cut off the tusks and mount the tenon in the mortise permanently like Christopher Schwarz did in his article.

I started by smoothing out the bandsawn surface on the ebony I chose for the first wedge. It turns out it was a bit figured, and very difficult to plane. I got there in the end.

At first, I was going to try to get two wedges from this one stick, but decided not to be stingy. I had some more of this thickness of ebony, so I pulled out another one, and cross cut it to length.

This time, I smoothed an edge, and drew out the final angle of the wedge on the rough face, and ripped it to final shape. This made smoothing it a bit easier, because there was less material to work with.
The second blank on top of the first.
After smoothing out the second blank, I realized it has a lot more blond wood in it than the first. I have another piece which matches this one, so let's get it out and look...
The third blank, with a nasty hork in the middle.
This one has a nasty dent in the middle, which I could not avoid. Instead, I lined up the first wedge, which is about 7 1/2" long, and put that defect right in the middle. It will be buried in the tenon, so will never be seen.

After crosscutting it where I wanted, I marked the wedge shape from the first one one the rough surface again. The shape is about one inch rise in 12 inches of length.
Ripping the wedge shape on the rough blank.
After the edges were smoothed out, I smoothed the faces.
Artsy smooth planing photography. - With my phone.
After all that, I have two very nice looking, unique wedge blanks. This wood should look really cool with the cherry table.
Getting there. I even put some wax on one side to see what it will look like.
I had considered making some angular designs to match the feet of the table, but in the end I decided strength was needed where it will be whacked with who-knows-what kind of hammer when it is set. I settled on a rather plain looking roundover, which should look perfectly fine with this table.
10 ct. for the toe, a whole Euro for the heel!
I drew a profile using coins as a template, then I used my paring chisel to remove most of the waste.
Paring was quicker than sawing.
I then clamped the two pieces together, and finished the roundover shape with a rasp, a file and then through the sandpaper grits to 320.
Starting the roundover shape with a rasp.

Finishing it with sandpaper.
One makes do with whatever workholding is available. This worked fine.
After this, all I did was gently break the arises with sandpaper, and slather on some of my famous Mediterranean Sea Water Sun Bleached wax blend.

I think they will look nice.
Glamour shot.
Next time I'm in Germany, I'll fit these bad boys to the trestle.

Part I
Part II
Part III
Part IV
Part V
Part VI 
Part VII

Monday, March 25, 2019

American Trestle Table - Part V - The Legs

I spent a week or so back in Germany and was able to get a lot of work done on the table. I was hoping to finish it while I was there, but I was also realistic enough that I shouldn't count on it.

I'm back in Spain now, and I am pleased with the amount of work I completed on the table. One more trip back and I'll have it.

Maybe.

I didn't have the energy to blog about the build last week, so I'll do it now. I'll stretch this out to about for a few posts so you don't have to scroll through a hundred pictures.

Here is what was waiting for me on my bench when I got back.
Nope, the wood fairy didn't advance my project any since January.
The basic joinery was done on them, and I had tapered one of the upper rails. Let's knock out the other three tapers.

I did this by sawing close to the line, then planing the rest of the way. I made sure to mark where the upright beam met the foot so I wouldn't wreck the joint. In fact, I stayed about 1/2" away from it, intending to come back later and finish it off. I think I may not do any more, as it looks fine as it is.
I sawed the wedge off, then planed to my line using a jointer, then a smoother.
I was very careful when I glued up these laminations in order that the grain would look about right, but I am surprised it came out this well. My guess is that once the wood darkens up, it will be difficult to see there are two boards glued together.
Two boards glued together and finish planed.
After tapering each part, I sawed the end off at a pleasing angle. I checked to make sure the upper supports and the feet would be the same length to each other while I was at it. The upper support doesn't need to be the same length as the foot, but the feet should be the exact same length.
Sawing the angle on the end of this support.

This looks much more refined.
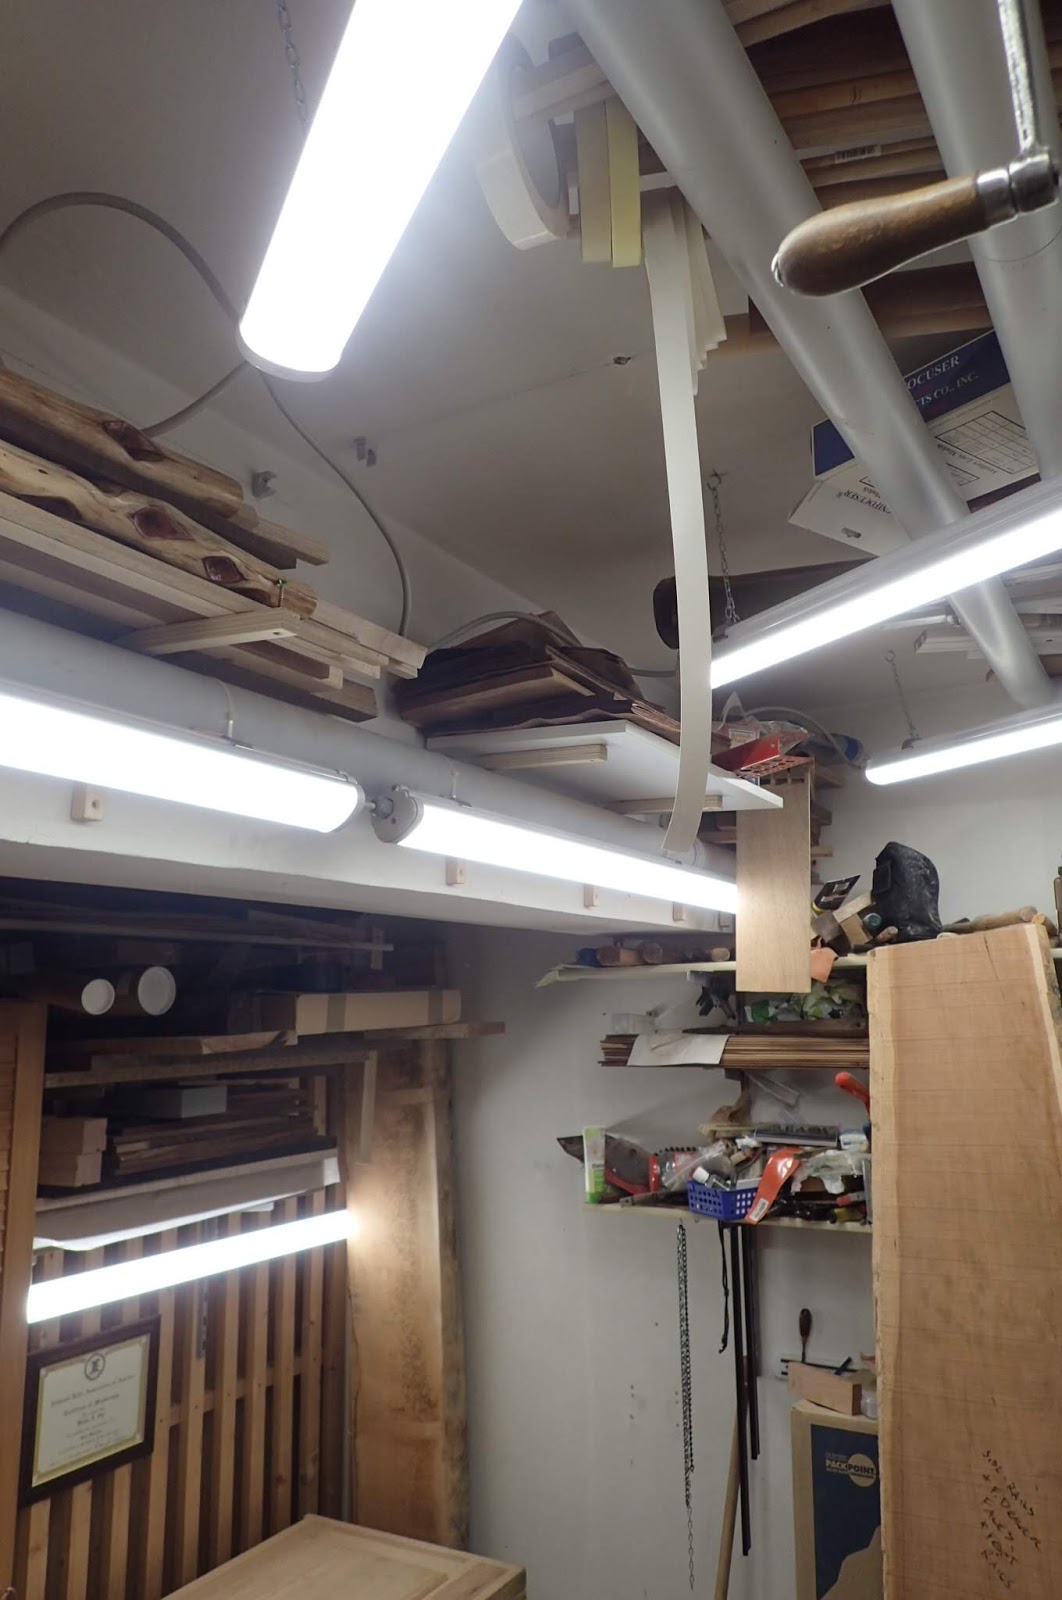
In January I upgraded my shop lighting. I got rid of the insufficient lighting I had and added four LED shop lights. This was an amazing difference, but it still could use a bit more. The directions said this light could handle being wired in series with up to six lights, so I ordered two more. The first one I put next to the one right behind my head that gives a little lateral light, and the other I mounted above my tool chest which gives me some direct horizontal light at my bench, right behind me when I am at my face vise.

Holy cow! What a difference!

The light coming in from the side is essential for seeing all of what is needed. It feels like a real shop now.
I'll admit it does look a little ridiculous with six shop lights in my 100 square foot shop.
I still might get some kind of moveable spotlight someday for close work, but for the meantime it is nice to be able to see what I'm doing for a change.

Back to work:
I was careful to make sure the parts were the same length after cutting the angle.
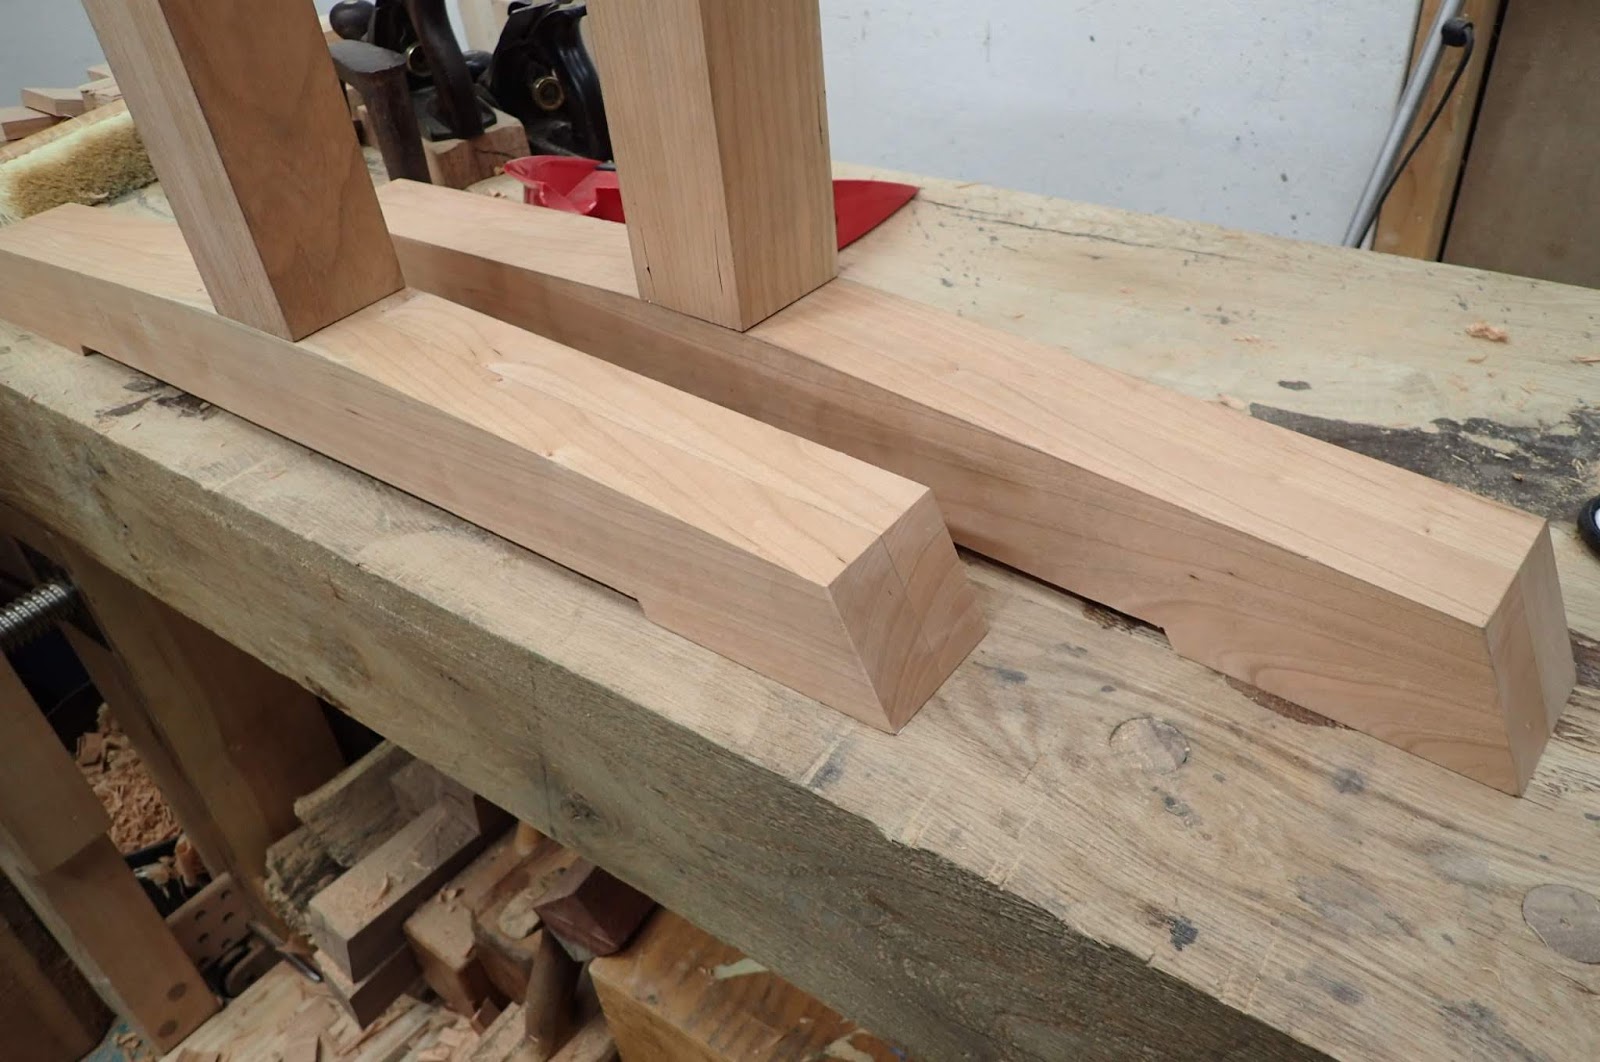
The feet were a little different, as I wanted to add a little cutout just like The Schwarz did in his article. I measured in about four inches from the end, and started a cut at the same angle as the foot.
Starting the removal of the center cutout to define the table's feet.
Then I made a series of relief cuts here and there to aid in chopping out the waste.
Saw down to the line...

Then bash out the waste.
When doing this, I usually start with the chisel about halfway to my depth mark, and go down halfway or so. Then, halfway again, this time the cut will be a little thinner and a little smoother. Eventually you get down to your line, flip the piece over and do the other side. This avoids blowing out something which can be seen when the foot is standing up.

I smoothed it the best I could with a plane, and didn't worry too much about it being perfect since it isn't a visible surface. However, the tenon now is sticking out, so I marked a pencil line around that and sawed it off.
Don't forget to saw off a little of the tenon, too!
The effect is a little bit more refined, and will hopefully sit sturdy on a floor that may not be perfect.
Finished feet.
Now that I got all that done, I realized I still had some more face planing to do to bring the surfaces of all the beams flush to each other. With these pointy ends, workholding isn't easy.

Or is it?

I just cut a notch in a piece of scrap and used it as a block between my work piece and my planing stop. It worked perfectly.
The 30-second solution.

That is, it took me 30 seconds to make this jig.
If you missed the previous posts on this build, check them out:

Part I
Part II
Part III
Part IV

And come back tomorrow for Part VI.