Henning Norgaard Couch Table Part IV - Progress in a Photo Essay
I forgot that I have made some progress on the couch table that I haven't posted here. I think I was still ripping sticks out at the conclusion of the last update about it. The beginning of this series can be found here. Part II, here.
UPDATE: working video added.
Pile o' sticks.
Well, I've made some more progress. Rather than make you read a bunch, I'll just show it in pictures with titles.
Glued up the top.
Ran all the sticks through the planer at Dictum after ripping them by hand.
End grain shavings.
Preparing to fill the knot holes with epoxy. This is the show side.
This is the underside.
It only takes a drop of this stuff in the epoxy to make it BLACK.
Watching the paint dry.
Dried epoxy from the top side.
Excess epoxy went in the cracks on my oak bench.
It looks good after flattening.
The epoxy planes well and blends in.
Starting to smooth the glue-up.
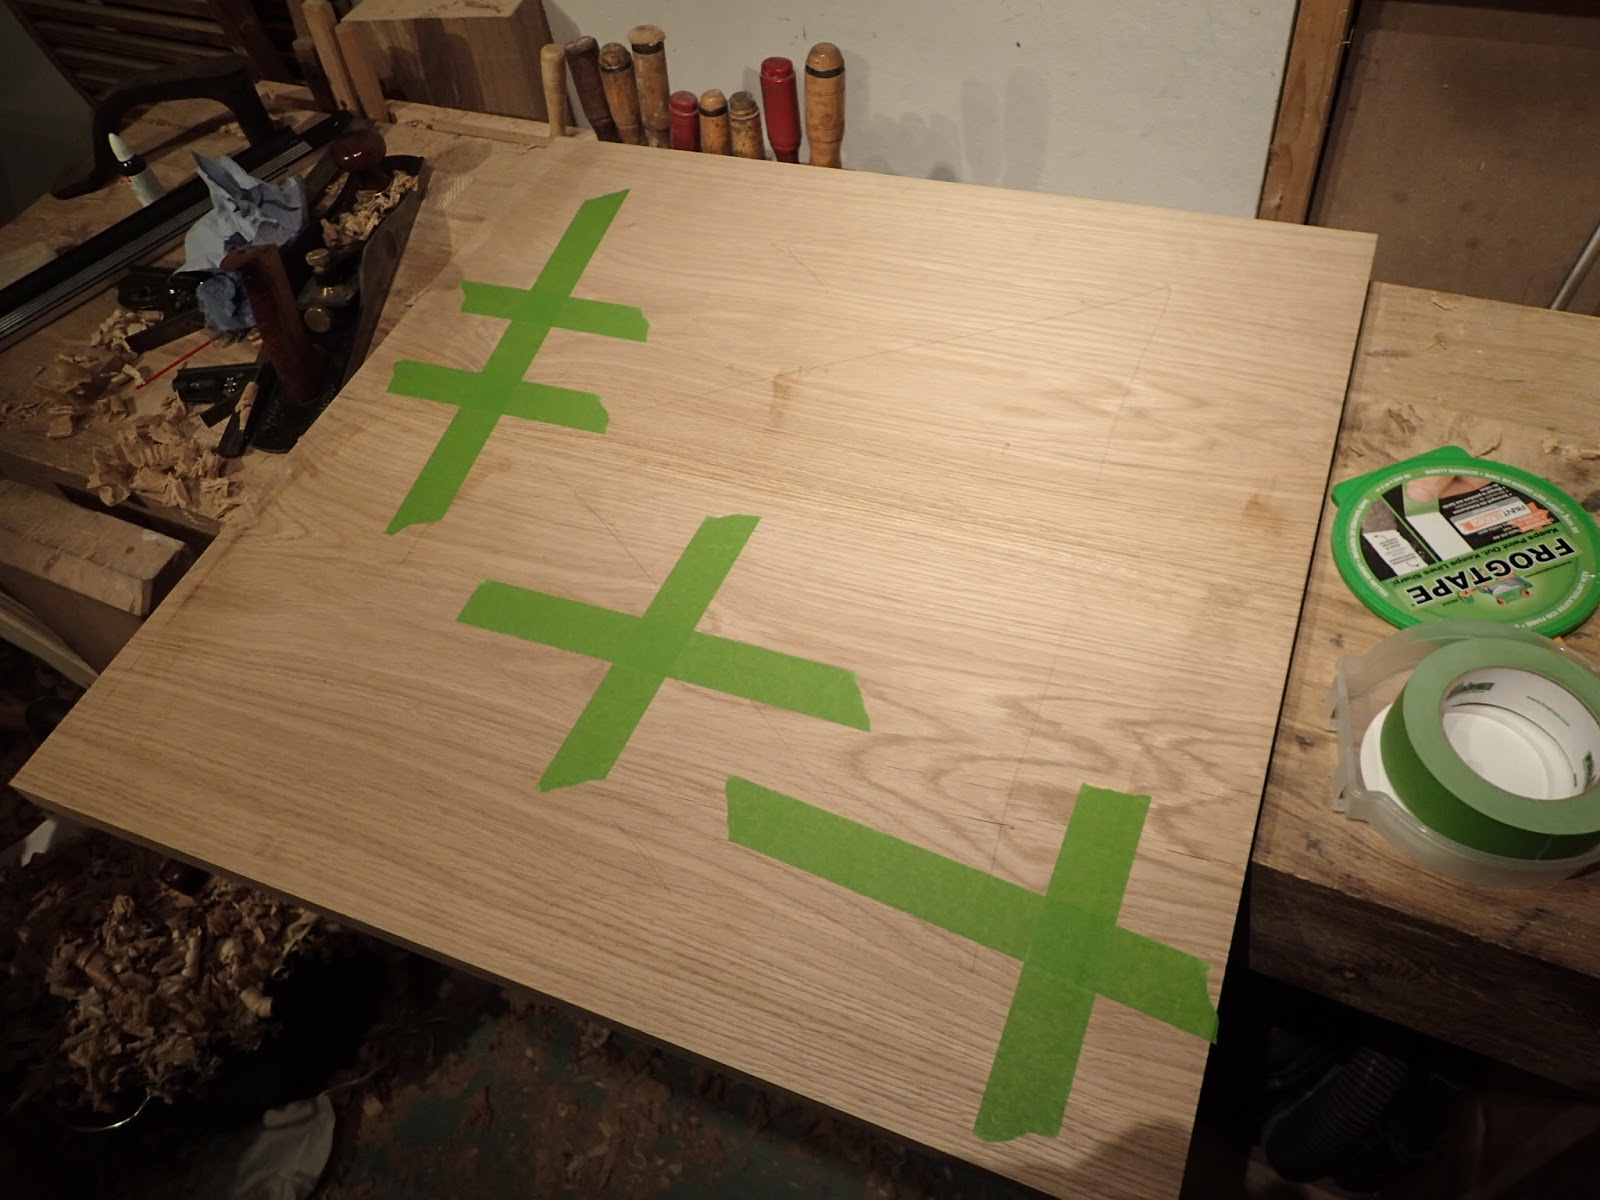
Cross-batens to keep everything flat. I used regular Spax screws for this.
Marking the sticks to length.
And cutting.
All lined up. You can see clearly the rift-sawn grain. This is why I sawed everything out by hand. All four faces of each stick look the same - no quarter sawn grain next to flat sawn surfaces.
Marking out the first lap joint.
And sawing.
Not too bad. I find lap joints among the most difficult joinery to do by hand.
Glamour shot of the DICK saw.
Making progress.
Now for some lap joints in the middle.
Sawn.
And pared. I decided to only use basic hand tools for this build. A router isn't really necessary, and fewer tools means faster work for me.
This is what it looks like.
Tight enough to stand on it's own with no glue.
Very tight joint on this one. Only 23 to go!
Mocked up so I can see what joints to cut. and where.
Making progress.
For a diversion (and during approved noise-making-hours), making drawbore pins.
Here's the result, so far.
More progress.
Cutting in batches now.
Getting closer!
Deepening the mark before a first-class-sawcut.
Done with the joinery. Yay!
The first dry fit. I made these lap joints this way for looks, and forgot about their strength. Everything is supported with the spring clamps. Not ideal.
Here's a close-up of the offending joint.
After being frustrated with that, I took the whole thing apart and realised of the sixteen sticks, they all are one of three different patterns.
I can re-arrange the sticks so the laps are now self-supporting. Whew! I'll just have to tweak a couple joints since they were all hand fit before. This table is going to be so much easier to make next time!
The dry fit is so stable, it supports the heavy oak top!
Next up is tweaking the joints so they will all fit in their new places. Some work needs to be done to the top - I think I will thin the top a bit so it isn't thicker than the sticks. I will finish plane all the parts and treat them to a fantastic finish.
With the end in sight, I think that the finishing bit will take a long time. When all is done, I will lightly drawbore all the joints and drive a peg and glue each one for strength. I am pretty sure this will be a stout little table!
i love the sequence of photographs illustrating the process. and the end result is fabulous! it was very satisfying to plane off that epoxy and flaunt the knot holes. I love that effect!! gotta try to do that in one of my pieces sometime...
I like the cross battens to help keep things flat; do you use any special oval washers or the like to allow the spax skrews to move with the top? I'm asking because i'm doing a small countertop with some unerside battens, and i just elongated the pilot holes in the battens a bit and am wondering if maybe i should also have some sort of metal fitting that allows the screw to travel with the expanding/contracting wood top...
anyway, hope to see the piece installed soon, esp. the room and the couch that it shall sit in front of. Thank you!!!
It is weird to me that these cross battens are so easy and they work so good. All I did was drill a regular hole in the middle, and elongate the outer ones a bit. Then I countersunk the holes. It doesn't need to be much with well seasoned wood. Just make sure that whatever you do, that you do not use any glue, or you will have all kinds of problems.
I am always amazed that a small cross batten has enough strength to hold a large panel flat.


It is impressive!
ReplyDeleteAnd you are making us all look bad with the level of posting you are doing those days :-)
Cheers
Jonas
Thanks!
DeleteThis table is just flat out cool. Awesome!
ReplyDeleteHi Greg!
DeleteThanks! Wait until you see the finish. I think you in particular will like it. :o)
really nice Brian, love that last picture!
ReplyDeleteThanks, Aymeric. I can't wait for you to see it finished!
Deletei love the sequence of photographs illustrating the process. and the end result is fabulous! it was very satisfying to plane off that epoxy and flaunt the knot holes. I love that effect!! gotta try to do that in one of my pieces sometime...
ReplyDeleteI like the cross battens to help keep things flat; do you use any special oval washers or the like to allow the spax skrews to move with the top? I'm asking because i'm doing a small countertop with some unerside battens, and i just elongated the pilot holes in the battens a bit and am wondering if maybe i should also have some sort of metal fitting that allows the screw to travel with the expanding/contracting wood top...
anyway, hope to see the piece installed soon, esp. the room and the couch that it shall sit in front of. Thank you!!!
-Adam of Oakland, CA, USA
Hi Adam, thanks for such a nice comment!
DeleteIt is weird to me that these cross battens are so easy and they work so good. All I did was drill a regular hole in the middle, and elongate the outer ones a bit. Then I countersunk the holes. It doesn't need to be much with well seasoned wood. Just make sure that whatever you do, that you do not use any glue, or you will have all kinds of problems.
I am always amazed that a small cross batten has enough strength to hold a large panel flat.
Cheers,
Brian