So I did what any of you would have done.
I spent the whole day in the shop making a new handle for an old cross cut saw!
 |
| Isn't it pretty? |
I had never done this before, so I was pleased that I finished the saw, including sanding the saw plate until it was shiny, then sharpening it.
Here's the glamour shots:
 |
| Before |
 |
| After |
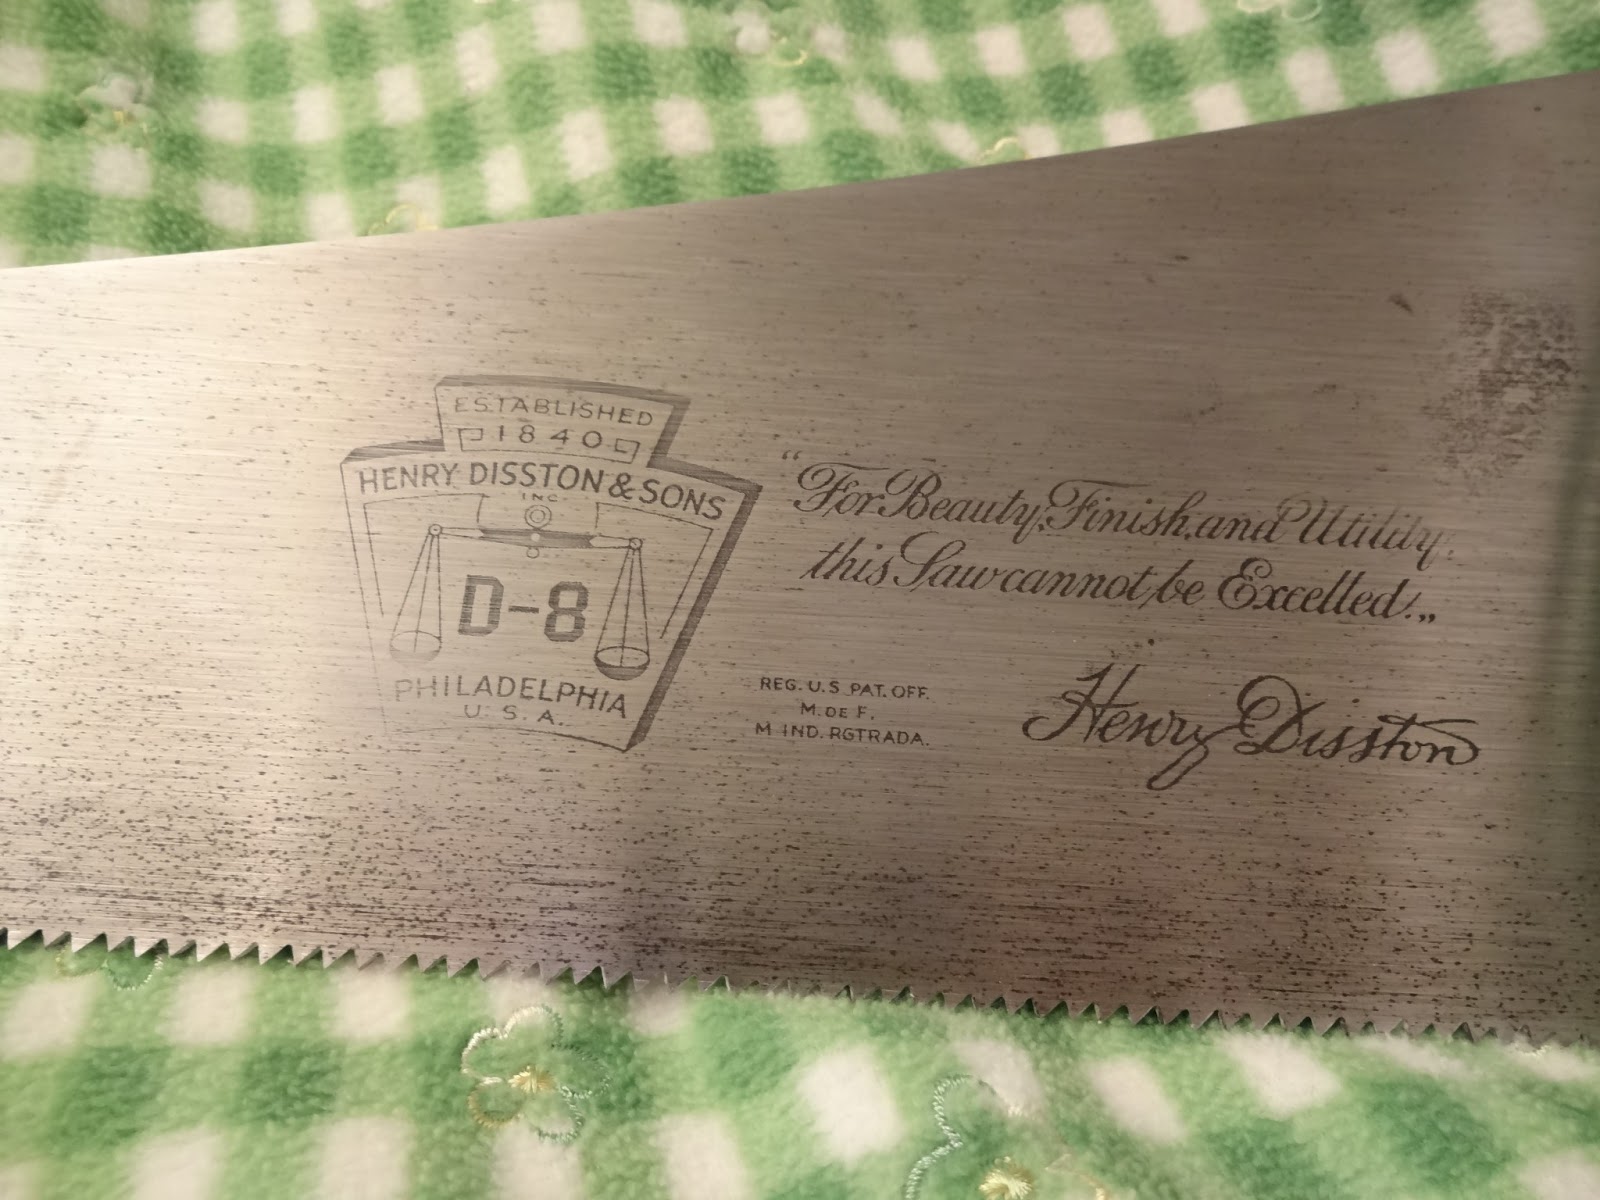 |
| Plus a nice shiny, sharp saw plate with a nice etch. |
After I screwed the handle back on, I tried a cross cut in some one inch maple. After a couple of adjustments, It saws bang on straight, fast, and extremely smooth.
This is my new favorite saw.
Lessons learned:
- There is a reason saw handles aren't made in oak. It is hard and doesn't shape easily.
- Bowsaws are cool!
- Decent hand cut rasps are a must, but a project like this still needs sandpaper.
- This project was a blast!
- It wasn't as hard as I thought it would be. However, If I hadn't been so impatient to get it done, I think it would look and feel even better.
- Drilling precision-depth holes for the saw nuts with a breast drill isn't so easy. I don't think I got a single hole the same depth as another.
- I love building tools.
Overall, I look forward to doing this again.
Wow! Looks real good.
ReplyDeleteWell done! And it looks very nice, especially for a first try.
ReplyDeleteHow did you get the blade kerf in? These inlethandles have a circular shape inside the slot, don't they?
Hi Kees,
ReplyDeleteAn astute observation. I clamped the blade (before sharpening and setting) to my sawbench, raised up so that I could slide the handle on the bench and the kerf is lined up right in the middle. The bottom is thinner that the original, therefore the kerf broke through on the inside of the handle. For the curved part, I just went nice and slow and scraped that part out using the last couple of teeth on the back of the saw.
Really nice result of a Fray free day in the workshop, I think the project was well chosen.
ReplyDeleteBy the way, I like the AAR.
Brgds
Jonas
Thanks, Jonas! I finished the post and almost forgot the AAR.
DeleteCan you say Frau free day really fast ten times?
It was a really fun project. I think I'll do another one soon. Perhaps with some scrap pear or cherry, though. I think those woods might be easier to shape with the tools I have.
Alternatively, I could buy some more tools!
Yeah man, I think that looks awesome. As far as oak goes, sure it's a boring wood, but I say if it lasts, than the unworkability of oak will be worth it!
ReplyDeleteI have a TON of packages for you btw... that tail vice you got weighs a ton! The mailman was complaining about it when he dropped it off! I will have it all in the mail soon (I'm trying to bundle it for you).
Haha! Sorry about that. I've been trying to be good lately. Now I just need to figure out where I'm going to put all of that crap.
Delete