Sunday, April 26, 2015

Alex's Video Tips

My good friend Alex, who teaches woodworking to various age groups in Austria, has finished a series of woodworking videos and put them up on YouTube. 

They turned out great.  They are only about five minutes long each, so they are easy to watch. 

The videos are in German, but if you don't understand German, you might still be able to follow along as his illustrations and examples are good. 

If you do understand German, even better.

This first one is called Markiertipps.  It has some nice tips on marking lumber and your project.

Here is some other German that will help us English speaking types to get through this video:
  • Tischlerdreieck - cabinet maker's triangle
  • Bleistifthaerte - pencil lead hardness
  • Anspitzen - sharpening
  • Anreissmesser - marking knife
Check out the rest of his videos while you are there!

Sunday, April 19, 2015

June Chair Build - Seat Blanks

The chair I recently finished.  Now I need some side chairs.
I have decided to build a pair of side chairs this upcoming June to match the Welsh stick chair I recently completed.  I thought it would be fun to invite anyone who wanted to participate to build any kind of chair along with me! 

So far I have heard from a couple of people who want to build along in June, and it would be fantastic to get more people involved.  There are no sponsors, and it isn't a contest.  If you complete the project, the prize is you get to keep your beautiful chair!

Let me know if you want to build along, I will link to your blog, Instagram, or whatever, or I will post photos on my blog that you send me.  I think sharing a build like this facilitates us to keep motivated, solve problems, and will be great fun.
Drop me a note at this email address and I'll add you to my list.
My intention is to attract whoever wants to build chairs, but I would particularly like to see inexperienced chair builders (like me) to join along.  The above pictured chair is the only Windsor style chair I have ever made, so it isn't like I am teaching a class with decades of experience under my belt. 

I have a few ideas I would like to share, and would love to hear thoughts from others going through the same thing, or some more experienced chair builders who want to chime in.

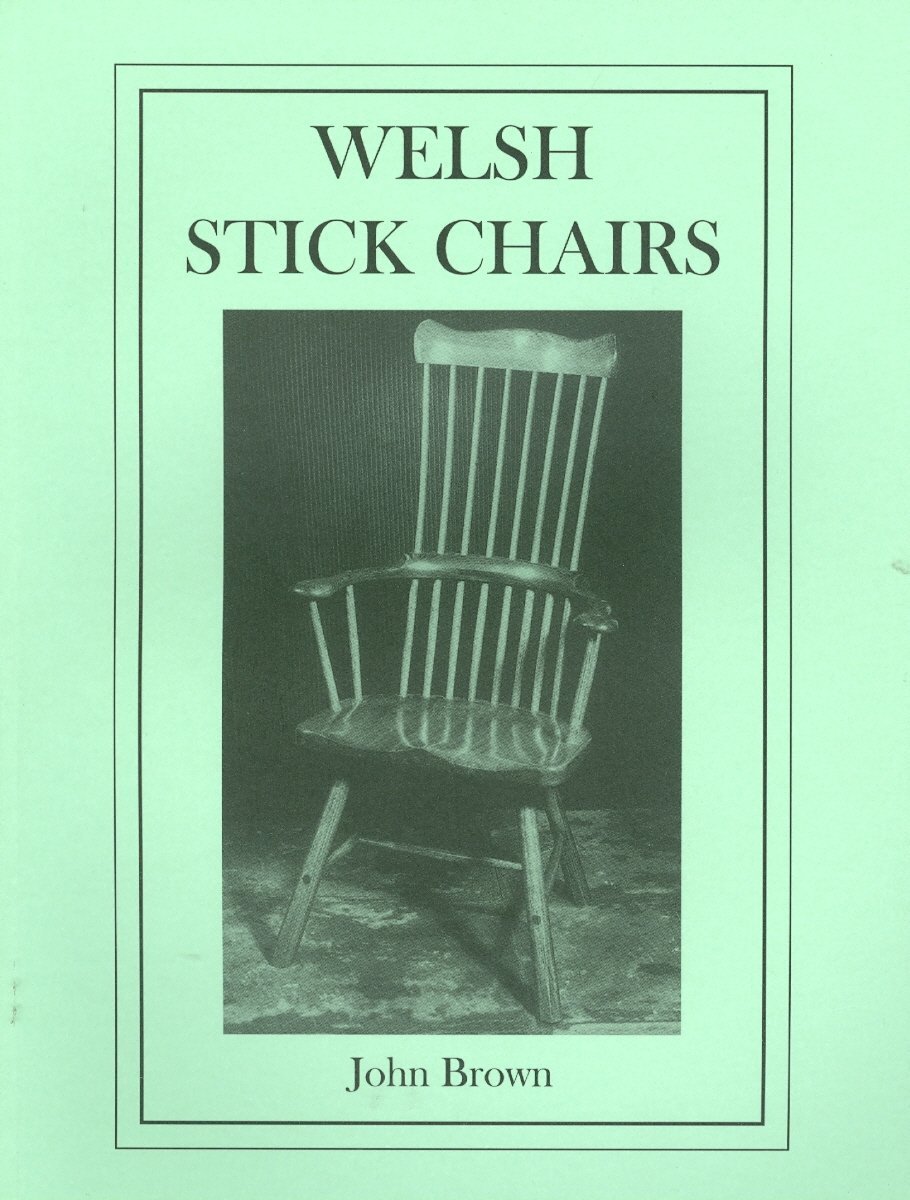
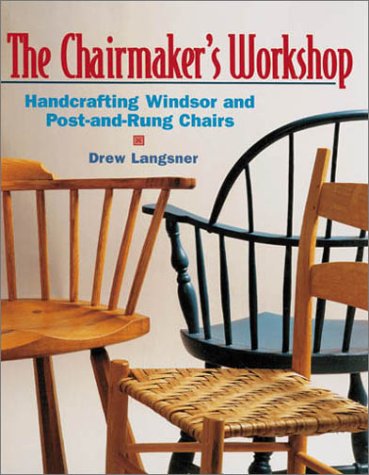
Two books I have read on the subject that I found particularly useful are John Brown's brilliant book, and the fantastic book by Drew Langsner.  I built the above chair essentially only having learned what was in those two books.  You can still get them both on Amazon when I checked.

The book I am reading now, which I am sure you have heard of, Is Peter Galbert's Chairmaker's Notebook, recently released from Lost Art Press.  I haven't finished it, but I think it probably is true that if this is the only info you had, you could probably have success building a chair.

On to the chair:

The foundation of any Windsor style chair is the seat blank.  Everything is anchored to the seat blank. 

It could be that many people are put off by chairs for this very reason.  If you are extremely lucky, like me, you may be able to lay your mitts on some appropriate elm that is wide enough to make a seat from. 
My nice little stash of elm seat blanks.

My guess, however, is that not very many people have access to such lumber.  If I were to do this build and didn't happen to have these seat blanks, I would use whatever was locally available. 

In Munich, our lumber yard has a very nice selection of scots pine (Pinus sylvestrus) which I am told is very similar to southern yellow pine (not a specific pine species).  Boards of this can be found wide enough to make single chair seats from.  I would choose something around 8/4 (50mm or so) or a little thicker.  I think that kiln dried lumber is probably OK, as long as it was dried properly.

Pine is commonly used in American Windsor chairs.  I think if you plan to paint yours, this is probably the way to go.  It is much softer and easier to carve than a hardwood.

I think that a good chair seat could be made from practically any wood, though.  I would like someday to try one in Walnut or Cherry. 

Bottom line:  look for some well-behaved wood with as few knots in it as possible (to make carving easier) and go with it.

If your wood is not wide enough, it sounds like it should be OK to laminate some boards together to get the proper width.  I would just try to steer clear of putting a glue line right where one of your legs join the seat.
There is a lot of stress where the leg joins the seat.

Once you have your seat blank, I would suggest leaving it in your shop for a couple of weeks to acclimate.  Flat sawn wood is often used for chair seats.  It tends to cup when the humidity changes, but I think if your chair seat is well seasoned, it shouldn't make much of a difference in the appearance and comfort of the chair.

The chair I made had a seat blank that was "sort of" dry, and I know it has bowed a little since I started working on it.  The only way I can tell is that sometimes it rocks on three legs a little bit and sometimes it doesn't.  In the end, it doesn't really matter.

My next post will be discussing chairmaker's tools.  You might want some, but traditionally, Welsh stick chairs were made with whatever tools were on hand.  Do you really need them?  Stay tuned!

Friday, April 17, 2015

Just Say "No" to Crack

After thinking about it overnight, I decided I really couldn't leave the crack in the cribbage board.
All along the sapwood side.
There were a couple of nasty cracks in the sapwood that I originally thought I would leave there as a design element.  I figured it would have a similar effect to a live edge, but I was wrong.  It just looked like it was about to fall apart.

Design opportunity!

I started with the little crack in the corner to practice.  I carefully made a cut all along the crack with my big full size rip saw in order to get the widest kerf possible.  That seemed to work well, so I tried it with the big one.  Same thing.  The hardest part was lining up the angle to cut.  I realized, if I cut exactly perpendicular to the growth rings, I could get the entire crack in one kerf.

Then it was just a matter of planing a thin strip of maple I had laying around down to the thickness of the kerf and gluing it in.
Patches glued in.
Using a handsaw made this easy.  I have no idea how I would have made this cut with a tablesaw or an electric router.  I just eyeballed the angle I needed and went for it.
Crazy angles.
This morning, I removed the excess with saws, chisels and planes.
This was a lot easier than I thought.
There was one spot of the inlay that had some tear out.  It was impossible to get all of the grain directions to go the same way.  It wasn't so bad, though.  You can hardly see it.  At least, now.  Before there is finish on.
Flash Gordon!  Whoops, did I just accidentally name this piece?
The only part that gave me some real grief is this thin spot of inlay at one end.  It looks like it didn't get enough glue, and when I re-drilled the holes, the end broke off and disappeared.  I'll have to think about how I want to fix this.  Perhaps a butterfly inlay, or something else.
Darn.  Now I have to fix this spot, too.
It might not be so bad, though, as you can see a little more of the original crack is showing in the above photo.  This one is small, and doesn't go over any of the other faces of the piece.  But, while I'm at it...

Ideas, anyone?
Nearly done!
I'm pretty pleased with this repair so far.  Luckily, the oil finish did not interfere with anything, and it will just take another coat on top to be good as new.

The downside is this repair added two days to a project which is essentially a board with some holes drilled in it.  Oh well, the price of perfection...

If I would have been smart, I would have done this repair before drilling all the holes and finishing, so if it didn't look good, I wouldn't have wasted all that labor drilling so many holes.  On the other hand, I probably wouldn't have done it at all if I decided to not use the crack.

Next up, making another threaded plug!

Tuesday, April 14, 2015

Cribbage Board Disaster

I guess not a complete disaster.  More on that later.
There is about one week in the year when the tree in the backyard is in bloom.
I need a quick and dirty gift for someone, so I decided to knock out another cribbage board.  I like making these, as it allows me to be creative without worrying about joinery too much.
I started from a nice piece of 5/4 cherry.
I like to find a piece of wood in my scrap bin (which is getting WAY too big).  Then, I let the wood define the cribbage board.  Most cribbage board tutorials on the internet involve a template which you have to fit to a pre-determined piece of wood.  I think this is fine, but it is not the way I want to build this one.
I had a little trouble with my panel gauge.  It took a bit too much effort to lock the wedges in.  Perhaps this tool needs a bit more work.
The piece of cherry I chose had some sapwood, and a check all along one side.  This part of this board would never be used for anything else, so I thought it would be perfect here.  The end product will have a crack that shows which some might not like (I'm not sure I like it yet), but it is stable, and is a reminder, along with the sapwood, of the unique character of every piece of wood.
That's my story, and I'm sticking with it.
I got lots of opportunities to try out my new French holdfast today.  This thing works very well with my thick bench.  Three light taps with a mallet locks it so that nothing could ever move, and a light whack on the back to release.  In my bench with more than five inches of oak top, it works much better than my Gramercy holdfasts.
Mongo the holdfast in action.
I decided to put a profile all around the board.  I have used this profile a couple times before, and I like it.  You can also do it with only a rabbet plane, but I used three tools today.
This small cross grain rabbet was easy to do with a chisel.
It only took a couple of minutes to do the cross-grain rabbet with a chisel.
The next step was the long grain rabbet.  My tool of choice for this one is the rabbet plane.
I am really getting to like this holdfast.  Have I said that already?
The last step is to use the two arises  to define a perfect chamfer.  I stop a little before the bottom to leave a bit of the rabbet showing.  That's my easy profile.
I used a block plane for the last step of my profile.
The trick for using a random piece of wood for a cribbage board, is laying out the holes with dividers.  I first marked the optional holes that keep track of who won how many games (there is probably a word for those, but I can't think of it).  Next, I define where my starting holes should be, and define where the last holes on the other end of the board should land.  Then, it is just a matter of spacing the groups of holes so they fit evenly along the board.  Last, I mark the individual holes in every group of five.
This picture probably explains better what I am doing than my writing.
Laying out the holes.
Let the long slog begin!  This board is for three handed cribbage, and required a total of 111 holes drilled.  I used a 1/8" drill bit which fits the pegs I bought from Lee Valley.
What can I say.  I'm drilling holes.
I wanted to include a photo of my method for drilling straight holes.  Notice I put my chin right on  the handle of the drill.  In my experience, this is the most accurate way.
Drilling holes...
I like using an eggbeater drill for this.  There are a few holes that aren't perfectly straight in a line, but it helps clearly identify it as something made by hand.

I hope.
I used my Swedish (or English) egg beater drill.
There should be some kind of compartment for storing the pegs.  I forgot I had a 3/4" Chinese made wood threading kit, so I decided to use that.
Not quite square, but it will work.
I finished it by burnishing with a polissoir, and one coat of BLO so far.  It will probably get a few more coats, followed by a good paste wax.  Since it is cherry, I took it out onto the balcony for some sun to darken it up.
Finished!
I also experimented with a new letter punching set I got.  There was no period in the set, so I used a cribbage peg instead.  A little big, but it works.
The disaster came right after I snapped this photo.  A wind came up and blew the threaded plug off the balcony into a bush in the neighbor's yard, never to be seen again.  I suppose I have to make a new one.
With threaded plug,
Without.

Monday, April 13, 2015

Swedish Chisels - and Others

Recently, I found a gorgeous set of E.A. Berg chisels on Swedish eBay (Tradera.com) but someone else must have wanted them more, as they went for a relatively high price.
As a consolation, today I pulled out my own small collection of Swedish (and other) chisels.  I got all of these chisels either from Jonas or his dad.
Gee, there's more of these than I thought!  Do they replicate, or what?
This group of chisels actually has two from England and one from Finland.  All are excellent.
Ever see one of these?
I can't quite make out the maker's mark.  I also know nothing of tools in Finland, but this one just feels great in my hand.
Finnish chisel.  This one is about 3/8".
There also were two matching English chisels by J. Jowett.  These chisels are just a hair over 1/4" and 1/2", making me think they are true imperial, just like the classic motorbikes from the '50s.  In those days, British inches were just a bit bigger than the U.S. version.  In motorcycle repair, you need three sets of wrenches:  Metric, SAE, and Imperial. 
J. Jowett of Sheffield.

Other side.

One still had a legible label on the handle.
When you think of Swedish chisels, the one I think of most is E.A. Berg.
Iconic red plastic handle.
Don't take the red plastic handles for granted.  The steel on these chisels is superb.  I find myself reaching for these chisels often.
I have three of these, a 1", a 3/4", and a 3/8".
Curisously, many of these chisels are labelled in both inches and mm.  I think they truly are in inches, but if you want to know the metric equivalent (common in Europe), it's there on the blade.
Eskilstuna is synonymous with good tool steel.
Eskilstuna is a city in Sweden well-known for quality steel.  In England, good tools were made in Sheffield.  In Sweden, it was Eskilstuna.
Two unmarked mortice chisels.  3/16" and 1/4"
There were also a couple of E.A. Berg gouges in the pile, too!

Once I lined them all up, I realized this is a fairly decent set of user chisels.  Although they don't all match, I have pretty much all I need.
3/16, 1/4+, 3/8, 3/8, 1/2+, 3/4, 3/4, 1, 1-1/4 chisels, 1/4 mortice, and 5/16 and 1 inch gouges.
That's a decent set in my book.  Some of these chisels I rehabbed a while back and have been using, the others I want to start using and will soon rehab.
If all the handles were the same, I wouldn't be able to tell one from the other!
My plan was to get to work on an unfinished project today, but it didn't work out.  Today was a "play with your tools" day in the shop.  Since I had them out, I didn't want to roll them back up in the rag I was storing them in.  They will never get used that way, so I tacked this little chisel rack on the back of my bench to see if I like working this way.  So far, it seems to work, although some of the chisels are heavier in the back and tend to lean.  I'll have to figure out a way to get that working.

Swedish Egg Beater Drill

At least I think it is Swedish.  I found no maker's marks on it.
After renovating.
This little drill seems to work great!  I am about to make another cribbage board, and remembered this little gem came in the Danish Hoarde, the pile of tools I got from Jonas' dad when I was in Denmark. 
Danish Hoarde.
The only marks I could find on it were on the handle arm.
It's hard to see, but I think it says, "Foreign3."

This bit says, "Import."
Actually, since it says "Import," it could be from the UK.

Friday, April 10, 2015

French Moulding Plane

French eBay strikes again!
French plane.
I picked up a pretty little moulding plane from French eBay the other day.  The construction of this plane is a bit different than the English tradition, and I thought it might be worth a five Euro bid to find out if it might be worth building one.

As is typical with purchases from eBay, you never quite know what you are going to get.  I tried to bid on one that didn't look too ratty.  Not too much rust or too many worm holes.

This one has a worn out sole.  The bit on an English plane that normally would be boxed is practically worn off in the front.
The sharp part of the profile on this plane's sole is worn away.
There are some interesting tidbits of French plane construction that one can learn from this plane.  First of all, it doesn't appear that the planemakers were too overly concerned about perfectly straight grain on their planes.  Looking at other planes on eBay, this plane is typical with a big swirly bit of grain right down by the sole.
Nasty tear out on the sole itself!
Here is another view of the sole from the rear.  The back of the plane took a bit less wear than the front.
One can see the profile on the sole from the back.

Here is another view of the swirling grain near the sole.
The wedge is a bit different in shape.  It actually looks practical and easy to make.
Wedge.
I was pleased to see the tapered iron was made by the Peugeot firm.  This should be good steel.  I look forward to sharpening it up.
Peugeot blade.

Here you can see the blade is tapered.  Curiously, it is full width the whole way back.
The big reason I bought this plane, is I wanted to see how the mortise for the blade was constructed.  I was right when I suspected that it was sawn out and another strip of wood was attached to the side.
This construction method for the mortise looks simpler to construct.
Indeed, looking at the end of the plane, you can clearly see where the strip was attached.
The side strip that is glued on is one wall of the blade's mortise.
Another view of the sole including the inserted blade.

Here is a view of the blade cavity with the blade removed.
I think the side escapement looks funny, but I imagine it is practical and works.  It looks like the end of the wedge fits seamlessly with the escapement.
The plane's escapement.
I couldn't see any spring lines on the end of the plane, however the plane's fence was canted a bit.  Could this be the angle that the plane should be sprung?
The fence looks sprung.
Here is a close-up of the maker's mark. It looks like, "8 VRAI CORMIER GARANTI" with a P. G. in the center of the star.
Maker's mark.
The over all length was 22 cm with a height of 7 cm for the body. (8 5/8" x 2 3/4")
Fairly short.
I think there is no question looking at this style of plane that the English style is superior.  However, construction of this plane looks far simpler than the English one.  One can not say that the French made inferior furniture using tools such as this.  Perhaps they viewed these tools with the thought of them being a bit more disposable than the English did.

In any case, here is a construction method of a plane that could perhaps be relevant today in the view of a more entry-level plane, or perhaps a tool one would buy for a single use.

I look forward to trying this plane out to see if it will still cut a moulding.  If so, it might be worth rehabbing and fixing the sole.

In any case, I might try and build one using principles seen on this plane to see if I can come up with a plane that is easy to build.