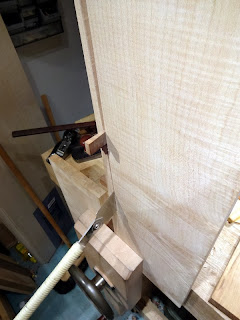
I decided that this has to change, so I recently started working on it again. I am hoping that putting it up on the blog will give me that extra "have to" to finish it.
Lately, I got the boards laminated together for the top. I spent a couple of days when I first got this lumber laying it out to make it look pleasing, and I think I did OK with what I had available. It was now just a matter of jointing the edges and gluing them up.
Doing a big table top (this one is a bit over 150 cm long and 90 cm wide) increases the complications with gluing up a panel exponentially. Add to that, that I wanted to do it all with my LV BU jack plane just because I could, and I was busy for a few days.
 |
| Edge jointing for the laminated table top. |
Last weekend I got to start working on flattening. I started on the underside. There were a few boards that were proud of the others, but overall it was a good glue-up. I was happy. I continued to use my BU jack, but I did use a toothed iron to go cross-grain for heavy cuts.
 |
| Toothed iron for cross-grain material removal. |
Oh, I forgot to mention, the table had a bit of twist in it that I had to plane out, too. Luckily the underside doesn't have to be that pretty, as it was definitely functionally flat as opposed to a glass-smooth surface.
 |
| Now it is time to plane the show surface. |
Did I mention I was doing this at the Army's woodshop on my post? No? Well, I was working this piece at the Army's woodshop on my post. This small shop has few machines, and pretty much none of them would I use on a piece of furniture I would put my name on. Especially, there is not a machine that will surface a table top.
But...
There was an old Stanley #5 there that was rescued from the dump who knows how long ago. I asked the owner if he minded if I grind a radius in the blade, and he didn't as he has had that plane for decades without ever having used it.
I ground an 8" radius on the blade, and honed it to a state of "sharp enough."
I am amazed. I haven't ever used a vintage Stanley like this before, and it worked pretty much perfectly to flatten out this panel without gouging out giant chips from deep within the middle of the panel like the toothing iron did.
 |
| Stanley #5 and an iron sharpened with an 8" radius for rough work. |
 | ||
| Here is where the top stands now. Note the wavy lines left from the jack plane. |
I have taken the parts for the legs home to my own bench to get them ready. I am laminating the legs together. Each leg will be however square I can get them laminating two 40mm thick pieces together. Probably about 75mm square or so. I am planning on veneering some walnut veneer on the edges of the legs that show the lamination joint, similar to how I did the legs for the in-law's oak table I finished about a year ago.
 |
| Not sure if you can see it, but this laminated leg has veneer on one face to make quarter sawn figure show on all sides. |
The Frau votes against this idea, she thinks that it will be obvious that some of the leg faces are veneered, but I think it will look better than showing that big lamination seam. I'll have to test it to find out. In the end, I think it would have been better to spend a bit more money on some thick stock to make the legs from one piece of lumber.
The other thing I haven't settled on yet is the final design. More on that in a following post.


